Chrysler 300/300 Touring/300C, Dodge Magnum. Manual - part 17


  Index      Chrysler     Chrysler 300/300 Touring/300C, Dodge Magnum - service repair manual


Search            


Content   ..  15  16  17  18   ..


Chrysler 300/300 Touring/300C, Dodge Magnum. Manual - part 17


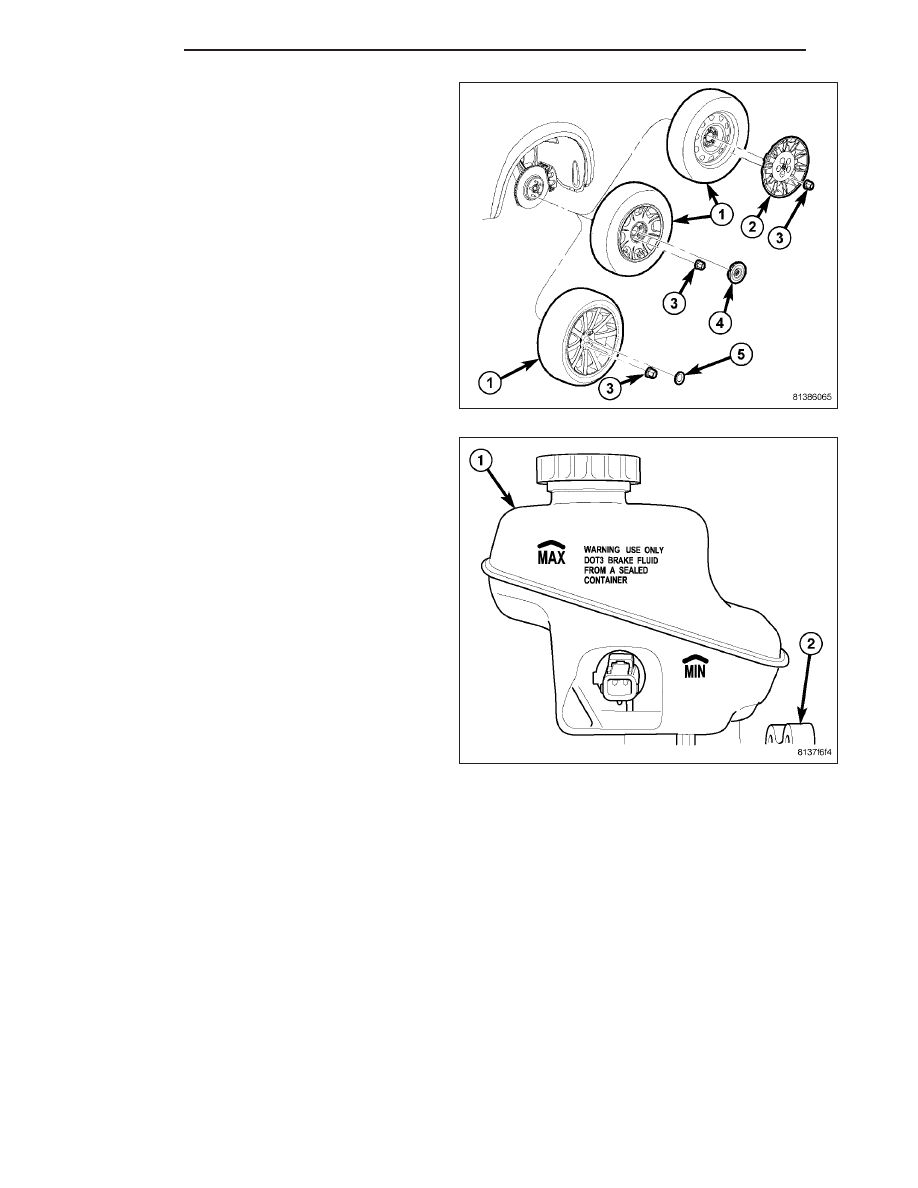
11. Install tire and wheel assembly (1) (Refer to 22 -

TIRES/WHEELS - INSTALLATION). Tighten wheel
mounting nuts (3) to 150 N·m (110 ft. lbs.) torque.

12. Lower vehicle.

13. Pump brake pedal several times to ensure vehicle

has a firm brake pedal before moving vehicle.

14. Check and adjust brake fluid level in reservoir (1)

as necessary.

15. Perform wheel alignment. (Refer to 2 - SUSPEN-

SION/WHEEL

ALIGNMENT

-

STANDARD

PROCEDURE)

2 - 22

FRONT

LX

KNUCKLE - RWD

REMOVAL

1. Raise and support vehicle. (Refer to LUBRICATION & MAINTENANCE/HOISTING - STANDARD PROCEDURE)

2. Remove wheel mounting nuts (3), then tire and

wheel assembly (1).

3. Remove screw (3) fastening wheel speed sensor to

knuckle (1). Pull sensor head (4) out of knuckle.

4. Remove wheel speed sensor cable routing clip (2)

from brake flex hose routing bracket (5).

LX

FRONT

2 - 23

5. Remove screw (3) fastening brake flex hose rout-

ing bracket (2) to knuckle (4).

6. Access and remove front brake rotor. (Refer to 5 -

BRAKES/HYDRAULIC/MECHANICAL/ROTOR

-

REMOVAL)

7. Remove nut (1) from outer tie rod end stud.

8. Using Puller (2), Special Tool 9360, separate tie

rod stud (1) from knuckle.

2 - 24

FRONT

LX

9. Loosen nut (4) attaching upper ball joint stud (1) to

knuckle. Back nut off until nut is even with end of
stud. Keeping nut on at this location will help
keep end of stud from distorting while using
Puller in next step.

CAUTION: In following step, use care not to dam-
age ball joint seal boot while sliding Puller, Special
Tool 9360, into place past seal boot.

10. Using Puller (2), Special Tool 9360, separate

upper ball joint stud (1) from knuckle.

11. Remove nut (4) from end of upper ball joint stud

(1).

LX

FRONT

2 - 25


Content   ..  15  16  17  18   ..