Content .. 2317 2318 2319 2320 ..
Chevrolet Silverado / GMC Sierra. Manual - part 2319

Fig. 31: Identifying Compressor Clutch Plate
Courtesy of GENERAL MOTORS CORP.
6. Install the clutch plate assembly (2).
2008 Chevrolet Silverado 1500
2008 HVAC Heating, Ventilation, and Air Conditioning - Cab & Chassis Sierra, Cab & Chassis Silverado, Sierra &
Silverado
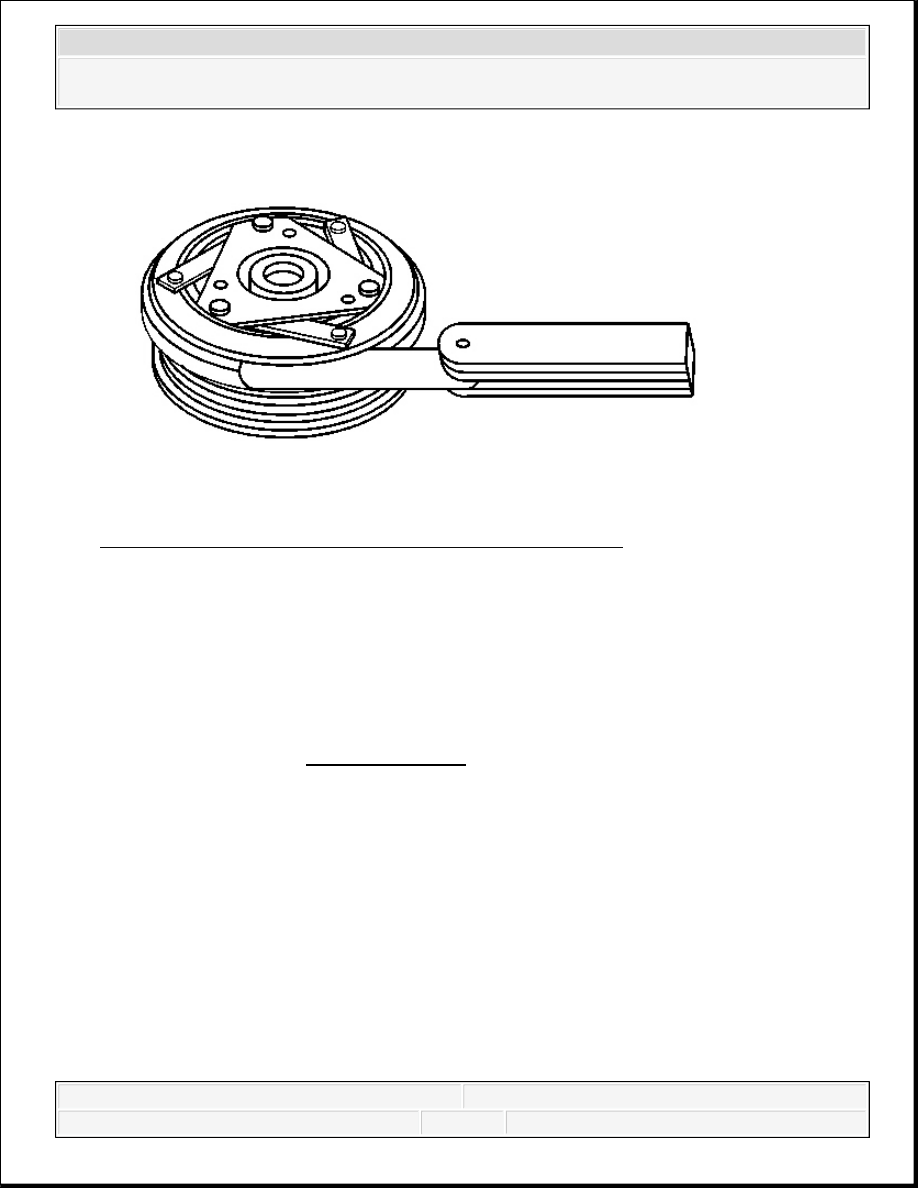
Fig. 32: View Of Air Gap Between Pulley And Drive Plate
Courtesy of GENERAL MOTORS CORP.
7. Measure the air gap between the pulley and the drive plate. Adjust the shims to achieve a
0.35-0.65 mm (0.014-0.026 in) air gap.
8. Install the clutch plate retaining bolt (1).
Tighten: Tighten the bolt to 18 N.m (13 lb ft).
IMPORTANT: Ensure the drive plate does not drag against the pulley when
the pulley is rotated.
NOTE:
Refer to Fastener Notice .
2008 Chevrolet Silverado 1500
2008 HVAC Heating, Ventilation, and Air Conditioning - Cab & Chassis Sierra, Cab & Chassis Silverado, Sierra &
Silverado

Fig. 33: A/C Belt Tensioner
Courtesy of GENERAL MOTORS CORP.
9. Install a ratchet into the A/C belt tensioner adapter opening.
10. Rotate the A/C belt tensioner clockwise in order to relieve the tension on the belt.
11. Install the A/C belt to the A/C compressor.
12. Slowly release the tension on the A/C belt tensioner.
13. Remove the ratchet from the A/C belt tensioner.
14. Install the engine protection shield.
15. Lower the vehicle.
COMPRESSOR MOUNTING BRACKET REPLACEMENT (NON HP2)
Removal Procedure
1. Remove the A/C compressor. Refer to Air Conditioning Compressor Replacement
(LY2, LY5, LH6, L76, L92 and LMG) or Air Conditioning Compressor Replacement
2008 Chevrolet Silverado 1500
2008 HVAC Heating, Ventilation, and Air Conditioning - Cab & Chassis Sierra, Cab & Chassis Silverado, Sierra &
Silverado

(LLY/LMM) or Air Conditioning Compressor Replacement (LU3).
2. Remove the A/C belt tensioner bolts.
3. Remove the A/C belt tensioner.
Fig. 34: A/C Compressor Bracket Mounting Bolts
Courtesy of GENERAL MOTORS CORP.
4. Remove the A/C compressor bracket mounting bolts.
2008 Chevrolet Silverado 1500
2008 HVAC Heating, Ventilation, and Air Conditioning - Cab & Chassis Sierra, Cab & Chassis Silverado, Sierra &
Silverado
Content .. 2317 2318 2319 2320 ..