Content .. 1614 1615 1616 1617 ..
Chevrolet Silverado / GMC Sierra. Manual - part 1616
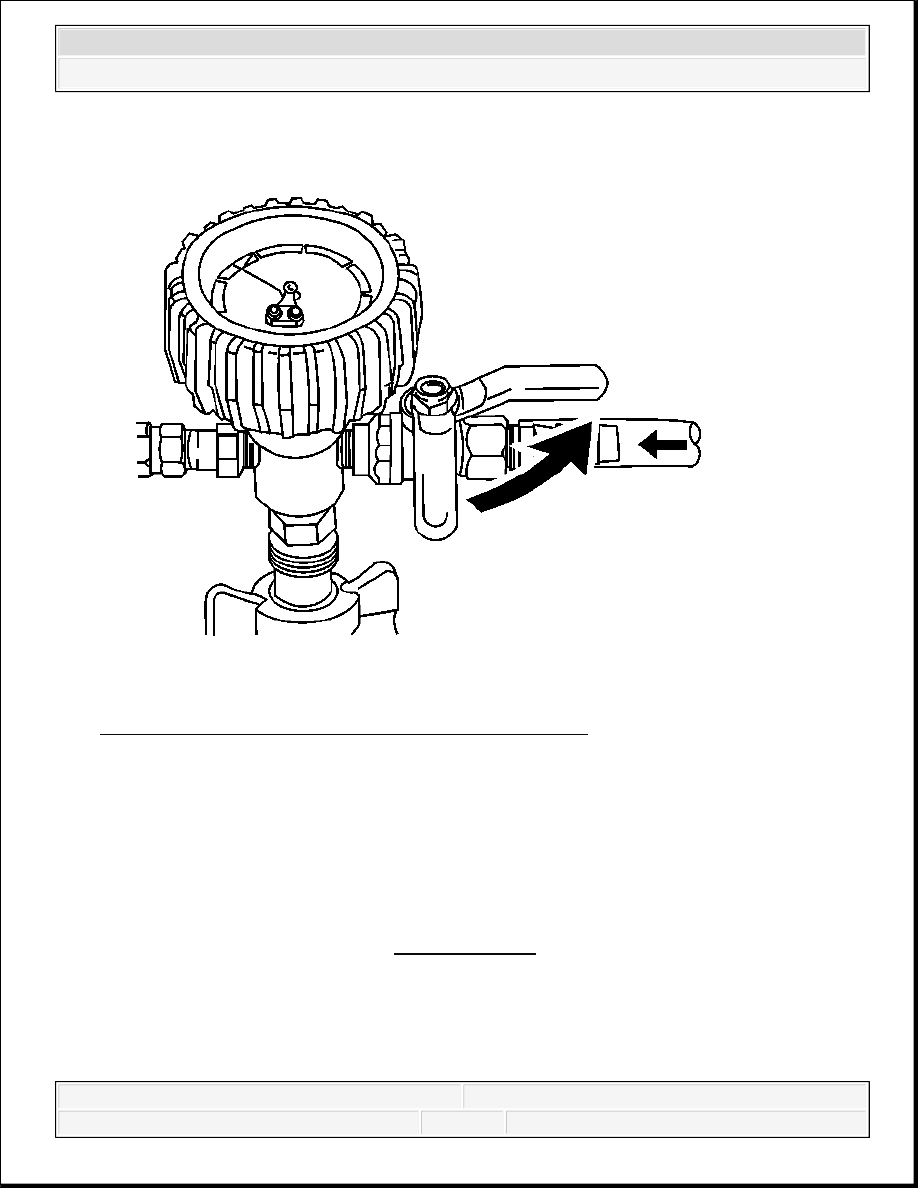
Fig. 15: Identifying Valve On Vacuum Gage Assembly
Courtesy of GENERAL MOTORS CORP.
15. Slowly open the valve on the vacuum gage assembly. When the coolant reaches the top of
the fill hose, close the valve. This will eliminate air from the fill hose.
16. Close the valve on the venture assembly.
17. If there is a suspected leak in the cooling system, allow the system to stabilize under vacuum
and monitor for vacuum loss.
If vacuum loss is observed, refer to Loss of Coolant.
18. Open the valve on the vacuum gage assembly. The vacuum gage will drop as coolant is
drawn into the system.
2008 Chevrolet Silverado 1500
2008 ENGINE Engine Cooling - Cab & Chassis Sierra, Cab & Chassis Silverado, Sierra & Silverado
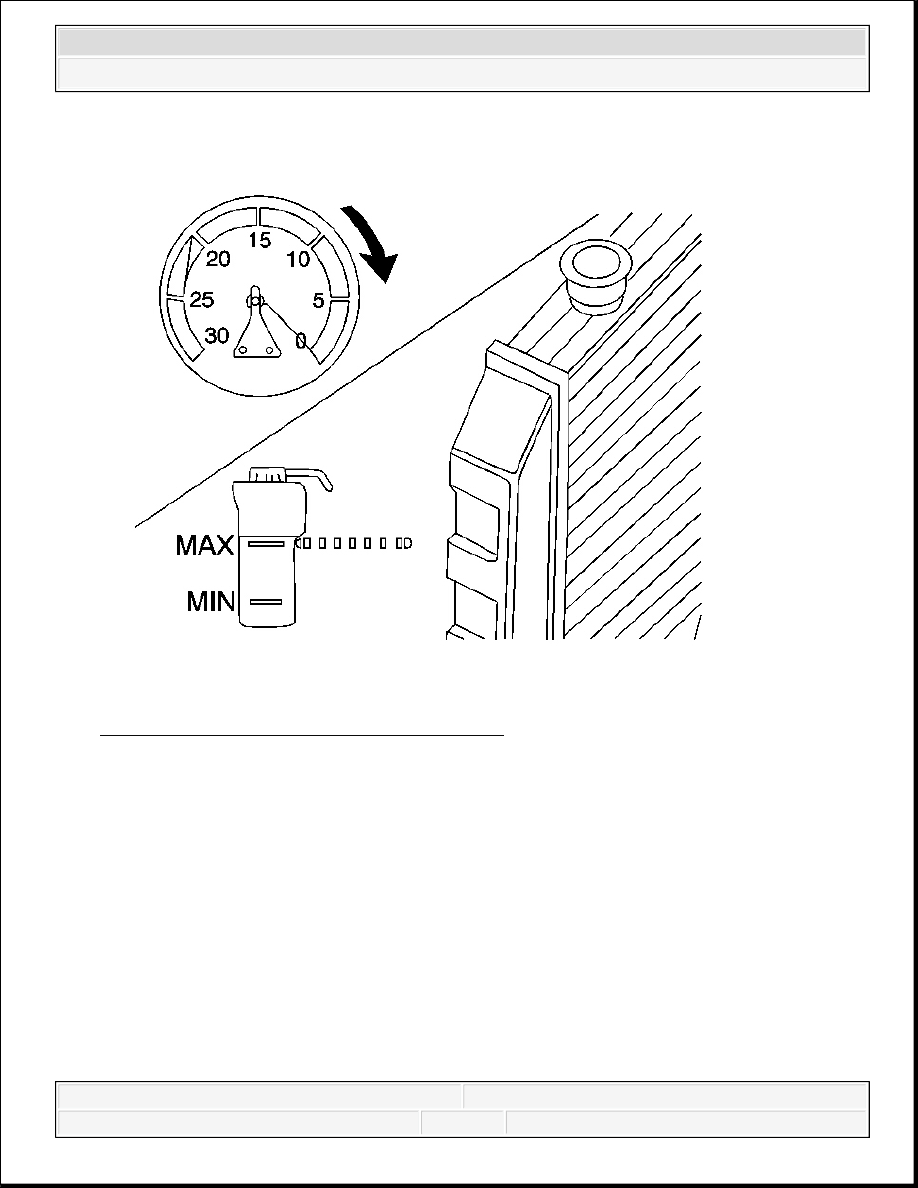
Fig. 16: View Of Vacuum Gauge & Radiator
Courtesy of GENERAL MOTORS CORP.
19. Once the vacuum gage reaches zero, close the valve on the vacuum gage assembly and
repeat steps 11-17.
20. Remove the J 42401 .
21. Detach the Vac-N-Fill cap from the vehicles coolant fill port.
22. Add coolant to the system as necessary.
23. Inspect the concentration of the coolant mixture using J 26568 .
IMPORTANT: After filling the cooling system, the extraction hose can be
used to remove excess coolant to achieve the proper coolant
level.
2008 Chevrolet Silverado 1500
2008 ENGINE Engine Cooling - Cab & Chassis Sierra, Cab & Chassis Silverado, Sierra & Silverado

24. Detach the vacuum hose form the vacuum gage assembly.
Fig. 17: Attaching Extraction Hose To Vacuum Hose
Courtesy of GENERAL MOTORS CORP.
25. Attach the extraction hose to the vacuum hose.
2008 Chevrolet Silverado 1500
2008 ENGINE Engine Cooling - Cab & Chassis Sierra, Cab & Chassis Silverado, Sierra & Silverado
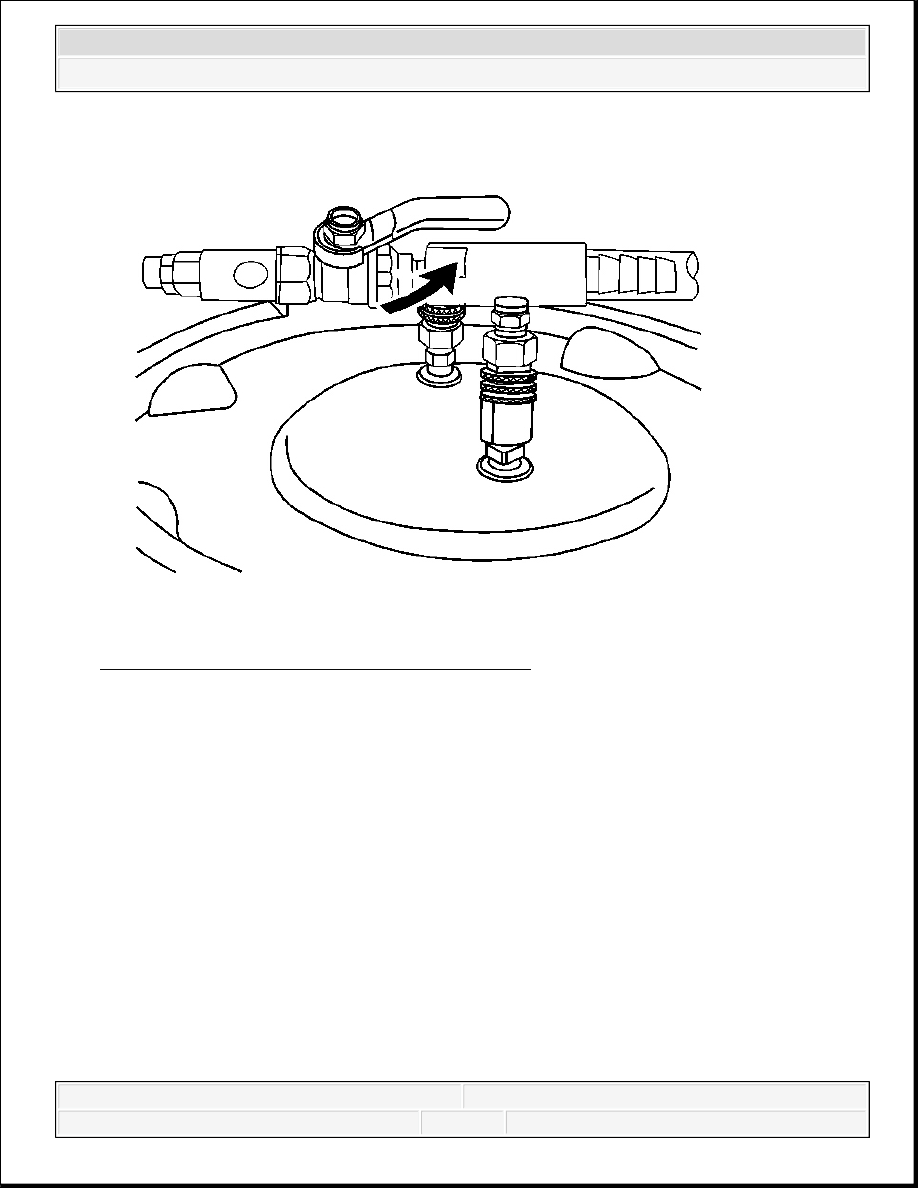
Fig. 18: Identifying Valve On Venturi Assembly
Courtesy of GENERAL MOTORS CORP.
26. Open the valve on the venture assembly to start a vacuum draw.
2008 Chevrolet Silverado 1500
2008 ENGINE Engine Cooling - Cab & Chassis Sierra, Cab & Chassis Silverado, Sierra & Silverado
Content .. 1614 1615 1616 1617 ..