Chery Tiggo. Manual - part 452
11. Applying the bonding agent:
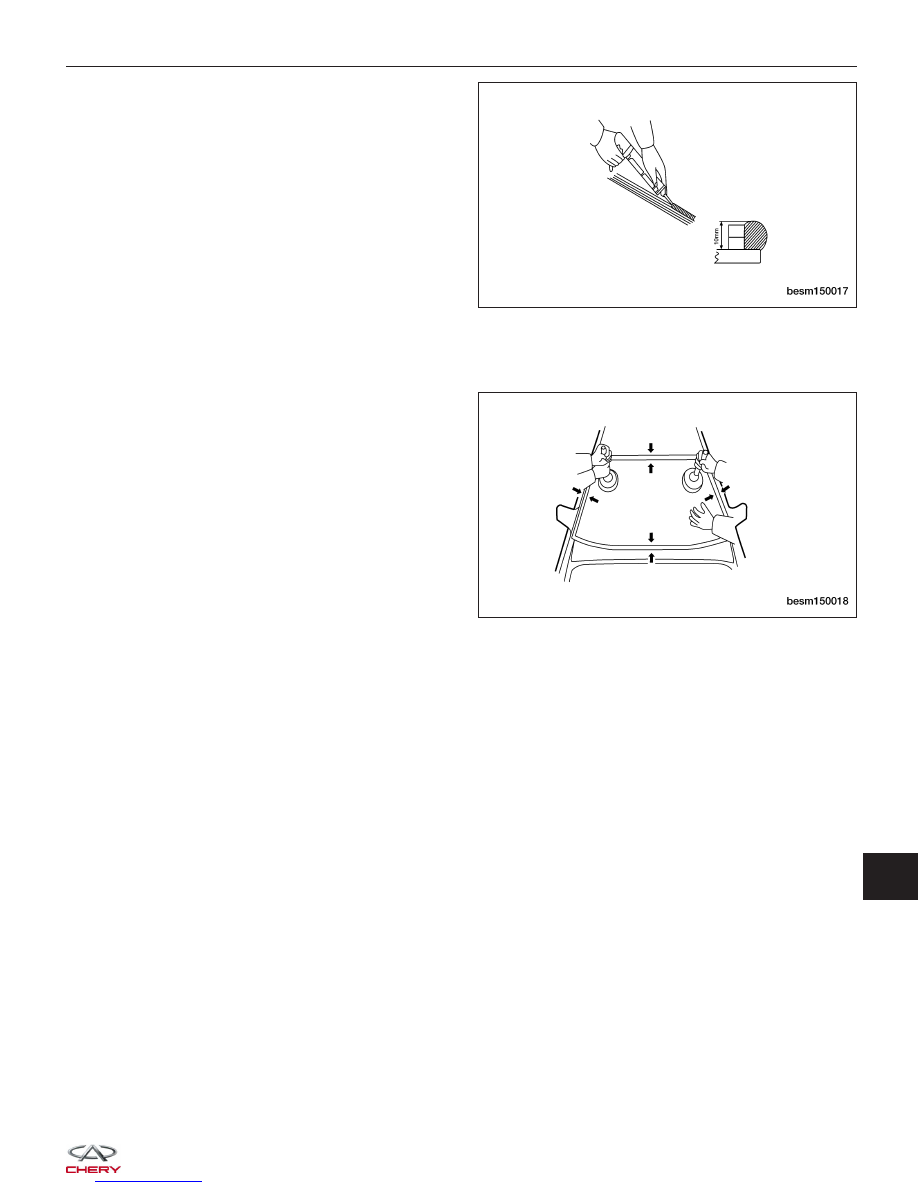
• Cut off the pot tip and fill the bonding agent
into the pot.
• Place the pot into the sealant gun.
• Apply the bonding agent on the glass as
shown in the figure.
CAUTION:
Verify that the water resistant piece is adhered to the panel of the body as shown in the figure.
12. To install the glass, align the reference marks on
the glass and the body and then lightly press the
glass into the body opening.
13. Apply the bonding agent on the edges of the glass
with a scraper.
14. Remove any excessive or over flown bonding
agent with a scraper.
15. Clamp the glass until the bonding agent has hard-
ened.
16. Check for water leakage:
• Perform the leakage test after the hardening
period.
• Seal any leaks with the proper sealant.
17. Install the upper molding of the windshield:
• Install the upper windshield molding on the body and tap it lightly to fasten it.
• Install the outer windshield molding.
Rear Window
Removal
1. Open the back cargo door.
2. Remove the back cargo door trim panel.
3. Disconnect the defroster grid electrical connector.
4. Remove the double-sided adhesive tape at both ends of the molding with a scraper.
5. Rear window removal:
• Using piano wire, insert the piano wire between the body and the glass.
• Attach wooden blocks to both ends of the piano wire.
• Pull the piano wire through between the body and the glass from inside of the vehicle.
• Pull the piano wire along the bonding agent to cut it off.
CAUTION:
Do not let the piano wire damage the two stoppers.
• Remove the rear window.
Installation
1. Place the rear window molding around the glass and fit it manually.
2. Remove the rough portions on the body with a knife and clean the cut bonding agent with a rag soaked with
cleaning solvent.
STATIONARY GLASS
BESM150017
BESM150018
15