Chery Tiggo. Manual - part 301
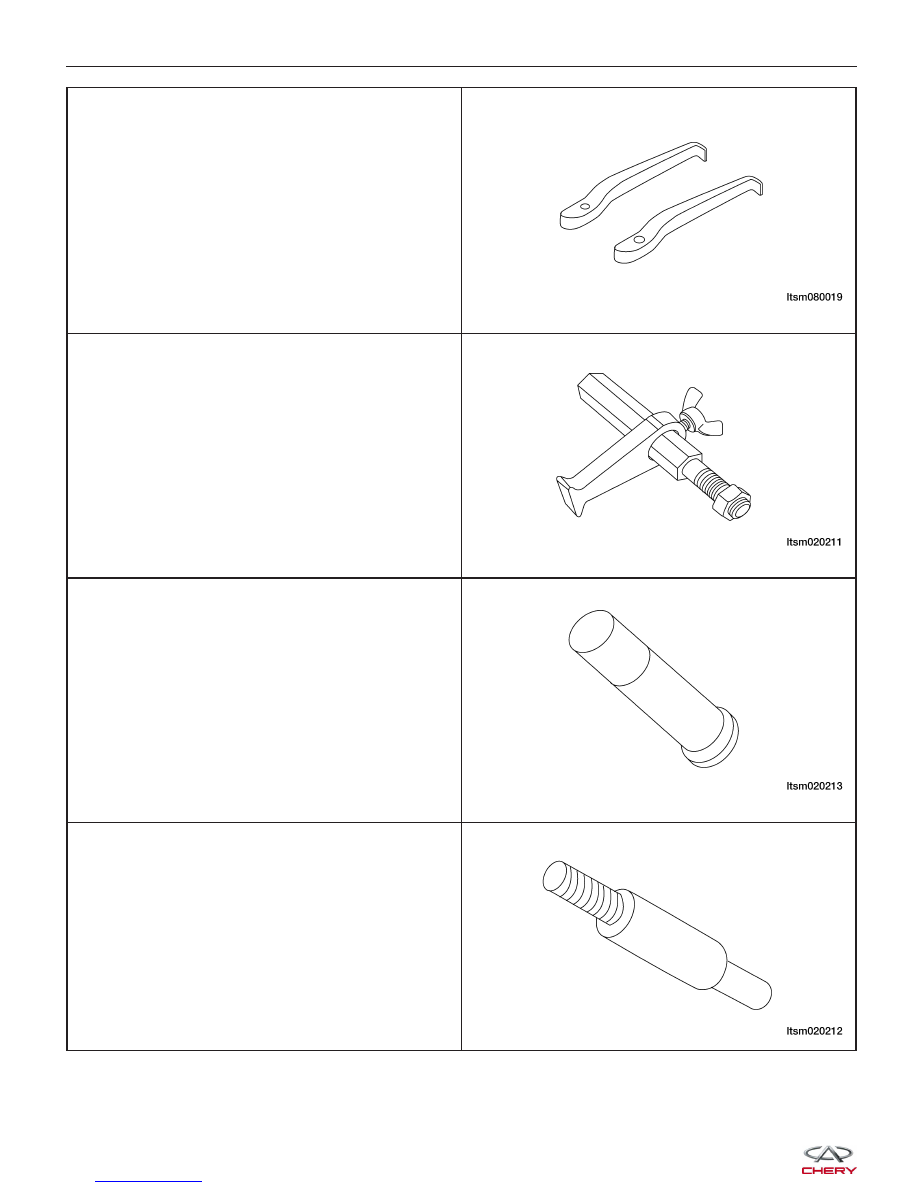
Hook
MB-999566
Flywheel Fixture
CH-20043
Bearing Installer
CH-30028
Bearing Extractor
09917-58010
GENERAL INFORMATION
|
|
|
Hook MB-999566 Flywheel Fixture CH-20043 Bearing Installer CH-30028 Bearing Extractor 09917-58010 GENERAL INFORMATION
|