Chery Tiggo. Manual - part 215
Spark Plug Wire 1.6L & 1.8L & 2.0L
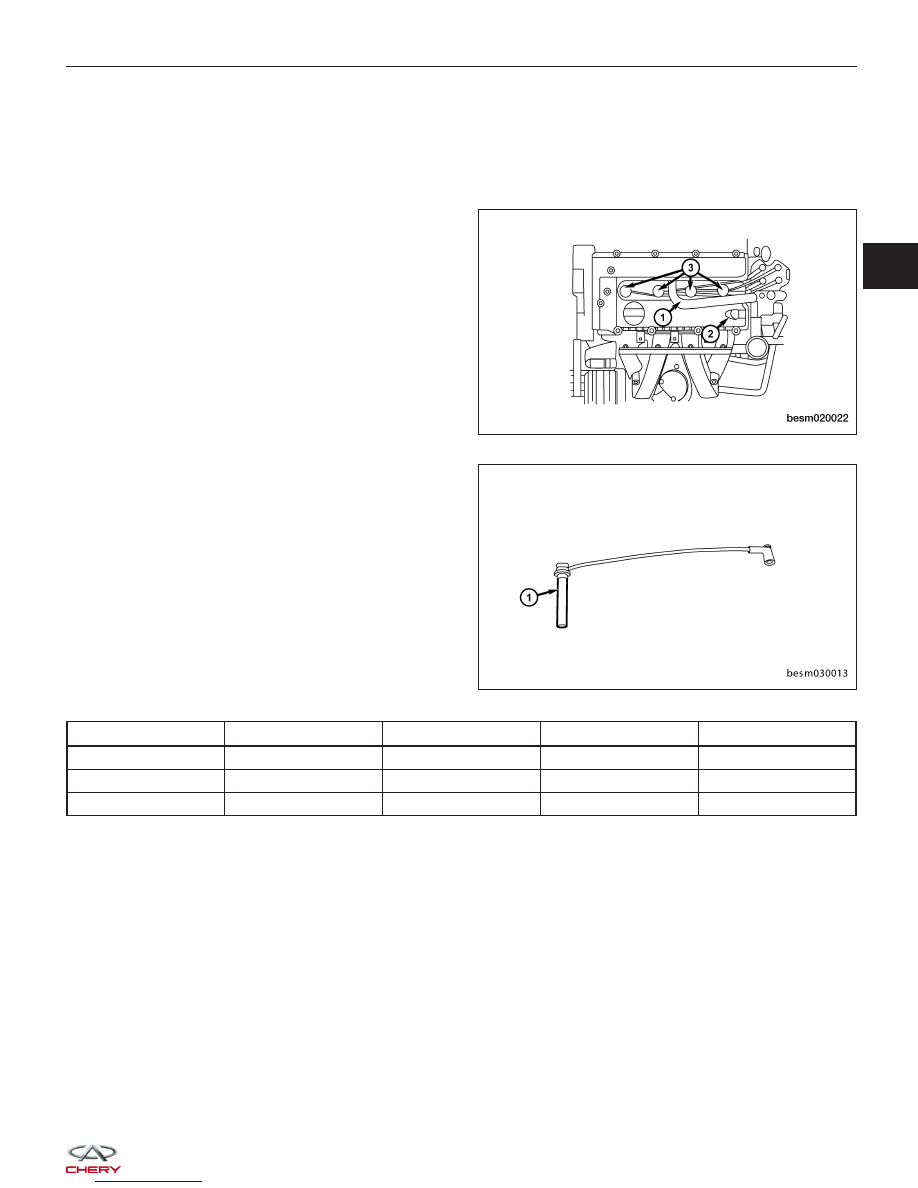
Removal & Installation
1. Remove the engine cover.
2. Disconnect the negative battery cable.
3. Remove the hose (1), if necessary.
4. Disconnect the ignition coil electrical connector (2).
5. Twist the spark plug wire (3) from ignition coil and
remove the spark plug wire.
6. Twist the spark plug wire (3) from spark plug then
pull the spark plug wire straight up.
7. Remove the spark plug wire (1).
8. Installation is in the reverse order of removal.
Cylinder Number
1
2
3
4
Part Number
A11-3707130HA
A11-3707140HA
A11-3707150HA
A11-3707160HA
Length (mm)
405
275
165
125
Resistance (K
⍀)
6.99 - 12.08
5.32 - 9.59
3.92 - 7.48
3.4 - 6.71
ON-VEHICLE SERVICE
BESM020022
BESM030013
03