Acura RSX Honda Integra. Manual - part 57


  Index      Acura     Acura RSX Honda Integra - service repair manual 2002-2006 year


Search            


Content   ..  55  56  57  58   ..


Acura RSX Honda Integra. Manual - part 57


*01

S6M6A00A18300024751LBAT00

7-18

Engine Block

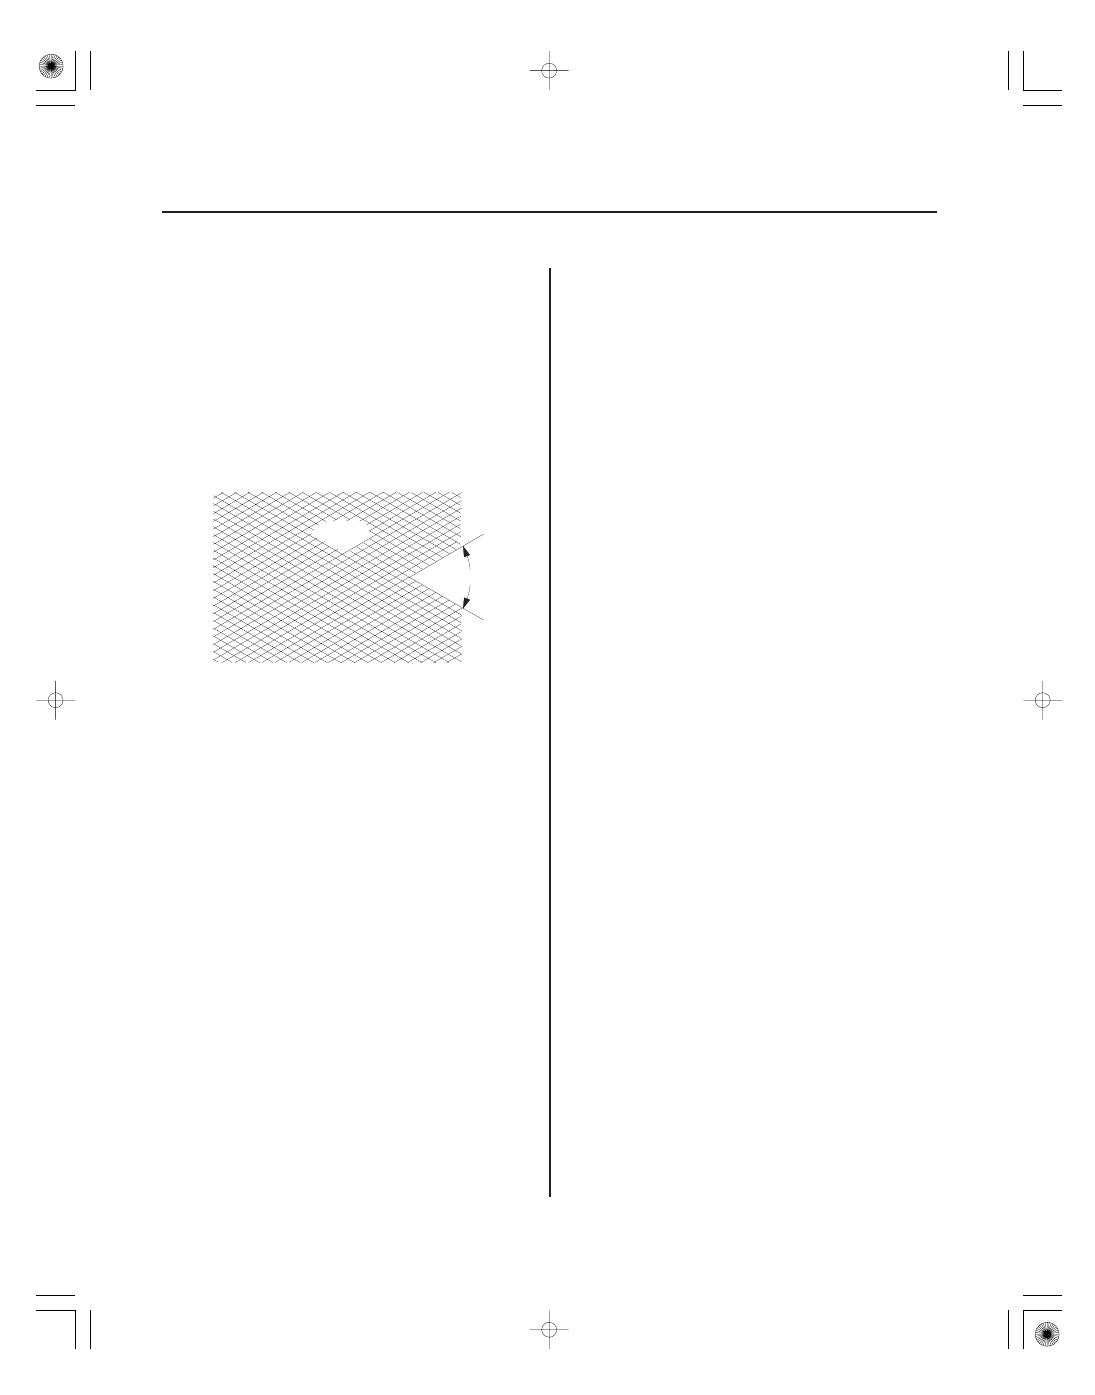
Cylinder Bore Honing

A

60 °

Only a scored or scratched cylinder bore must be honed.

1. Measure the cylinder bores (see page 7-16).

If the block is to be reused, hone the cylinders and
remeasure the bores.

2. Hone the cylinder bores with honing oil and a fine

(400 grit) stone in a 60 degree cross-hatch pattern
(A). Use only a rigid hone with 400 grit or finer
stone such as Sunnen, Ammco, or equivalent. Do
not use stones that are worn or broken.

3. When honing is complete, thoroughly clean the

engine block of all metal particles. Wash the
cylinder bores with hot soapy water, then dry and
oil them immediately to prevent rusting. Never use
solvent, it will only redistribute the grit on the
cylinder walls.

4. If scoring or scratches are still present in the

cylinder bores after honing to the service limit,
rebore the engine block. Some light vertical scoring
and scratching is acceptable if it is not deep enough
to catch your fingernail and does not run the full
length of the bore.

01

02

03

S6M6A00A18360200000KBAT00

Disassembly

7-19

Piston, Pin, and Connecting Rod Replacement

B

A

A

1. Remove the piston from the engine block (see page

7-13).

2. Apply new engine oil to the piston pin snap rings

(A), and turn them in the ring grooves until the end
gaps are lined up with the cutouts in the piston pin
bores (B).

NOTE: Take care not to damage the ring grooves.

3. Remove both snap rings (A). Start at the cutout in

the piston pin bore. Remove the snap rings
carefully so they do not go flying or get lost. Wear
eye protection.

4. Heat the piston and connecting rod assembly to

about 158 °F (70 °C), then remove the piston pin.

(cont’d)

04

05

06

07

Inspection

Piston Pin Diameter
Standard (New): 21.961

21.965 mm

(0.8646

0.8648 in.)

Service Limit:

21.953 mm (0.8643 in.)

Piston Pin-to-Piston Clearance
Standard (New):

0.005 to

0.002 mm

(

0.00020 to

0.00008 in.)

Service Limit:

0.005 mm (0.0002 in.)

Piston Pin-to-Connecting Rod Clearance
Standard (New): 0.005

0.015 mm

(0.0002

0.0006 in.)

Service Limit:

0.02 mm (0.0008 in.)

7-20

Engine Block

Piston, Pin, and Connecting Rod Replacement (cont’d)

NOTE: Inspect the piston, piston pin, and connecting
rod when they are at room temperature.

1. Measure the diameter of the piston pin.

2. Zero the dial indicator to the piston pin diameter.

3. Check the difference between the piston pin

diameter and piston pin hole diameter in the piston.

4. Measure the piston pin-to-connecting rod clearance.

08

09

01

10

Reassembly

7-21

A

D

E

C

B

A

F

1. Install a piston pin snap ring (A) only on one side.

2. Coat the piston pin bore in the piston, the bore in

the connecting rod, and the piston pin with engine
oil.

3. Heat the piston to about 158 °F (70 °C).

4. Install the piston pin (A). Assemble the piston (B)

and connecting rod (C) with the arrow (D) and the
embossed mark (E) on the same side.

5. Install the remaining snap ring (F).

6. Turn the snap rings in the ring grooves until the

end gaps are positioned at the bottom of the piston.


Content   ..  55  56  57  58   ..