Oldsmobile Silhouette (2004 year). Manual - part 16
-------------------------------------------------------------------------------------------------------------------------------------------------------------
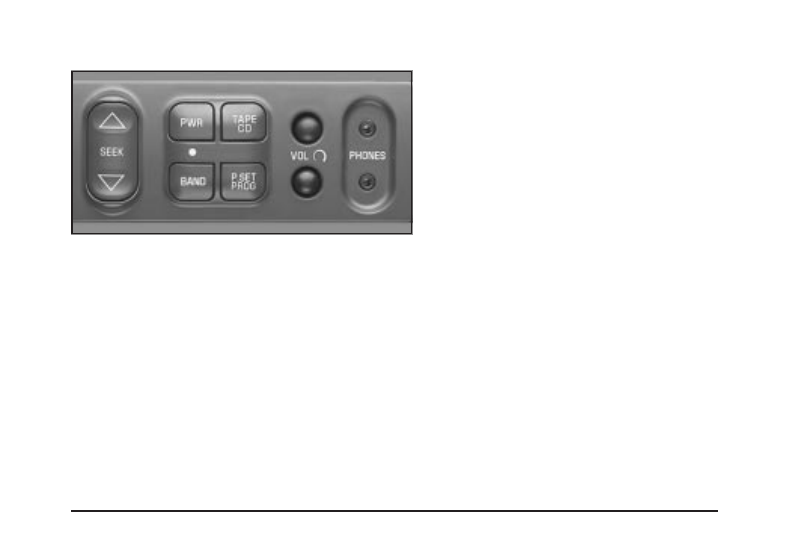
Rear Seat Radio Controls
The following functions are controlled by the RSA
system buttons:
PWR (Power): Press this button to turn RSA on or off.
VOL (Volume): Press this knob lightly so it extends.
Turn the knob to increase or to decrease volume. Push
the knob back into its stored position when you are
not using it. The upper VOL knob controls the upper
headphone and the lower VOL knob controls the lower
headphone.
BAND: Press this button to switch between FM1, FM2,
AM. If the front passengers are already listening to
the radio, the RSA controller will not switch between the
bands and cannot change the frequency. Press this
button to play a CD when listening to the radio.
w
SEEK
x
: While listening to the radio, press the up
or the down arrow to tune to the next or the previous
station and stay there. The SEEK button is inactive if the
front radio is in use.
While listening to a cassette tape, press the up or the
down arrow to hear the next or the previous selection.
The SEEK button is inactive if the tape mode on
the front radio is in use.
While listening to a CD, press the up arrow to hear the
next track on the CD. Press the down arrow to go
back to the start of the current track if more than eight
seconds have played. The SEEK button is inactive if the
CD mode on the front radio is in use.
To scan stations, press and hold either SEEK arrow
until the radio goes into scan mode. The radio will go to
a station, play for a few seconds, then go on to the
next station. Press SEEK again to stop scanning. The
scan function is inactive if front radio is in use.
3-93