Isuzu Amigo / Axiom / Trooper / Rodeo / VehiCross. Manual - part 877
6E–532
TROOPER 6VE1 3.5L ENGINE DRIVEABILITY AND EMISSIONS
060RY00305
4. If the problem was found, adjust as necessary.
101RY00011
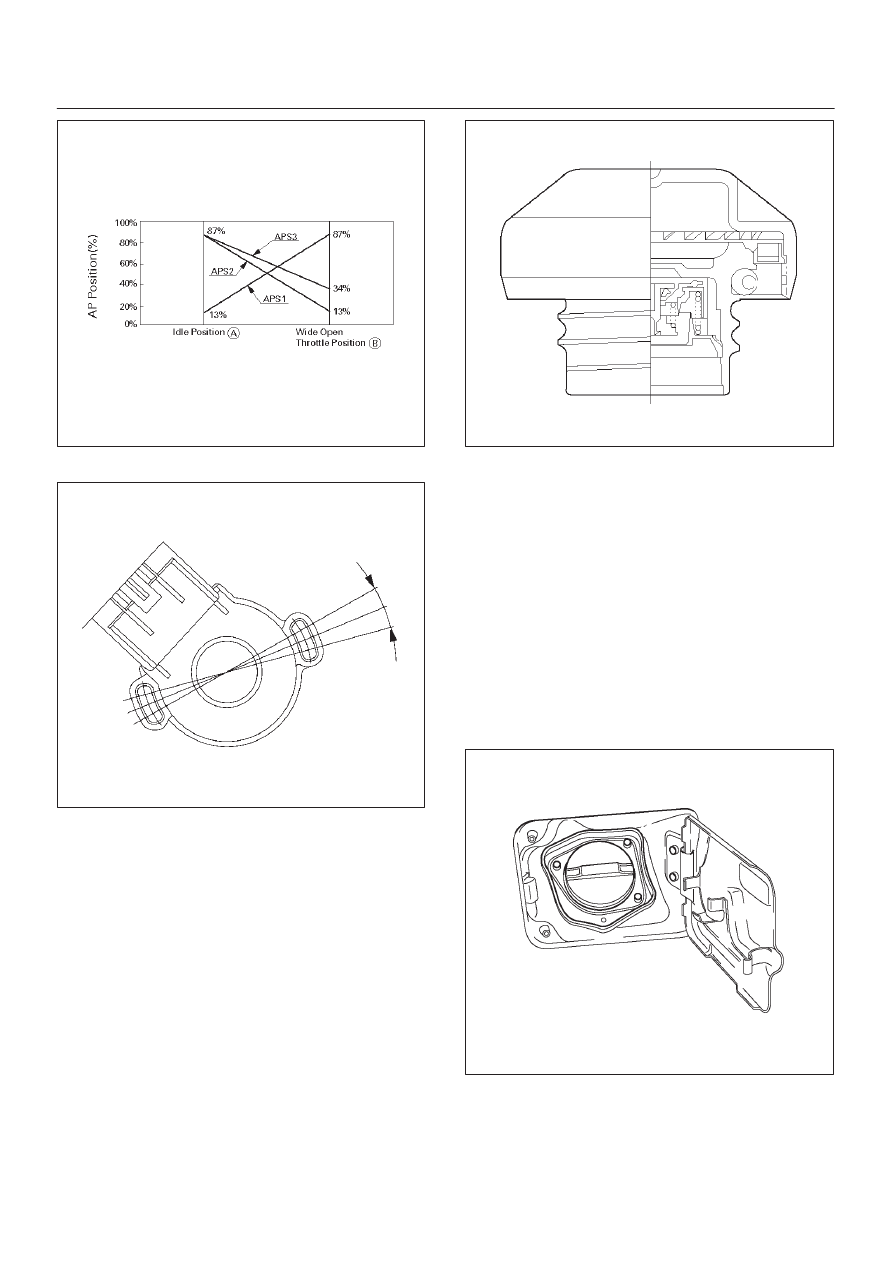
Fuel Filler Cap
General Description
The fuel filler cap includes a vacuum valve and a pressure
valve.
If high vacuum or high pressure occurs in the fuel tank,
each valve works to adjust the pressure in order to
prevent damage to the tank.
TS23767
Inspection Procedure
NOTE: Replace the fuel filler cap with the same type of
filler cap that was originally installed on the vehicle.
D
Check the seal ring in the filler cap for any abnormality
and for seal condition.
D
Replace the filler cap if any abnormality is found.
Fuel Filter
Removal Procedure
1. Disconnect the negative battery cable.
2. Remove the fuel filler cap.
060R200219