Isuzu Amigo / Axiom / Trooper / Rodeo / VehiCross. Manual - part 487
SEATS
8G–7
Rear Seat Assembly
Rear Seat Cushion Assembly and Associated Parts
755RY00009
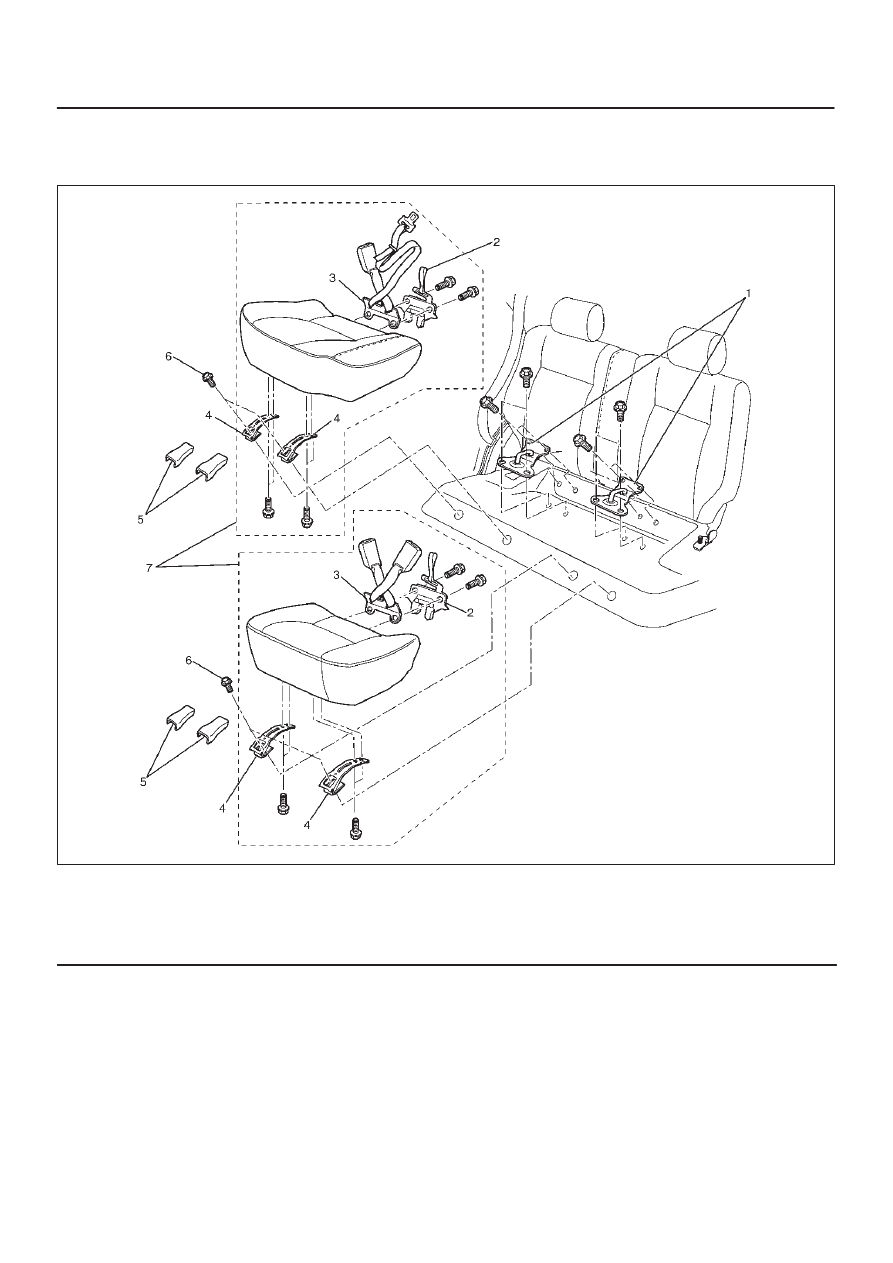
Legend
(1) Rear Seat Lock Striker
(2) Rear Seat Lock Assembly
(3) Rear Seat Belt Buckle Assembly
(4) Seat Cushion Hinge
(5) Hinge Cover
(6) Seat Cushion Fixing Bolt
(7) Rear Seat Cushion Assembly