Isuzu Amigo / Axiom / Trooper / Rodeo / VehiCross. Manual - part 479
8F–37
BODY STRUCTURE
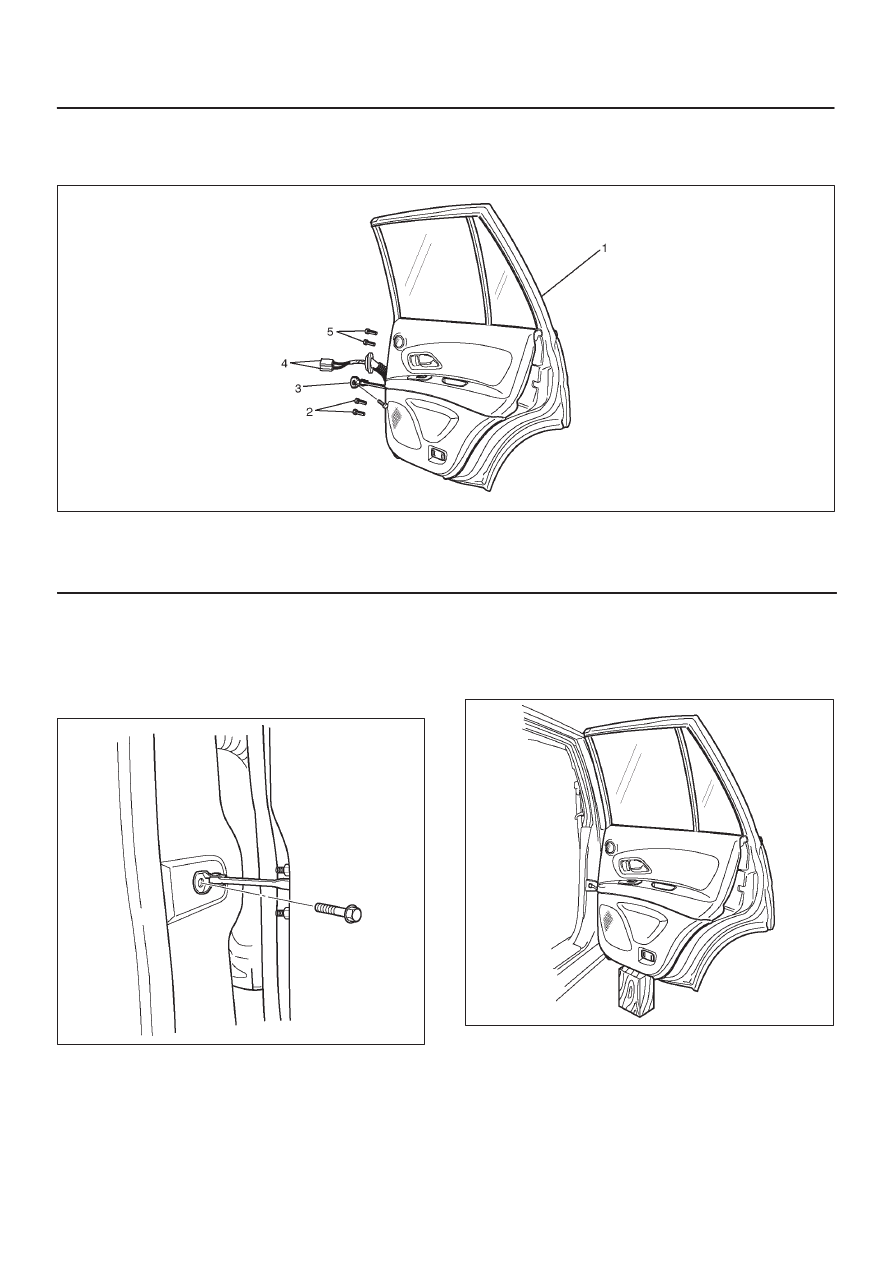
Rear Door Assembly
Parts Location
650R200001
Legend
(1) Rear Door Assembly
(2) Lower Hinge Bolt
(3) Door Check Arm
(4) Door Harness Connector
(5) Upper Hinge Bolt
Removal
1. Disconnect the battery ground cable.
2. Apply a setting mark on the body side hinge.
3. Remove the door check arm bolt.
650R200002
4. Remove the upper and lower hinge bolts.
D
Position a wood block under the door for protection
and support the door assembly with hands during
removal or installation.
650R200004