Isuzu Amigo / Axiom / Trooper / Rodeo / VehiCross. Manual - part 1626


  Index      Isuzu     Isuzu Amigo / Axiom / Trooper / Rodeo / VehiCross - service repair manual 1999-2002 year


Search            


Content   ..  1624  1625  1626  1627   ..


Isuzu Amigo / Axiom / Trooper / Rodeo / VehiCross. Manual - part 1626


8C–4

ENTERTAINMENT

Accessory Socket

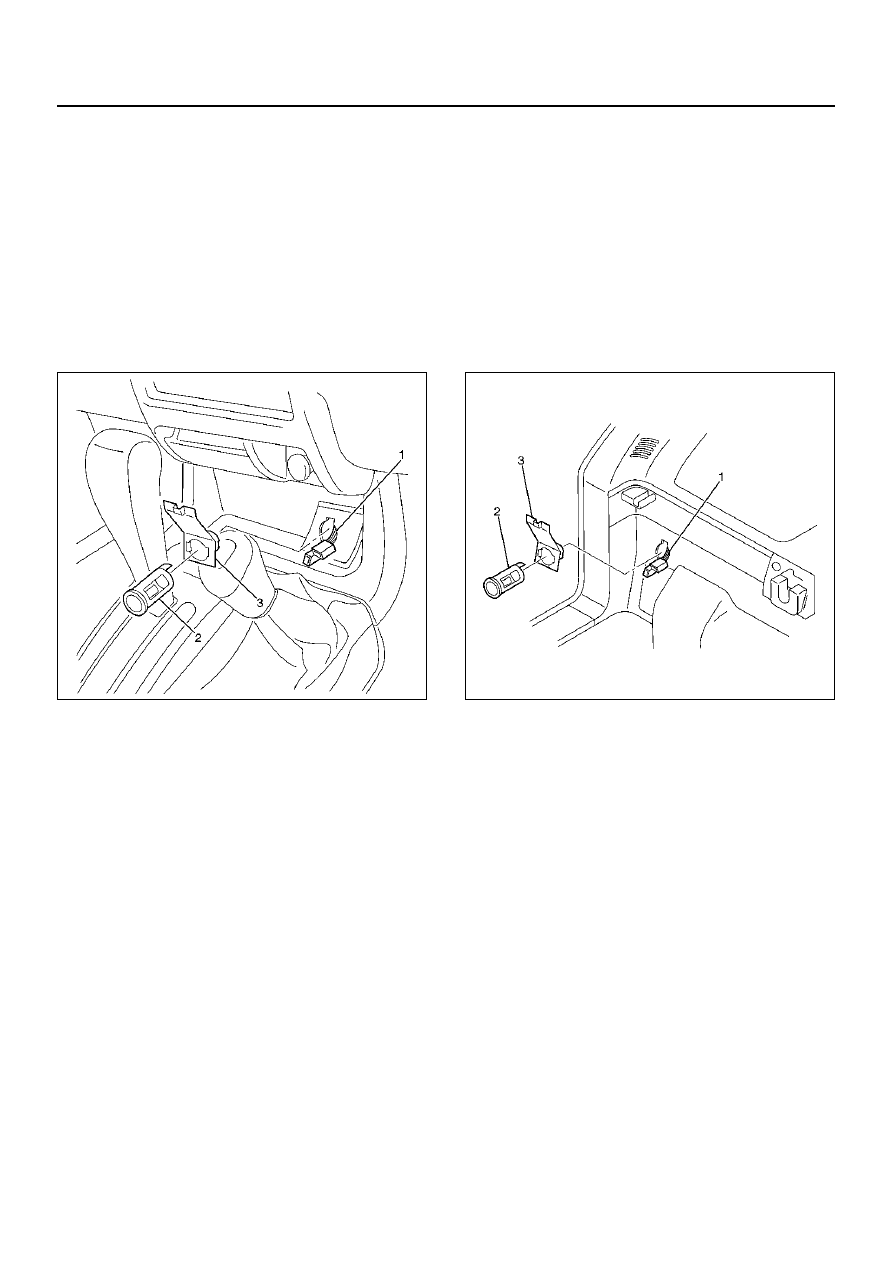
Front Accessory Socket

Removal

1. Disconnect the battery ground cable.

2. Remove the front console assembly.

3. Remove the front accessory socket (2).

• Disconnect the connectors (1).

• Pull out the front accessory socket from the soket

cover (3).

810RW005

Installation

To install, follow the removal steps in the reverse order,
noting the following point:

  Rear Accessory Socket

Removal

1. Disconnect the battery ground cable.

2. Remove the quarter trim lower cover.

3. Remove the rear accessory socket (2).

• Disconnect the connectors (1).

• Pull out the front accessory socket from the soket

cover (3).

810RW004

Installation

To install, follow the removal steps in the reverse order,
noting the following point:

ENTERTAINMENT

8C–5

Radio

Removal

1. Disconnect the battery ground cable.

2. Remove the lower cluster assembly (1).

• Refer to Instrument Panel Assembly in Body

Structure section.

890RW022

3. Remove the radio (2).

• Remove the two fixing screws.

• Disconnect the connector (4) and the antenna

cable (3).

890R100017

Installation

To install, follow the removal steps in the reverse order,
noting the following point:

8C–6

ENTERTAINMENT

Amplifier

Removal

1. Disconnect the battery ground cable.

2. Remove the amplifier (2) from the dash panel (4).

• Remove the two fixing nuts (3).

• Disconnect the connector (6).

3. Remove the Amplifier (2) from the BRKT (5).

• Remove the four fixing screws (1).

890R200044

Installation

To install, follow the removal steps in the reverse order,
noting the following point:

ENTERTAINMENT

8C–7

Speaker

Front Speaker

Removal

1. Disconnect the battery ground cable.

2. Pull the grille (1) to release the locks and then

remove it.

3. Remove four screws and disconnect the connector

(3) to remove the speaker (2).

890RX012

Installation

To install, follow the removal steps in the reverse order,
noting the following point:

Tweeter Assembly

Removal

1. Disconnect the battery ground cable.

2. Remove the front door trim pad (2).

• Refer to Front Window Regulator, Glass And

Glass Run in Body Structure section:

3. Remove the tweeter (1).

• Disconnect the connector.

635R100004

Installation

To install, follow the removal steps in the reverse order,
noting the following point:

Rear Door Speaker (LWB)

Removal

1. Disconnect the battery ground cable.

2. Remove the inside handle (3).

3. Remove the rear door trim pad (2).

• Refer to Rear Window Regulator, Glass And

Glass Run in Body Structure Section:

4. Remove the rear speaker (1).

• Disconnect the connector.

890R100015

Installation

To install, follow the removal steps in the reverse order,
noting the following point:


Content   ..  1624  1625  1626  1627   ..