Infiniti QX4 (R50). Manual - part 130
Trouble Diagnoses
=NBBT0018
DIAGNOSTIC TABLE
NBBT0018S01
NOTE:
For diagnosing electric problem, refer to EL-174 “POWER SUN-
ROOF” for details.
Check items (Components)
Wind deflector
Adjustment
Drain hoses
Weatherstrip
Link and wire
assembly
Reference page
Symptom
Excessive wind
noise
1
2
3
Water leaks
1
2
3
Sunroof rattles
1
4
2
3
Excessive opera-
tion noise
1
2
3
The numbers in this table mean checking order.
SBT331
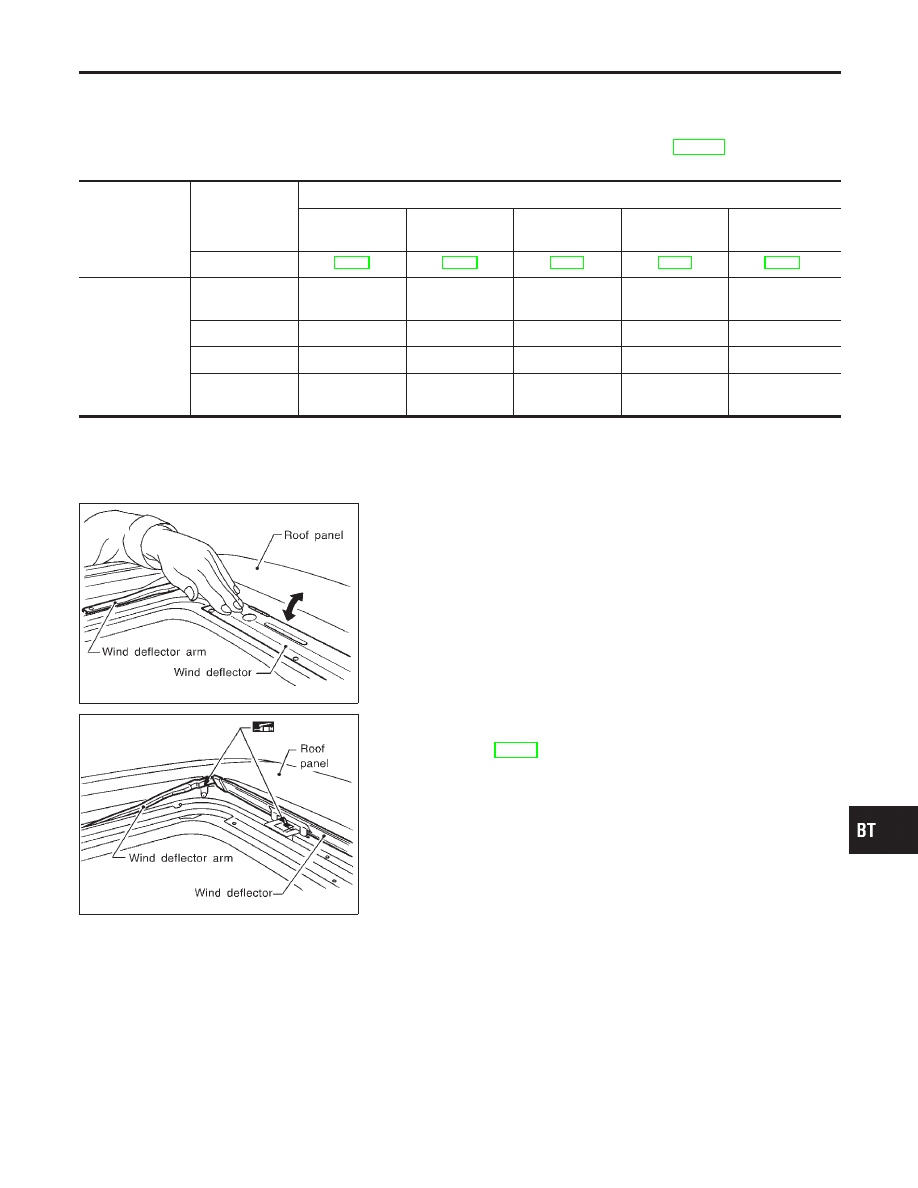
WIND DEFLECTOR
NBBT0018S02
1.
Open lid.
2.
Check visually for proper installation.
3.
Check to ensure a proper amount of petroleum jelly has been
applied to wind deflector connection points; apply if necessary.
SBT332
4.
Check that wind deflector is properly retracted by hand. If it is
not, remove and visually check condition. (Refer to removal
procedures, BT-45.) If wind deflector is damaged, replace with
new one. If wind deflector is not damaged, re-install properly.
GI
MA
EM
LC
EC
FE
AT
TF
PD
AX
SU
BR
ST
RS
HA
SC
EL
IDX
SUNROOF
Trouble Diagnoses
BT-49