Content .. 1123 1124 1125 1126 ..
Infiniti M35/M45 Y50. Manual - part 1125
PREPARATION
TF-7
C
E
F
G
H
I
J
K
L
M
A
B
TF
Commercial Service Tools
NDS000D7
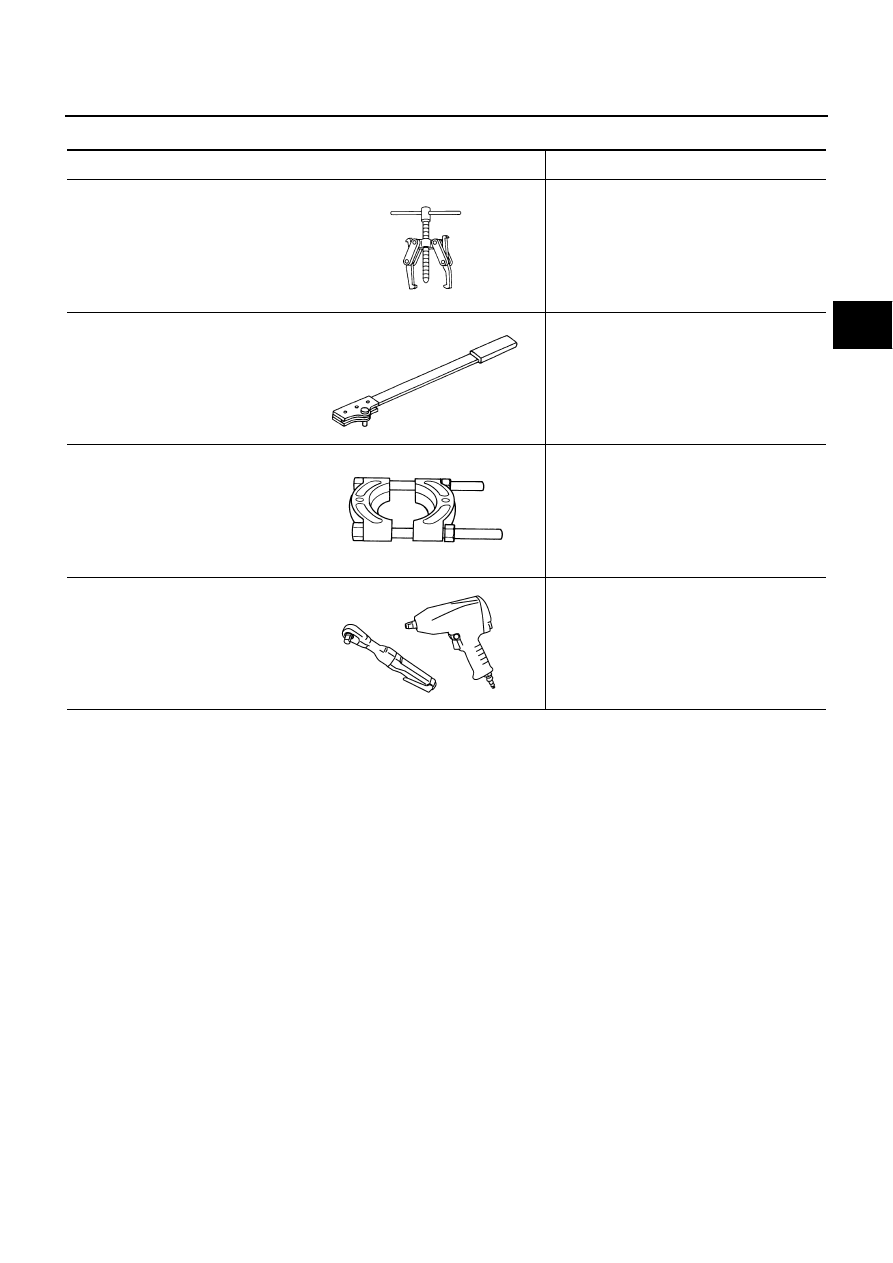
Tool name
Description
Puller
●
Removing companion flange
Flange wrench
●
Removing and installing self-lock nut
Puller
●
Removing front drive shaft front bearing
●
Removing front drive shaft rear bearing
Power tool
●
Loosening bolts and nuts
NT077
NT771
ZZB0823D
PBIC0190E