Infiniti EX35. Manual - part 510
DLK-254
< ON-VEHICLE REPAIR >
[INTELLIGENT KEY SYSTEM]
REAR DOOR LOCK
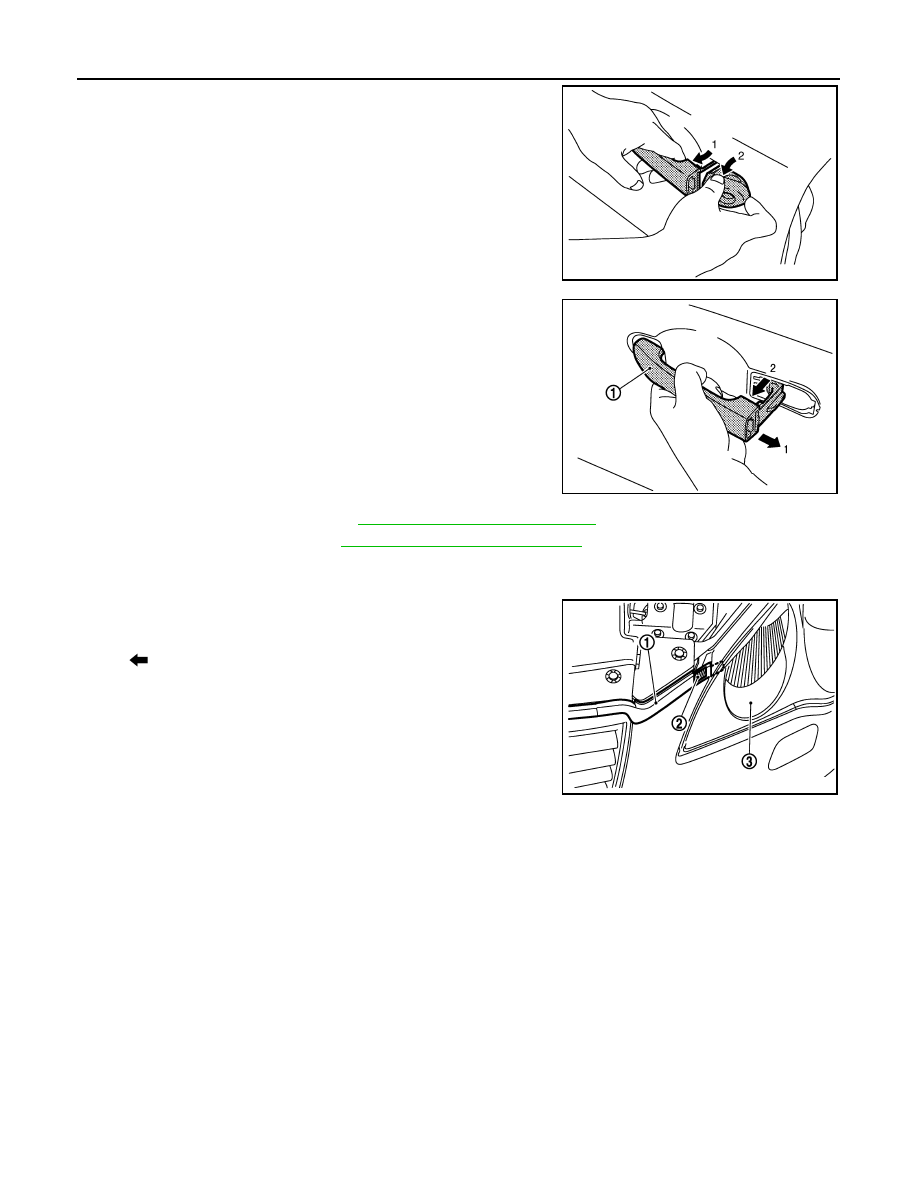
2.
While pulling outside handle, remove outside handle escutch-
eon.
3.
While pulling outside handle (1), slide toward rear of vehicle to
remove outside handle.
4.
Remove rear door finisher. Refer to
INT-17, "Removal and Installation"
.
5.
Remove sealing screen. Refer to
GW-23, "Removal and Installation"
.
6.
Fully close rear door glass.
7.
Remove front gasket and rear gasket.
8.
While pulling outside handle bracket, slide toward rear of vehicle
to remove outside handle bracket.
9.
Reach in to separate outside handle cable connection on outside handle bracket.
INSTALLATION
Install in the reverse order of removal.
CAUTION:
Check door open/close, lock/unlock operation after installation.
JMKIA0560ZZ
JMKIA0524ZZ
: Pawl
JMKIA2302ZZ