Great Wall Hover. Manual - part 38


  Index      Great Wall     Great Wall Hover - service repair manual


Search            copyright infringement  


Content   ..  36  37  38  39   ..


Great Wall Hover. Manual - part 38


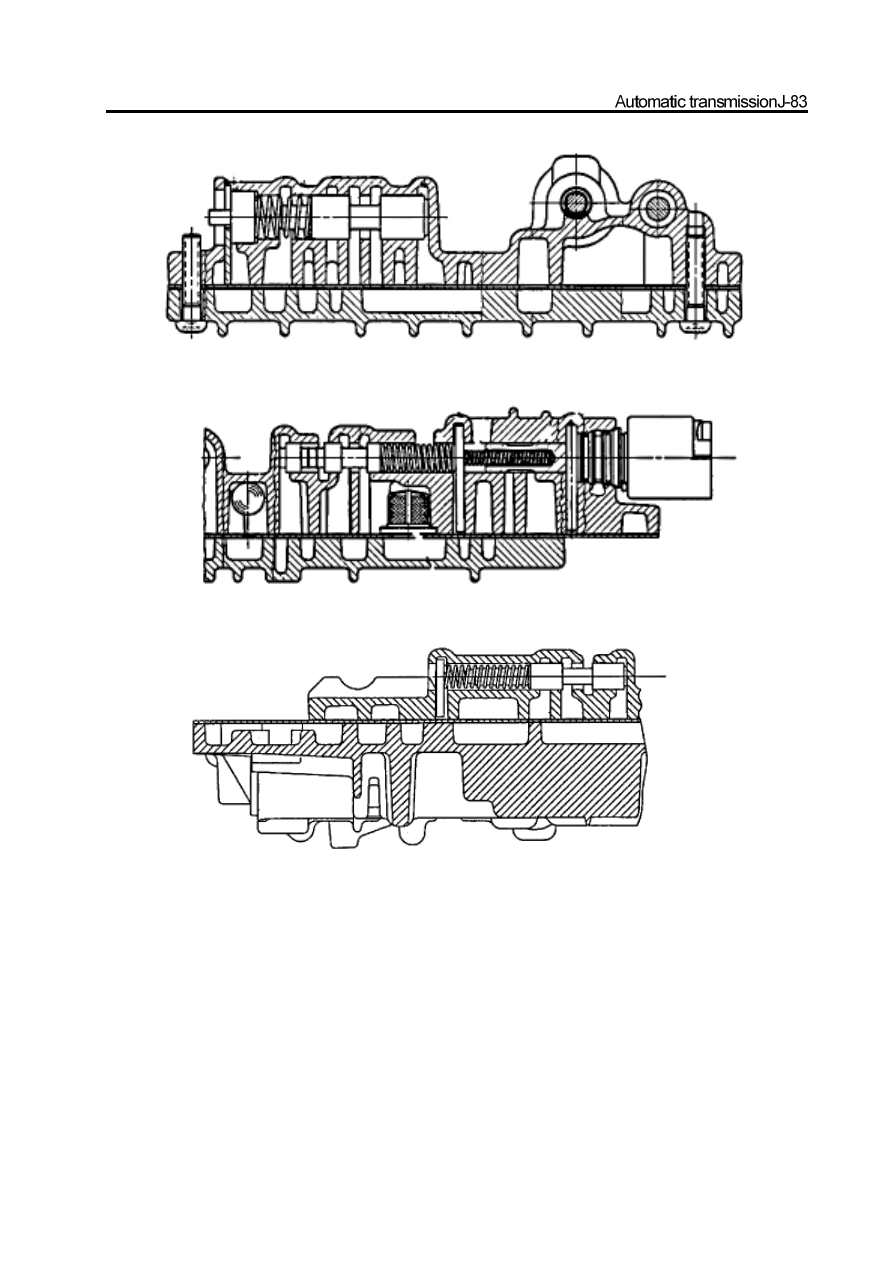
Figure 8.53   clutch combination regulating valve and solenoid 3

Figure 8.54   solenoid combination valve and solenoid 6

Figure 8.55   reverse lock valve

j.

Position the 3

rd

 feed ball (large nylon ) on the valve and solenoid supply valve filter, shown as Figure 8.54.

k. Check the separating disk for abrasion, repair or replace if necessary.

l.

Check the washer of upper and lower valve for damage, replace it if necessary

m. Install the upper shim of lower position valve.

n. Install the reverse lock valve, spring and fixed disc; ensure the correct installation of valve; shown as Figure 8.55.

o. Install 5 nylon balls on the upper valve, shown as Figure 8.46. Install the upper valve shim; install the separating disk on the

upper valve.

p. Lift the separating disk to the upper valve; prevent the detection ball from falling ; install the upper valve on the low pressure

valve. Tighten all screws. Refer to Figure 8.56.

Figure 8.56  The tighten sequence of valve bolt from upper to lower

q.    Install the solenoid valve 1, 2, 3, 4 and 6. Ensure the solenoid valve is clamped by the clip tightly and the bolt is tightened to

the specified torque.

Caution:

The wire harness ground wire port is protected by the solenoid valve fixing plate

r. Install the solenoid valve 5. Ensure the solenoid valve close to valve through the clip.

s. When install the valve with line pressure relief valve, it should install the tapering port of line pressure relief valve, then install

and fix the spring and disc.

t. Install the pin spring; ensure the screw is tightened to the specified torque. Check the damaged spring.

u. Install the manual gear shift valve .Refer to Figure 8.57.

Figure 8.57  Manual gear shift valve

v. It should ensure the position lever is in the position of manual 1

st

-Gear before install the valve on the transmission.

     w.   Adjust the valve on the transfer case and install the connection of manual-operated valve steering column and manual-operated

 valve. Make the long end of connecting object is proper for the 1

st

 manual-operated valve. Install the protecting spring and

 tighten it according to the specification. Refer to Figure 8.58.

x. Check the positioning drum and manual-operated valve .

Caution:

All hardware must be installed and meet the specification.

y. Connect the wire of connecting solenoid according to the following details:

Solenoid valve 1 

red

  Solenoid valve 2 

blue

  Solenoid valve 3 

yellow

  Solenoid valve 4 

orange

  Solenoid valve 5 

green

  Solenoid valve 6

purple

  Refer to Figure 8.58.

Figure 8.58  Tighten sequence of bolt form valve to box

15. Installation of oil filter and oil bottom shell

Caution:

a.

It should replace the filter when a important mechanical component is damaged and assemble a transmission.

b.

To assist the assembly of sealing gasket groove, please coat the surface of oil pan and washer with thin Vaseline to

ensure the sealing gasket is in the groove. Do not rotate the washer, otherwise it will cause the distort or incline of

          groove.

Figure 8.59  Bushing of engine oil filter

Figure 8.60  Installation of engine oil filter

Figure 8.61  Tightening sequence of oil pan bolt

It should abide by follows when assemble the oil filter and oil sump tank (Refer to Figure 8.59and Figure 8.60):

a. Use the automatic transmission liquid to lubricate the spring ring of gasket of lubrication oil.

b. Install the oil filter on the valve carefully. During the installation, the socket must be inclined. Refer to Figure 8.59.

c. Fix the oil cleaner assembly.

d.   Check whether the magnet is installed in the recess on the corner of oil bottom shell.

 e.   Assemble the groove on the oil bottom shell. The groove must be bent during the installation.


Content   ..  36  37  38  39   ..