Great Wall Hover. Manual - part 13
47. Remove the 3rd/4th-Gear shift fork
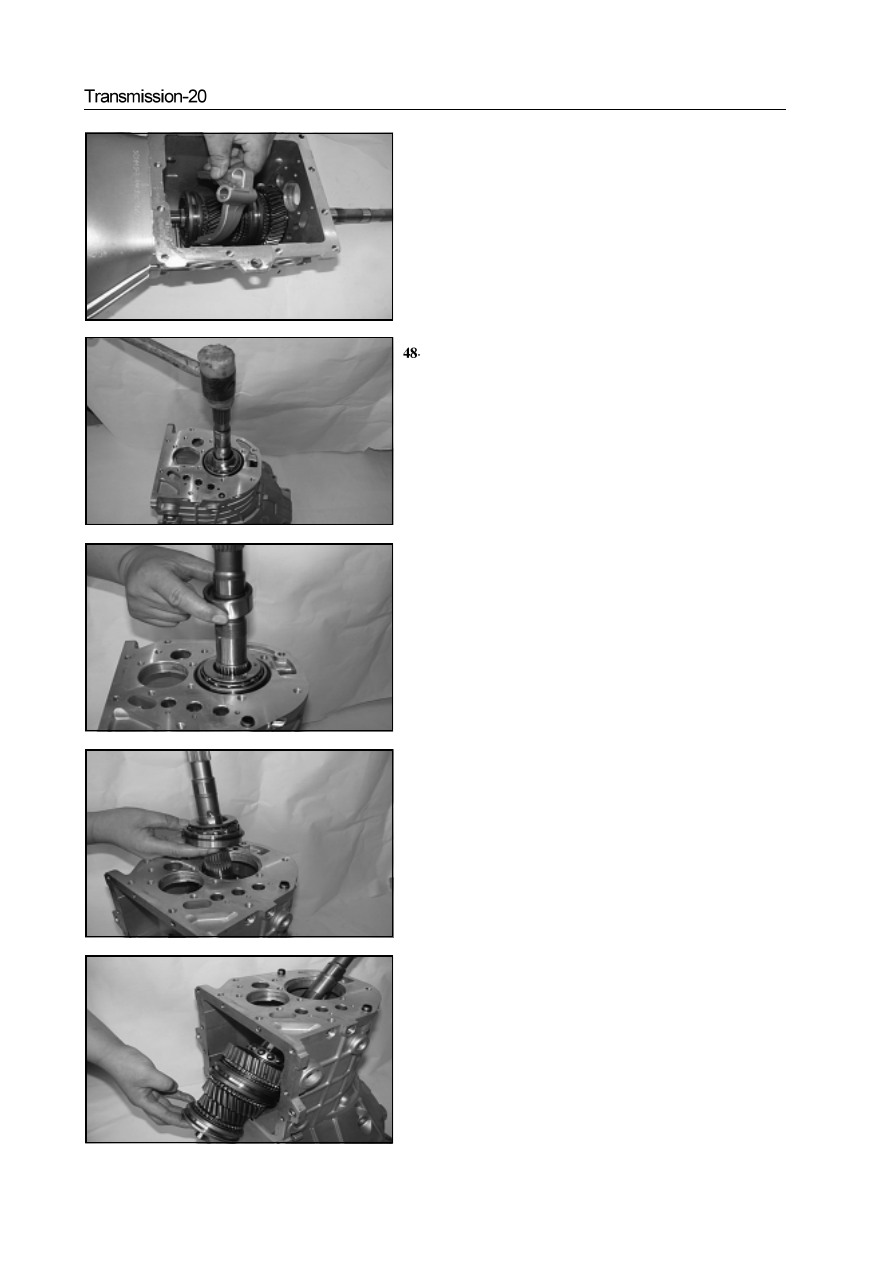
Remove the second shaft assembly
a. Use the rubber hammer to knock the second shaft
b. Remove the needle bearing bushing of reverse driven gear
c. Remove the double inner-race ball bearing assembly
d. Remove the second shaft assembly