Content .. 1421 1422 1423 1424 ..
Dodge Durango (HB). Manual - part 1423
The sun roof features consists of:
•
Sun roof glass
•
Sun roof sun shade
The sunroof power sliding glass panel and sunshade can be positioned anywhere along its travel, rearward of glass
panel front edge.
The sunroof is electrically operated from a switch located in the overhead console. To operate the sunroof the igni-
tion switch must be in the Accessory or On/Run position. The open/close switch is a rocker style design that open
or close the sunroof; the vent switch is a push-button design. The ’express-open’ function of the motor is triggered
by a single quick press-and-release of the ’open’ button. This causes the glass panel to retract to the comfort-open
position. The wind deflector will deploy as the glass panel retracts. Quickly pressing and releasing the ’open’ button.
a second time will cause the glass panel to retract fully under the roof. The operator can control the position of the
glass panel by pressing and holding the open button until the glass panel has reached the desired position. Neither
the close nor vent buttons have ’express’ functionary. These buttons must be held until the glass panel has reached
the desired position. The sunroof will also operate for up to fifteen minutes after the ignition key is turned off for
customer comfort and convenience while parking.
DIAGNOSIS AND TESTING
SUNROOF
Refer to SUNROOF DIAGNOSIS CHART for possible causes. Before beginning sunroof diagnostics verify that all
other power accessories are in proper operating condition. If not, a common electrical problem may exist. Refer to
Wiring Diagrams, in this publication for circuit, splice and component descriptions. Check the condition of the circuit
protection (20 amp circuit breaker in the Junction Block). Inspect all wiring connector pins for proper engagement
and continuity. Check for battery voltage at the power sunroof controller, refer to Wiring Diagrams, for circuit infor-
mation. If battery voltage of more than 10 volts is detected at the controller, proceed with the following tests (the
controller will not operate at less than 10 volts).
Before beginning diagnosis for wind noise or water leaks, verify that the problem was not caused by releasing the
control switch before the sunroof was fully closed. The sunroof module has a water-management system. If how-
ever, the sunroof glass is in a partial closed position, high pressure water may be forced beyond the water man-
agement system boundaries and onto the headlining.
Every time the sunroof module loses power it must be initialized. To initialize the motor, connect power to the sun-
roof and press the close-button until the glass panel has reached the full-close position. There will be a slight “kick”
of the glass panel when initialization occurs if the glass panel starts in the full-close position. The “kick” is accom-
panied by a soft tick noise. This is the indication that the sunroof module is initialized
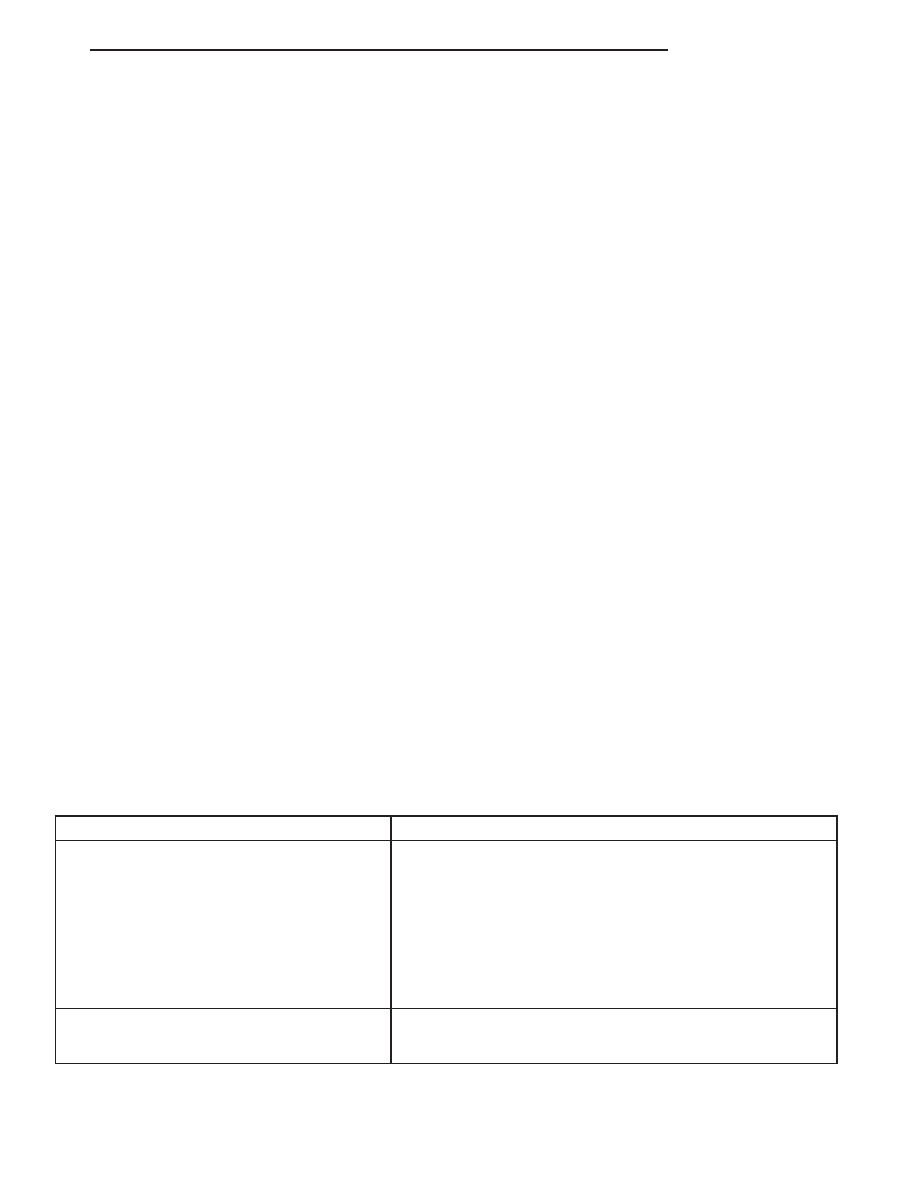
SUNROOF DIAGNOSIS CHART
SYMPTOM
POSSIBLE CAUSE
Sunroof motor inoperative.
Faulty control switch.
Faulty circuit ground between sunroof module, control switch,
and body harness.
Faulty power circuit between sunroof module, control switch,
and body harness.
Faulty sunroof drive motor.
Faulty sunroof module.
Audible whine when switch is depressed,
sunroof does not operate.
Faulty sunroof drive motor.
Binding cable.
HB
SUNROOF
23 - 205