DAF LF45, LF55 Series. Manual - part 533
7
LF45/55 series
Inspection and adjustment
FRONT AXLE, F60
2-11
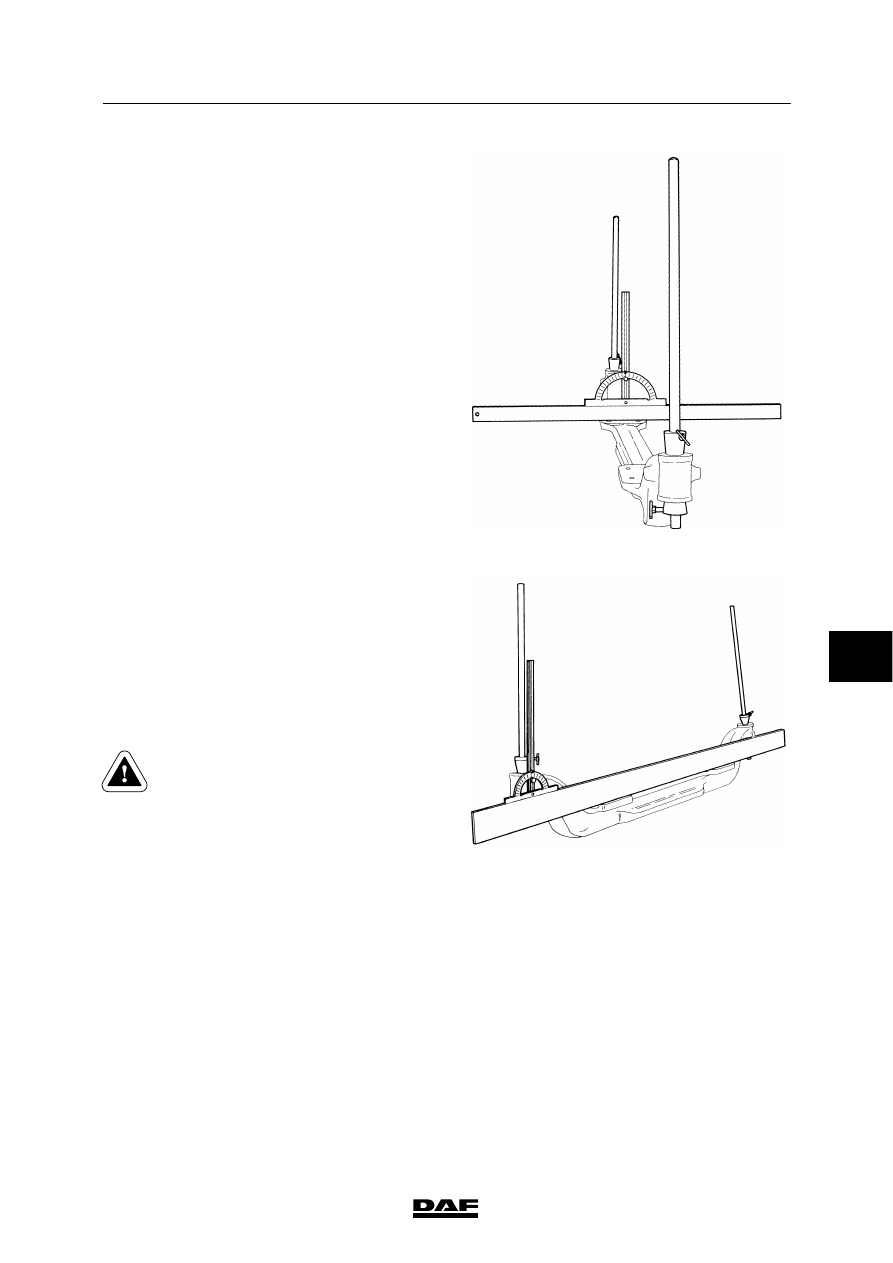
4.
Place the two gauge bars in the swivel axle
holes.
Place a straight edge with a protractor on
the spring seat. Measure the angle of the
gauge bars relative to the spring seats. The
angle measured should be 90
_.
S7 00 149
5.
Measure the king pin inclination (KPI) by
placing a straight edge with a protractor on
the spring seats.
By placing the straight edge of the
protractor parallel to the gauge bar, the
angle can be read. See “Technical data” for
the correct angle.
6.
If a deviation is found during one of the
checks, the axle housing must be replaced.
Straightening of the front axle
housing is not permitted. This could
affect the strength of the materials.
S7 00 150
7
ᓻ 200322