DAF LF45, LF55 Series. Manual - part 254
 

  Index      DAF     DAF LF45, LF55 Series - service repair manual


Search            


Content   ..  252  253  254  255   ..


DAF LF45, LF55 Series. Manual - part 254


©

 200508

3-9

Removal and installation

EATON FS/6309A GEARBOX

ΛΦ45/55 series

3

6

1.

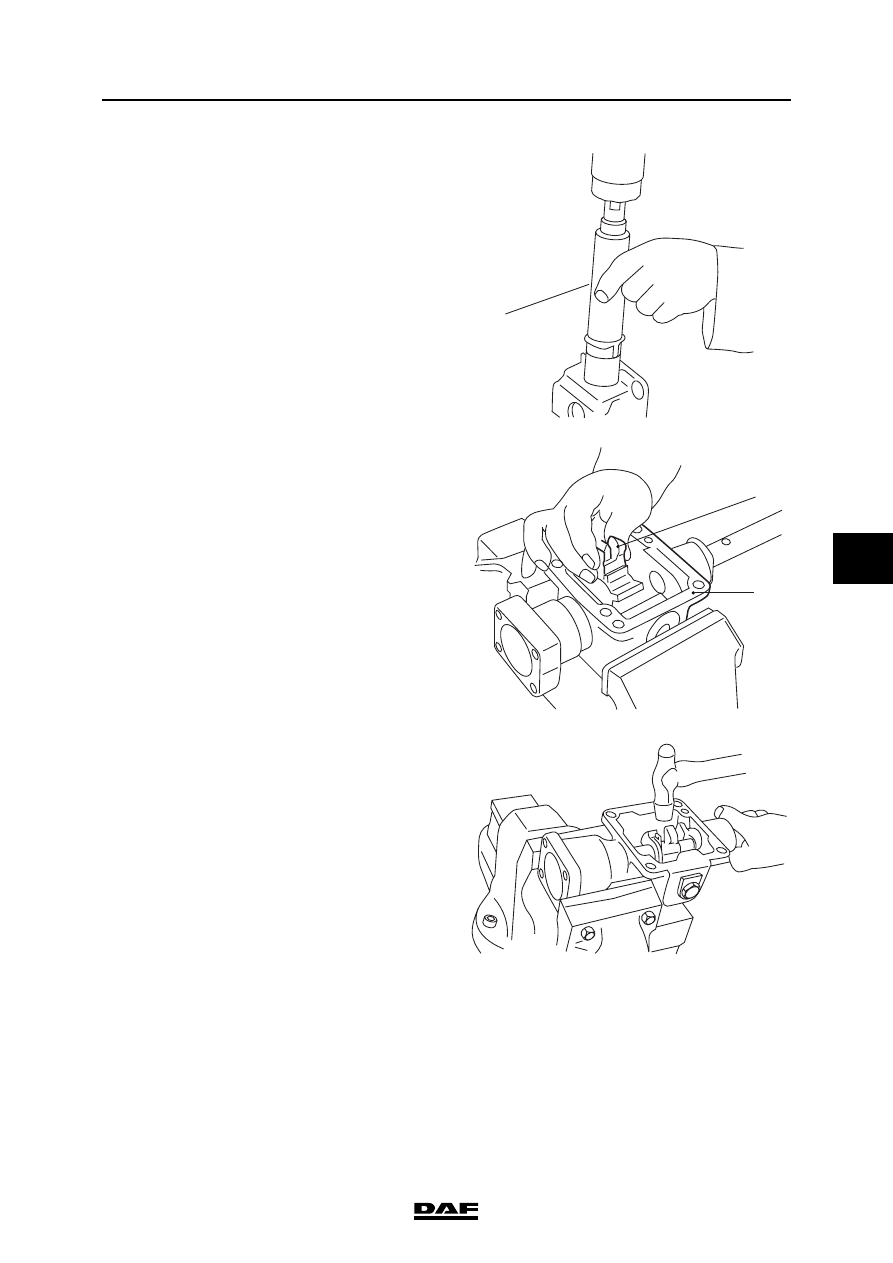
Fit a new oil seal ring and, if necessary, new 

bushes (4) and (9) using special tool 

(DAF no. 1329352).

2.

Place the selector finger (18) in the selector 

shaft housing (15) with the long groove and 

the hole for the pin (19) pointing towards the 

rear.

3.

Fit the selector shaft (17) into the selector 

shaft housing.

4.

Make sure that the holes in the selector 

finger and the selector shaft are aligned and 

fit a new pin (19).

5.

Fit the spring clip (10) and a spring holder 

(11) onto the selector shaft.

V3 00 498

V3 00 501

18

15

V3 00 514

EATON FS/6309A GEARBOX

3-10

©

 200508

Removal and installation

6

ΛΦ45/55 series

3

6.

Fit the springs (12), a spring holder (11) and 

the spring clip (10) onto the selector shaft.

7.

Put a new gasket in the end cover (14) and 

attach the cover. Tighten the attachment 

bolts to the specified torque. See "Technical 

data".

8.

Fit the retaining pin (6) and the retaining 

spring (7) and put a new gasket in the 

retaining cover (5) before fitting that as well. 

Tighten the attachment bolts to the specified 

torque. See "Technical data".

9.

Fit the rubber sleeve (2).

10. Tighten the bleeder (20) to the specified 

torque. See "Technical data".

11. Fit the bleed control valve and pin (16) and 

tighten to the specified torque. See 

"Technical data".

12. Fit the selector shaft housing onto the 

gearbox using the specified locking 

compound and tighten the attachment bolts 

to the specified torque. See 

"Technical data".

13. Install the shifting arm in the correct position 

on the selector shaft and tighten the lock nut 

to the specified tightening torque. See 

"Technical data".

V3 00 506

11

12

V3 00 547

6

7

V301006

©

 200508

4-1

Draining and filling

EATON FS/6309A GEARBOX

ΛΦ45/55 series

3

6

4. DRAINING AND FILLING

4.1 DRAINING AND FILLING GEARBOX

To prevent skin injury, avoid 

unnecessary contact with the 

drained oil.

Draining gearbox
1.

Place the vehicle on a level and horizontal 

surface.

Note:

Drain the gearbox at operating temperature.

2.

Remove the combined drain plug/oil strainer 

(4) and level check/filler plug (1) and drain 

the oil.

3.

Clean the oil strainer (4) in a suitable solvent 

and dry thoroughly.

Filling gearbox
1.

Check and replace the O-ring (3) and the 

sealing ring (2) if necessary.

2.

Fit the combined drain plug/oil strainer, 

tightening it to the specified torque; see 

"Technical data".

3.

Fill the oil through level check/filler opening 

(1) until the oil reaches the rim of the level 

check/filler opening.

4.

Fit the level check/filler plug, tightening it to 

the specified torque; see "Technical data".

}

1

2

3

4

V3 00 376

EATON FS/6309A GEARBOX

4-2

©

 200508

Draining and filling

6

ΛΦ45/55 series

3


Content   ..  252  253  254  255   ..