BMW 3 (E46). Manual - part 197
 

  Index      BMW     BMW 3 (E46) - service repair manual 2006 year


Search            


Content   ..  195  196  197  198   ..


BMW 3 (E46). Manual - part 197


Check mirror function before
installing covering parts.

Tightening torque

Outside mirror to
door (M6)

6 Nm (4.5 ft-lb)

510-3


Bumpers


Front bumper
assembly

1

-

Impact absorber

2

-

Spacer

3

-

Cap

4

-

Support bracket

5

-

Bumper bracket
bolt

tighten to 41 Nm (30
ft-lb)

6

-

Protective
rubber strip

7

-

License plate
bracket

8

-

Tow eye cover

9

-

Bumper cover

10

-

Carrier bumper

11

-

Grill

12

-

ASA bolt

tighten to 41 Nm (30
ft-lb)

13

-

Mounting sleeve


Front bumper, removing and
installing

 -

Raise and properly support vehicle.

WARNING!

Make sure that the car is firmly
supported on jack stands designed for
the purpose. Place the jack stands
beneath a structural chassis point. Do
not place jack stands under
suspension parts.

 -

Working underneath car, remove
screws from left and right side
corner trim, then remove trim.

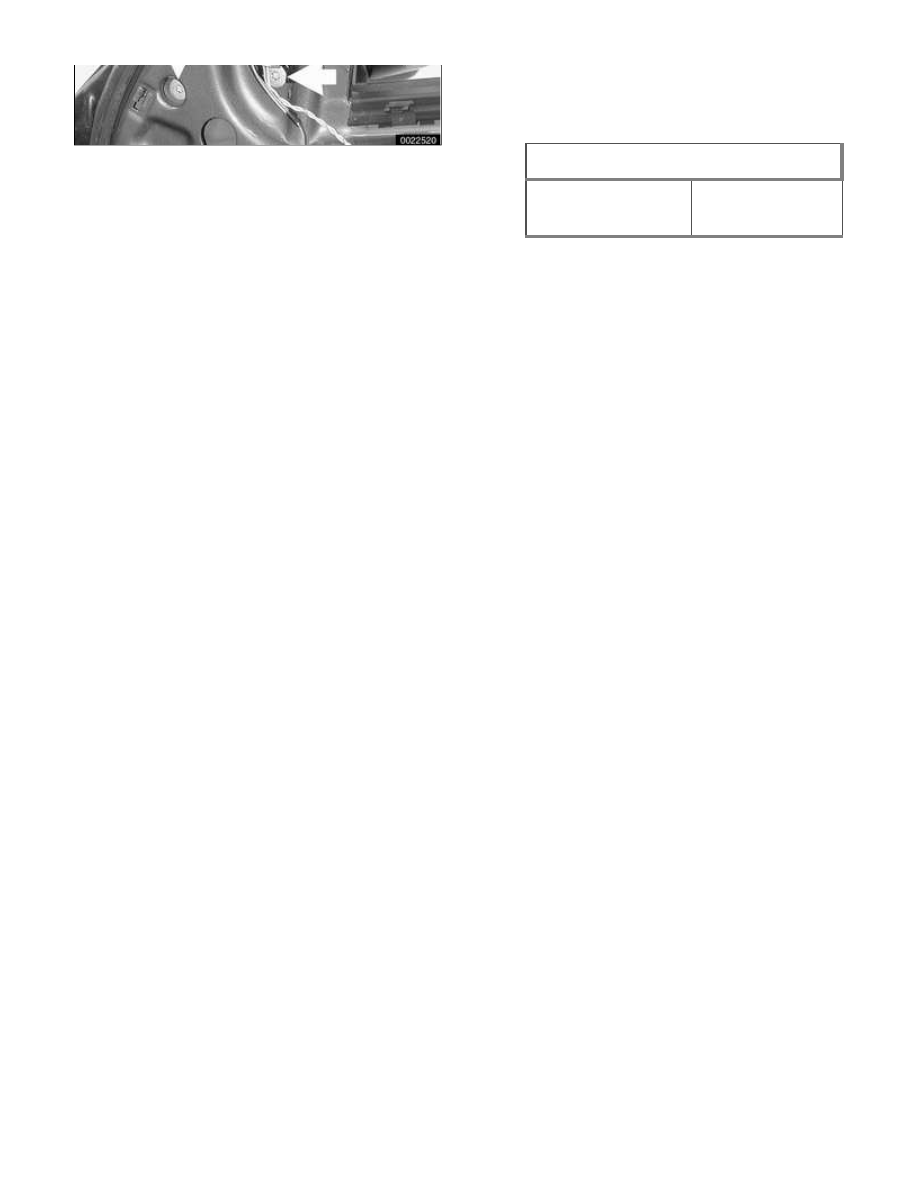
Remove bumper cover retaining screws
(arrows).

Remove screws (arrows) retaining
bumper bar to impact absorbers on left
and right sides.

 -

Slide bumper assembly out a few
inches and disconnect the following
connections, if applicable:

Electrical harness connectors at fog
light assemblies.

Electrical harness connector at
signal horn.

Electrical harness connectors at

outside temperature sensor at rear
of left side of bumper and
temperature switch at rear of right
side of bumper.

 -

Slide bumper straight off side
brackets.

 -

Installation is reverse of removal,
noting the following:

Slide side brackets on bumper and
body carefully together.

Make sure gap between body and
bumper is set to specifications,
adjust height as necessary. See  
 

Bumper height, adjusting

.

Tightening torque

Bumper to impact
absorber (M10)

41 Nm (30 ft-lb)


Front bumper impact absorber,
replacing

The bumper mounting bracket and
impact absorber mounting hardware are
accessible with the front bumper
removed, as described above.

Front bumper impact absorber mounting
nuts (A) and drill out pop rivets (B).

Note:

Install the bumper bracket bolt with
thread locking compound such as
Loctite®270 or equivalent.


Content   ..  195  196  197  198   ..