BMW 3 (E46). Manual - part 180
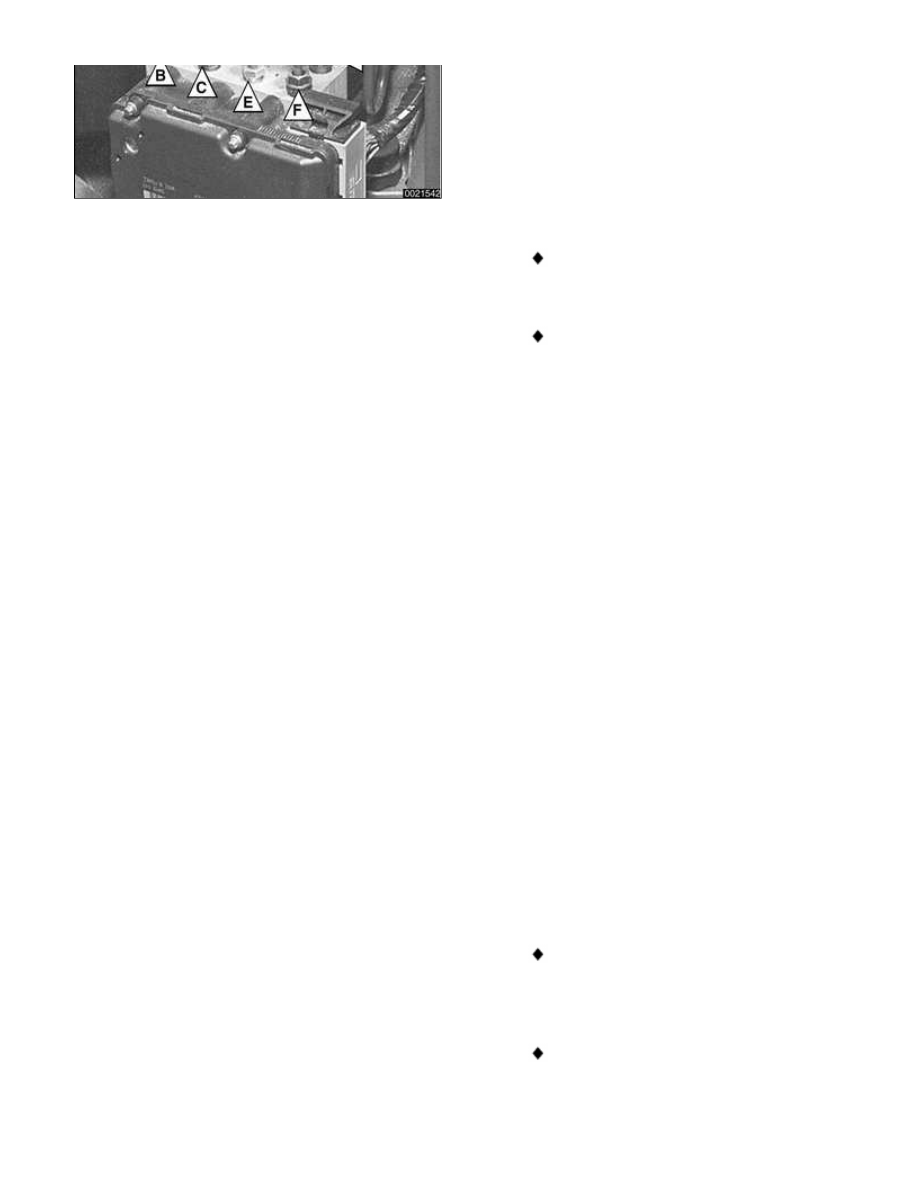
C - Right front
D - Rear from master cylinder
E - Right rear
F - Left rear
Remove brake fluid input and
output lines.
Seal open brake fluid lines and
bores with suitable plugs to
prevent contamination.
-
Carefully remove brake lines from
any retainers or grommets that
may be in the way of hydraulic
unit/control module removal.
CAUTION!
Make sure not to bend or kink brake
lines while separating rubber
grommet from retainer.
-
Remove mounting screws of
hydraulic unit housing and remove
hydraulic unit/control module from
engine bay.
-
If necessary, separate hydraulic
unit from control module.
-
Installation is reverse of removal,
noting the following:
Check rubber mount for hydraulic
unit/control module. Replace if
damaged.
Make sure all nuts, fluid
couplings, thread bores and
mating surfaces are clean.