BMW 3 (E46). Manual - part 143
stands designed for the purpose. A
floor jack is not adequate support.
-
Remove front wheel.
-
Remove splash shield from below
engine compartment.
-
If working on right side, remove
right side heat shield from front
axle support.
Remove ABS sensor (arrow) from
steering arm.
-
Unclip brake hose from mounting
bracket.
-
Unbolt brake caliper and suspend
from body using stiff wire.
-
On vehicles equipped with Xenon
lighting, detach headlight vertical
aim sensor from control arm.
-
Unfasten stabilizer link from
stabilizer bar.
-
Remove collar nut from drive axle
at steering arm.
-
Using BMW special tool 33 2
111/116/117, or similar tool, press
outboard end of axle out from
drive flange at steering arm.
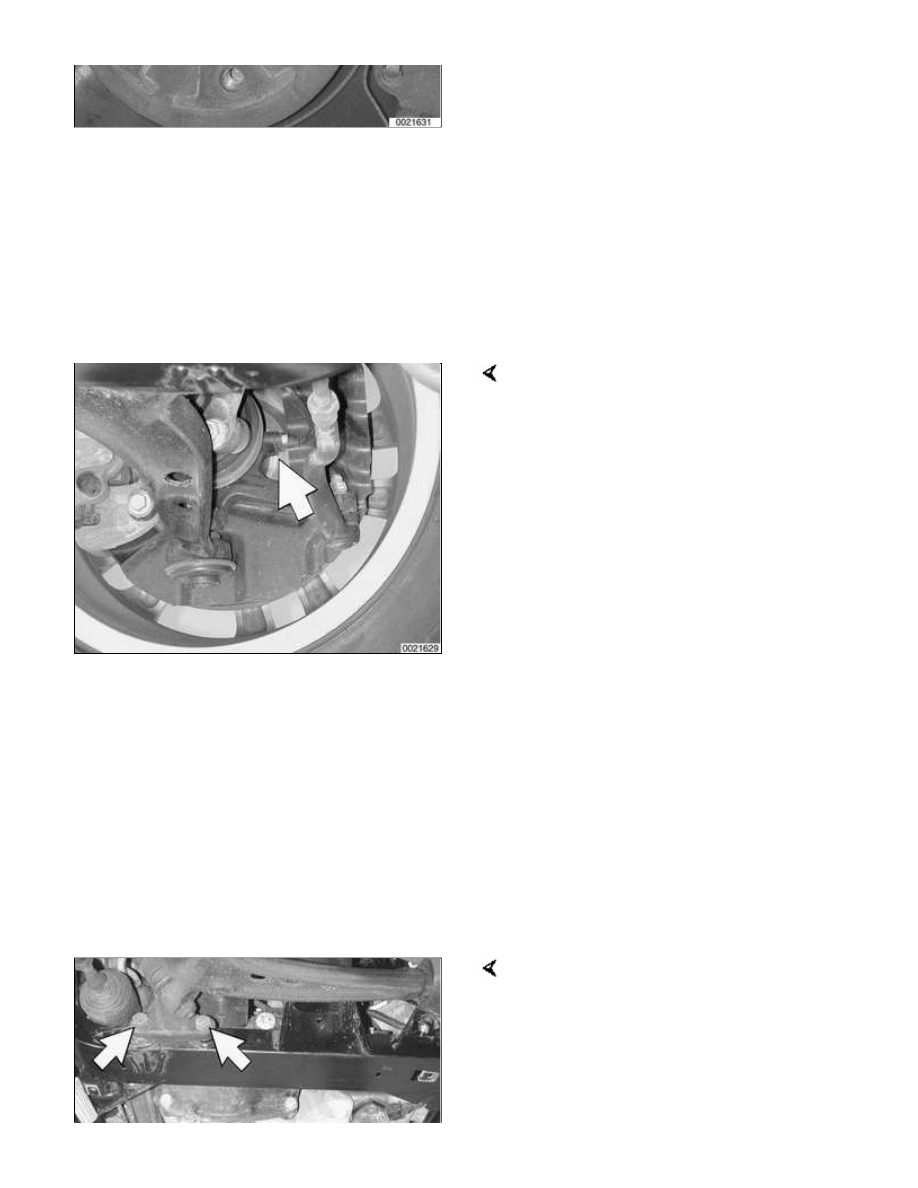
Remove inner ball joint mounting
bracket bolts (arrows) from subframe.