Snowmobile Arctic Cat (2008 year). Manual - part 151


  Index      Snowmobiles / ATV     Snowmobile Arctic Cat - service manual 2008 year


Search            


Content   ..  149  150  151  152   ..


Snowmobile Arctic Cat (2008 year). Manual - part 151


8-7

8

CM002A

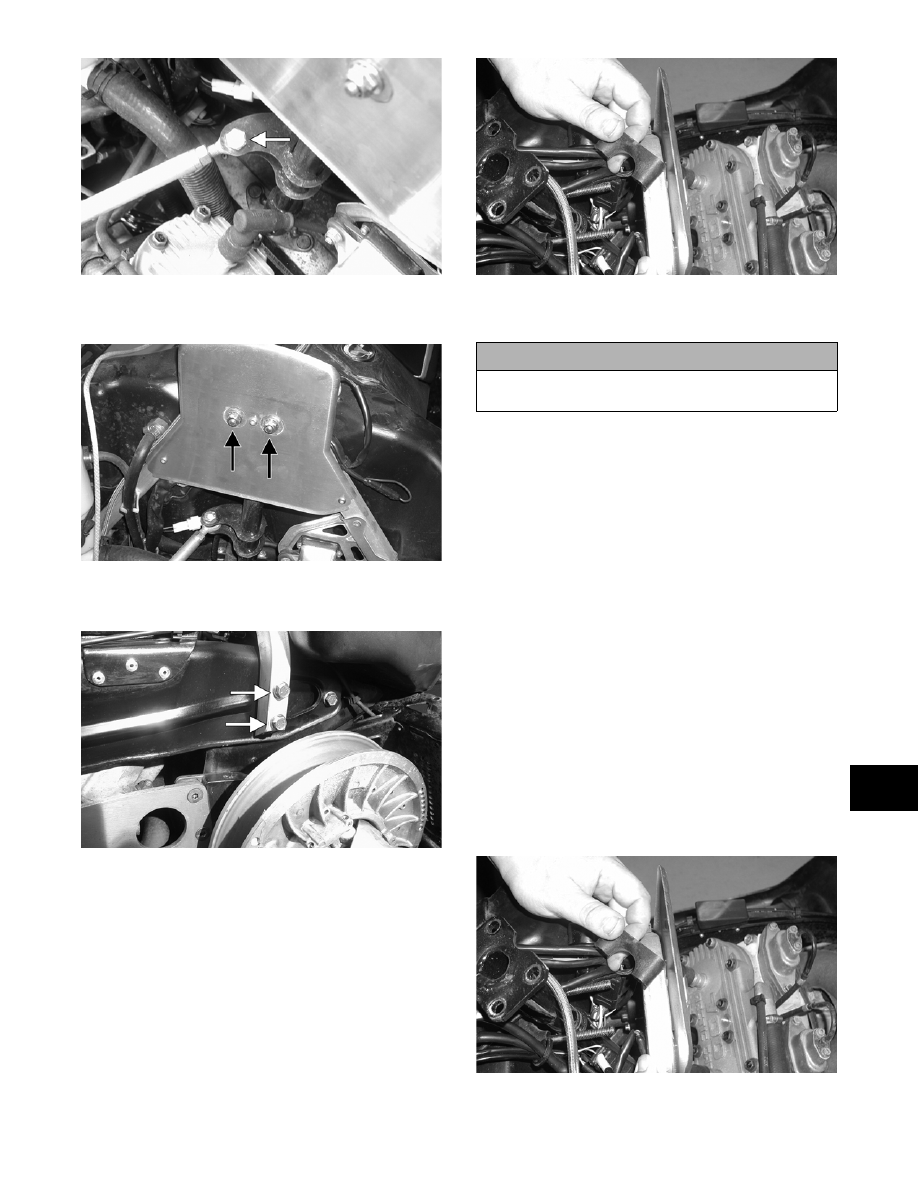
8. Remove the two lock nuts from the steering post

mounting block. 

CM003A

9. Remove the two lower cap screws securing the

steering support to the chassis. 

CM004B

„NOTE: Removing only the two lower cap screws
will allow the steering support to be moved for-
ward so the mounting block and steering post can
be removed.

CM005

10. Remove the steering post. Account for all mount-

ing hardware.

INSPECTING

„NOTE: Whenever a part is worn excessively,
cracked, or damaged in any way, replacement is
necessary.

1. Inspect all welded areas for cracks or deteriora-

tion.

2. Inspect the steering post and steering-post retain-

ing plate for cracks, bends, or wear.

3. Inspect the adjuster caps and mounting block for

cracks or wear. 

INSTALLING

1. Carefully slide the steering post into position in

the chassis. Be careful not to hook any wires or

hoses. 

2. After the steering post is in position on the chassis,

install the steering support and mounting blocks to

the gas tank with two lock nuts taking care not to

pinch any wiring.

CM005

3. Install the two lower cap screws to the steering

support. Tighten to 20 ft-lb.

! CAUTION

Care must be taken not to hook any wires or hoses
when removing the steering post.

8-8

„NOTE: If for any reason the upper cap screw
and lock nut are removed from the right-side of the
steering support, make sure to install the ground
wire to the cap screw.

4. Place the steering tie rod into position on the steer-

ing post. Secure with the cap screw (threads

coated with green Loctite #609) and lock nut.

Tighten the lock nut to 30 ft-lb.

FC205

5. Secure the console to the gas tank with the 11 torx-

head cap screws and four lock nuts. Tighten

securely; then install the ignition switch.

6. Secure the adjuster block to the steering post with

four cap screws and lock nuts. Tighten to 10 ft-lb.

7. Secure the wiring and brake hose to the steering

support with the routing clips.

8. Using a piece of cardboard to protect the hood and

belly pan, tip the snowmobile on its PTO-side.

9. From beneath the front end, secure the steering

post to the steering post stop with the washer and

lock nut (threads coated with green Loctite #609).

Tighten the lock nut to 30 ft-lb.

FC199

Steering Post

(F-Series/T-Series)

REMOVING

1. Open the hood; then remove the two torx-head

screws securing the console to the headlight sup-

port bracket.

741-722A

2. Lift the rearward end of the console and discon-

nect the main/hood harness connector; then

remove the console.

3. On the standard model, remove the four lower

Allen-head cap screws securing the handlebar/

riser assembly to the steering post; then lay the

handlebar/riser assembly aside. Account for the

lower adjuster caps.

4. On the LXR/Sno Pro, remove the two screws from

the handlebar pad; then remove the self-tapping

screw securing the retainer to the riser block

assembly. Remove the retainer.

ZJ154A

5. On the LXR/Sno Pro, unlock the cam lever and

unthread the lever from the lock rod (A); then

remove the lock rod and account for the two bot-

tom cap springs (B).

8-9

8

ZJ155A

6. Remove the four cap screws securing the upper

bearing bracket to the upper support plate.

FS182A

7. Remove the springs securing the expansion cham-

ber; then remove the expansion chamber from the

engine compartment. Account for the rubber

exhaust bumper.

FS203A

8. Remove the lock nut securing the steering tie rod

to the steering post.

ZJ156A

9. Remove the lock nut and washer securing the

steering post to the chassis; then carefully guide

the steering post out of the chassis.

ZJ157A

„NOTE: For installing purposes, note the number
of washers between the steering post and the chas-
sis.

ZJ156B

INSPECTING

„NOTE: Whenever a part is worn excessively,
cracked, or damaged in any way, replacement is
necessary.

1. Inspect all welded areas for cracks or deterioration.

2. Inspect the steering post and steering-post brackets

for cracks, bends, or wear.

! CAUTION

Do not rotate the handlebar to a position that allows
air to enter the brake system.

8-10

3. Inspect the bearing halves, bearing caps, and bear-

ing housings for cracks or wear.

INSTALLING

1. Carefully install the steering post into the chassis;

then with the number of washers installed on the

stud of the post as noted during removing, secure

the steering post to the chassis with the lock nut

(threads coated with green Loctite #609). Tighten

to 35 ft-lb.

ZJ157A

2. Install the steering tie rod to the steering post and

secure with the lock nut. Tighten to 35 ft-lb.

3. Secure the bearing bracket/steering post assembly

to the upper support plate with the bracket plates

and cap screws (coated with blue Loctite #243).

Tighten the cap screws to 8 ft-lb.

FS182A

„NOTE: When installing the bracket plates, the
wider end of the plate must be directed up.

FS200A

4. Place the rubber exhaust bumper into position on

the air silencer.

FS203A

5. Place gaskets on the resonator and exhaust mani-

fold; then install the expansion chamber. Secure

the chamber to manifold and upper frame with the

springs.

6. On the standard model, place the handlebar/riser

assembly onto the steering post; then secure to the

steering post with the lower adjuster cap and four

Allen-head cap screws. Tighten cap screws

securely.

„NOTE: Steps 7-11 are for the LXR/Sno Pro mod-
els.

7. Install the handlebar riser block assembly to the

steering post; then secure the assembly with the

retainer and set screw.

ZJ154A


Content   ..  149  150  151  152   ..