Volvo V40 Cross Country (2018 year). Instruction - part 6
INSTRUMENTS AND CONTROLS
}}
* Option/accessory.
107
automatically returns to its original position after
a short time.
The function can be activated/deactivated in the
menu system MY CAR, see MY CAR (p. 113).
Automatic retraction when locking
*
When the car is locked/unlocked with the remote
control key the door mirrors are automatically
retracted/extended.
The function can be activated/deactivated in the
menu system MY CAR, see MY CAR (p. 113).
Resetting to neutral
Mirrors that have been moved out of position by
an external force must be reset electrically to the
neutral position for electric retracting/extending
to work correctly:
1. Retract the mirrors with the L and R buttons.
2. Fold them out again with the L and R but-
tons.
3. Repeat the above procedure as necessary.
The mirrors are now reset in neutral position.
Retractable power door mirrors
*
The mirrors can be retracted for parking/driving
in narrow spaces:
1. Depress the L and R buttons simultaneously
(key position must be at least I).
2. Release them after approximately 1 second.
The mirrors automatically stop in the fully
retracted position.
Fold out the mirrors by pressing down the L and
R buttons simultaneously. The mirrors automati-
cally stop in the fully extended position.
Home safe and approach lighting
The lamp on the door mirrors illuminates when
approach lighting (p. 102) or home safe lighting
(p. 102) is selected.
Related information
•
Rearview mirror - interior (p. 108)
•
Windows and door mirrors - heating (p. 107)
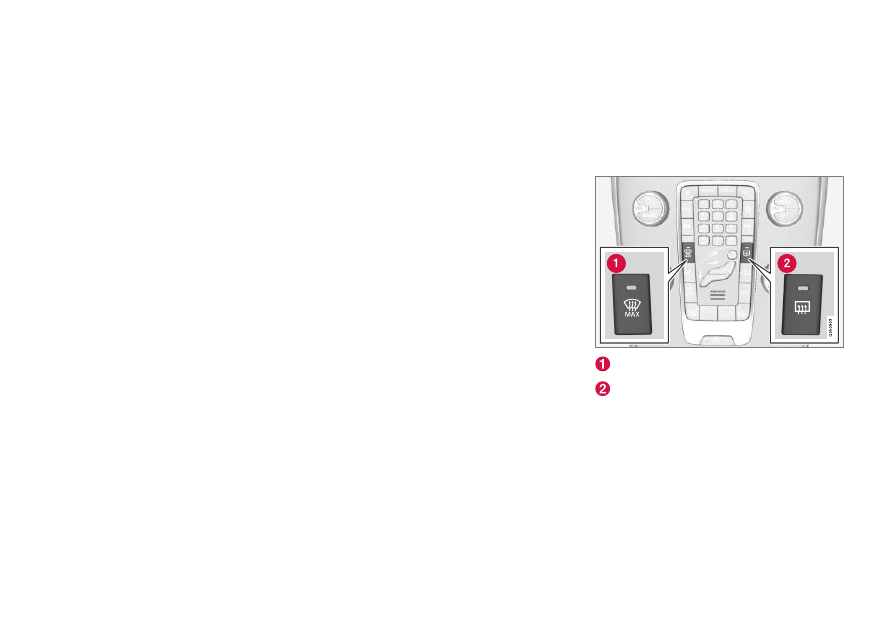
Windows and door mirrors - heating
The defroster is used to quickly remove misting
and ice from the windscreen, rear window and
door mirrors.
Heated windscreen
*, rear window and
door mirrors
Heating, windscreen
Heating, rear window and door mirrors
The function is used to remove ice and misting
from the windscreen, rear window and door mir-
rors.
One press of the respective button starts the
heating. The light in the button indicates that the
function is active. Switch off the heating as soon
as the ice/misting is cleared in order not to load
the battery unnecessarily. However, the function
is switched off automatically after a certain time.