Volkswagen Golf / Golf GTI / Golf Variant. Manual - part 386
14
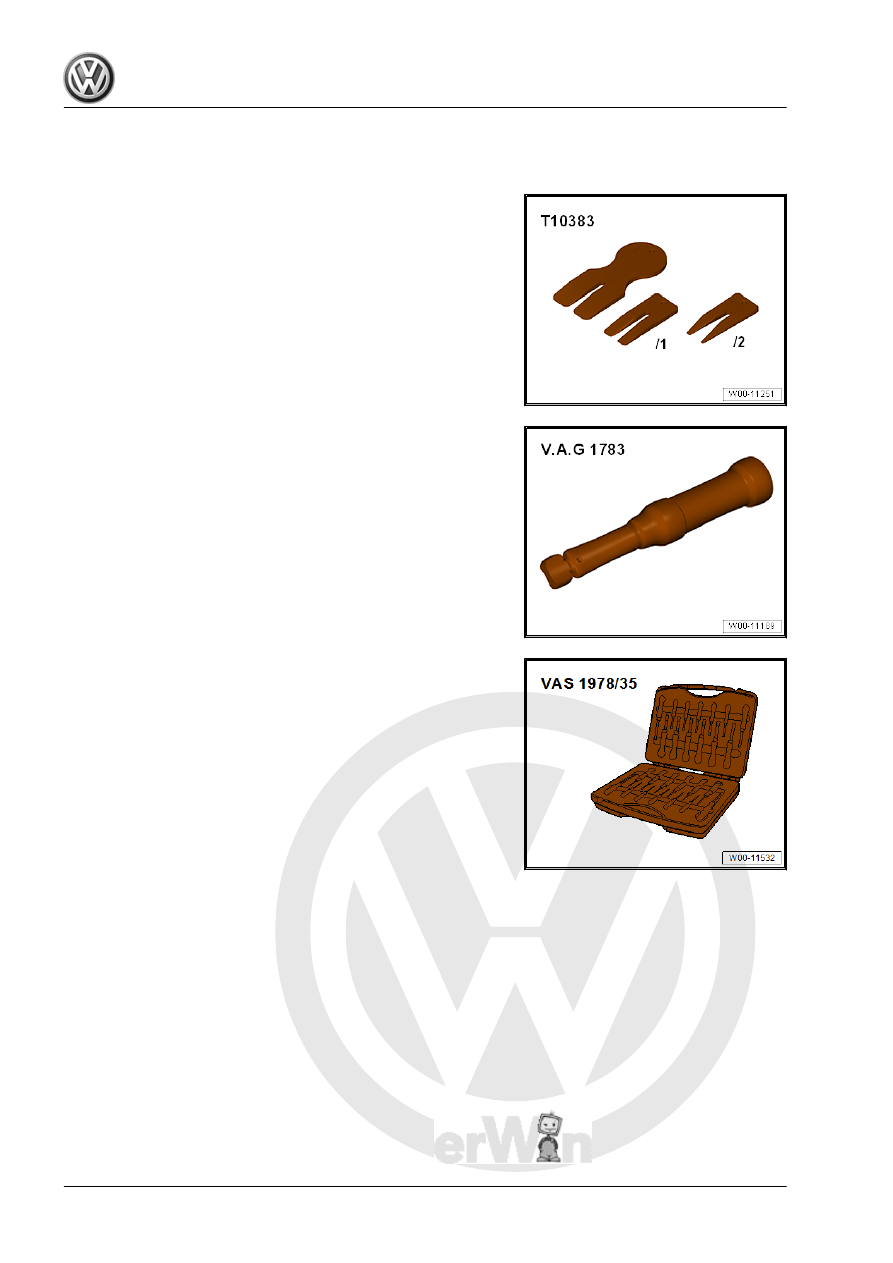
Special Tools
Special tools and workshop equipment required
♦ Wedge Set - T10383-
♦ Torque Wrench 1783 - 2-10Nm - VAG1783-
♦ Release Tool Set - Extraction Tool 17 - VAS1978/17- from the
Release Tool Set - VAS1978/35-