Volkswagen Golf / Golf GTI / Golf Variant. Manual - part 54
9.6
Rear Parking Aid Sensor, Removing
and Installing
Removing
– Turn off the ignition and all electrical equipment.
– Remove the ignition key, if equipped.
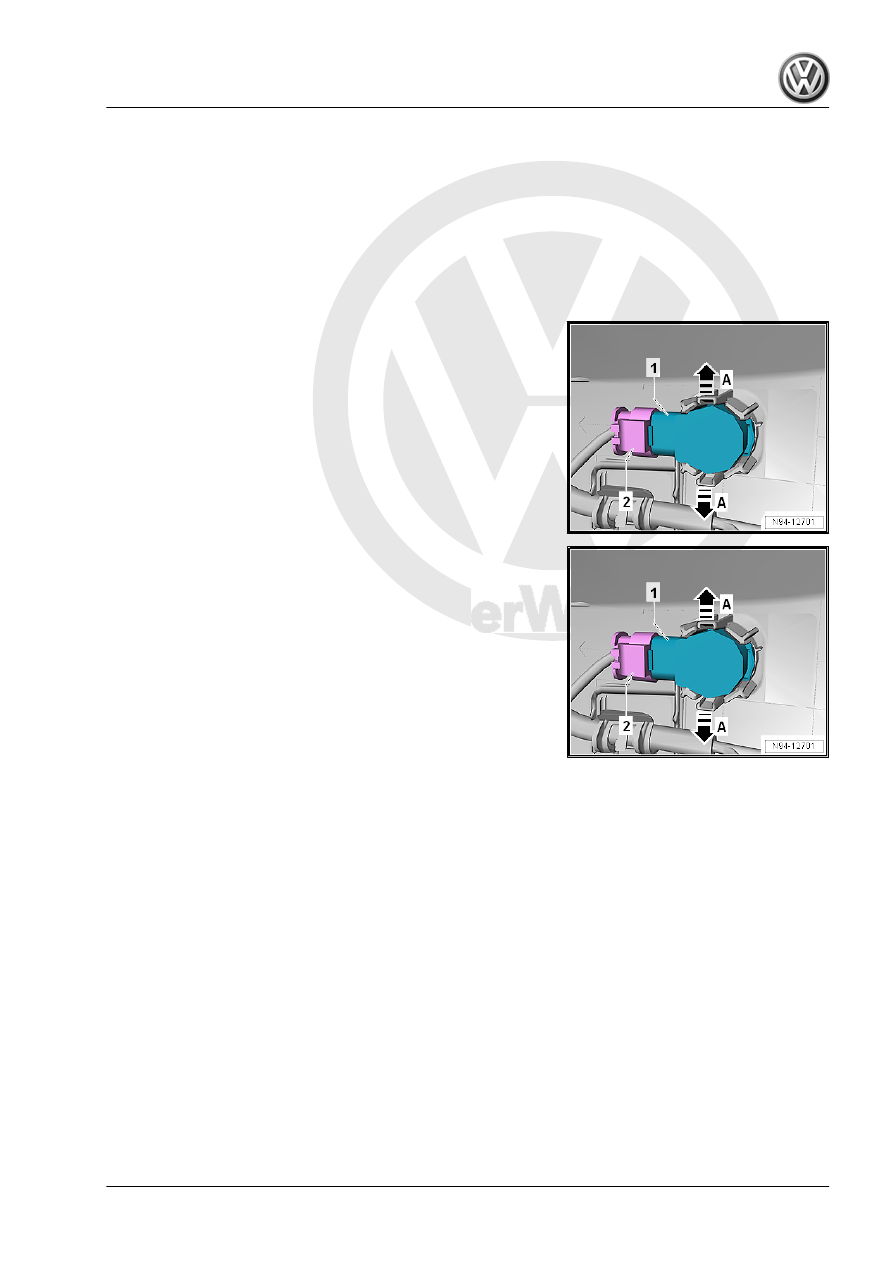
Outer Sensors
The outer rear parking aid sensor can be remove and installed
without removing the rear bumper.
– Press both catches in the direction of the -arrow A- and at the
same time press sensor -1- inward from outside.
– Release and disconnect the connector -2-.
Interior Sensor
– Remove the rear bumper cover. Refer to ⇒ Body Exterior;
Rep. Gr. 63 ; Rear Bumper; Bumper Cover, Removing and
Installing .
– Press both catches in the direction of the -arrow A- and at the
same time press sensor -1- inward from outside.
– Release and disconnect the connector -2-.
Installing
Install in the reverse order of removal while paying attention to
the following:
When inserting sensor into sensor bracket, make sure that de‐
coupling ring (black silicone ring) has proper fit on the sensor
head.
Both sensor mount retaining clips must engage audibly when in‐
stalling the sensor.