Volkswagen Golf / Golf GTI / Jetta. Manual - part 670


  Index      Volkswagen     Volkswagen Golf / Golf GTI / Jetta - service repair manual 1999-2005 year


Search            copyright infringement  


Content   ..  668  669  670  671   ..


Volkswagen Golf / Golf GTI / Jetta. Manual - part 670


Door seals are equipped at factory with 
sealant, applied to door flange and then 
rolled on.

Note 
During removal of seal, sealant is 
distributed on interior side of seal and 
flanks are bent up easily. If seal is re-
installed, sealing performance and proper 
seating are no longer guaranteed.   
 
For this reason, every completely 
removed seal must be replaced with a so-
called "Hammer-stroke seal" .  
 
For partially removed seals, seal flanks 
must be pressed together before 
installation.  
 

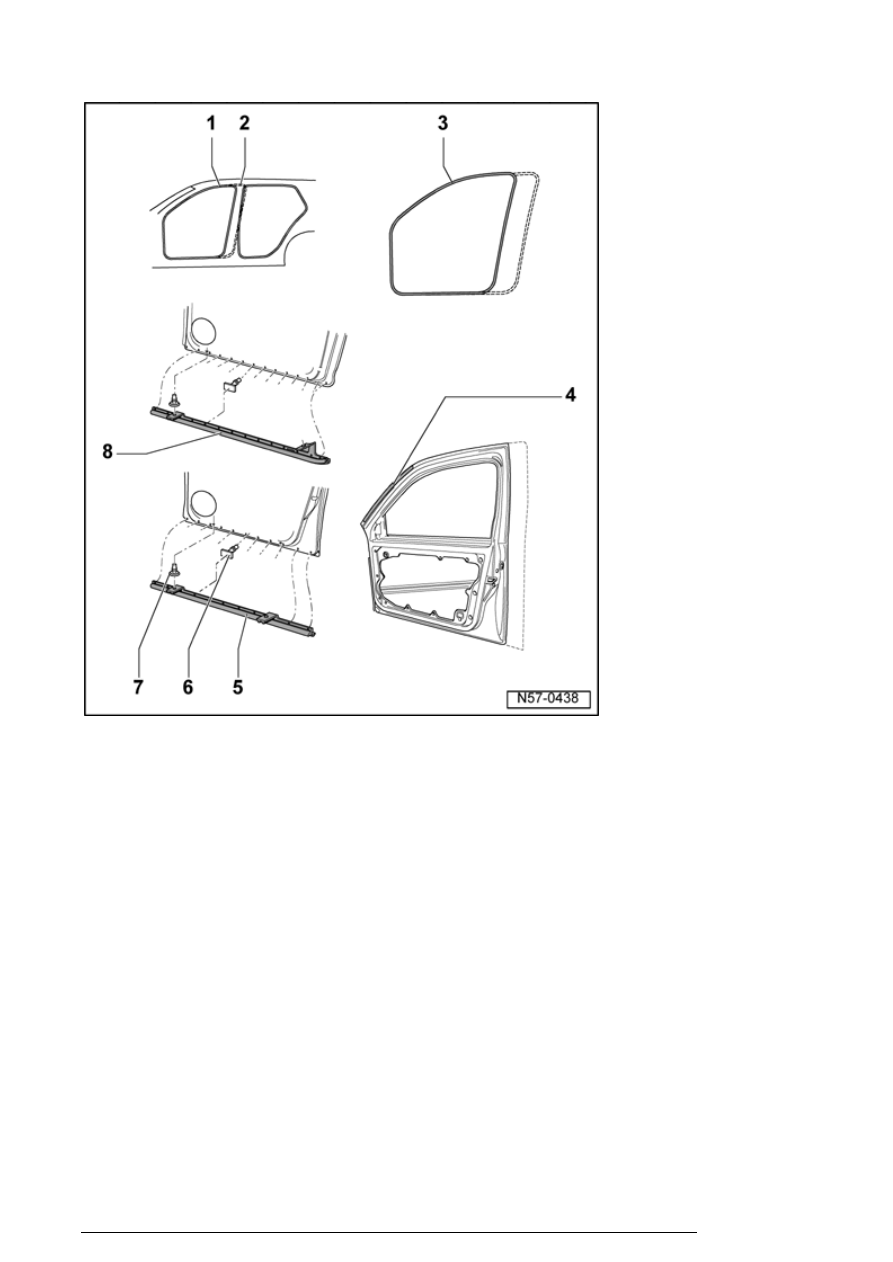
Door seals, assembly overview 

Front door

13/2/2005


1. Door inner seal, 4-door 

¡

To install seal, begin in upper radius 
of door cut out.  


2. Door inner seal, 2-door 

¡

To install seal, begin at B-pillar trim  


3. Internal door seal  

4. Auxiliary seal 

¡

Material - TPE  

¡

Auxiliary seal cannot be removed 
without destroying it  

¡

Removing and installing 


57-1, 

Auxiliary seal, removing and 
installing


Front door

13/2/2005


5. Outer door seal, 4-door  

6. Clip 

¡

Inserted into door seal  


7. Clip 

¡

Inserted into door seal  


8. Outer door seal, 2-door 


Note : 
Trim must be removed in order to 
remove door seals.  
 
Depending on space arrangement, it 
may be necessary to remove 
instrument cluster as well.  
 

Auxiliary seal, removing and installing


Materials


Sprayable sealant  
 

D 476 KD9 A3 

Bonding agent  
 

ALO 822 000 04 

1)


Cleaning solution  
 

D 009 401 04 

Adhesive remover  
 

D 002 000 10 

1)

 As an option, bonding agent D 822 150 A1 can also be 

used 

Tools


Special tools, testers and auxiliary items required 

Front door

13/2/2005


Application roller for door insulation foil 3356  
 

Removing


- Remove auxiliary seal outward from center in direction of 
- arrow - 

- Cut through sealant (adhesive) at ends of auxiliary seal 
(only top position is shown in illustration) using a cutting 
knife. 

- Remove adhesive tape residue from door.  

- So that new auxiliary seal is not installed too strongly at 
ends, sealant must be cut back (do not remove down to 
paint). 

Front door

13/2/2005


Content   ..  668  669  670  671   ..