Volkswagen Golf / Golf GTI / Jetta. Manual - part 559
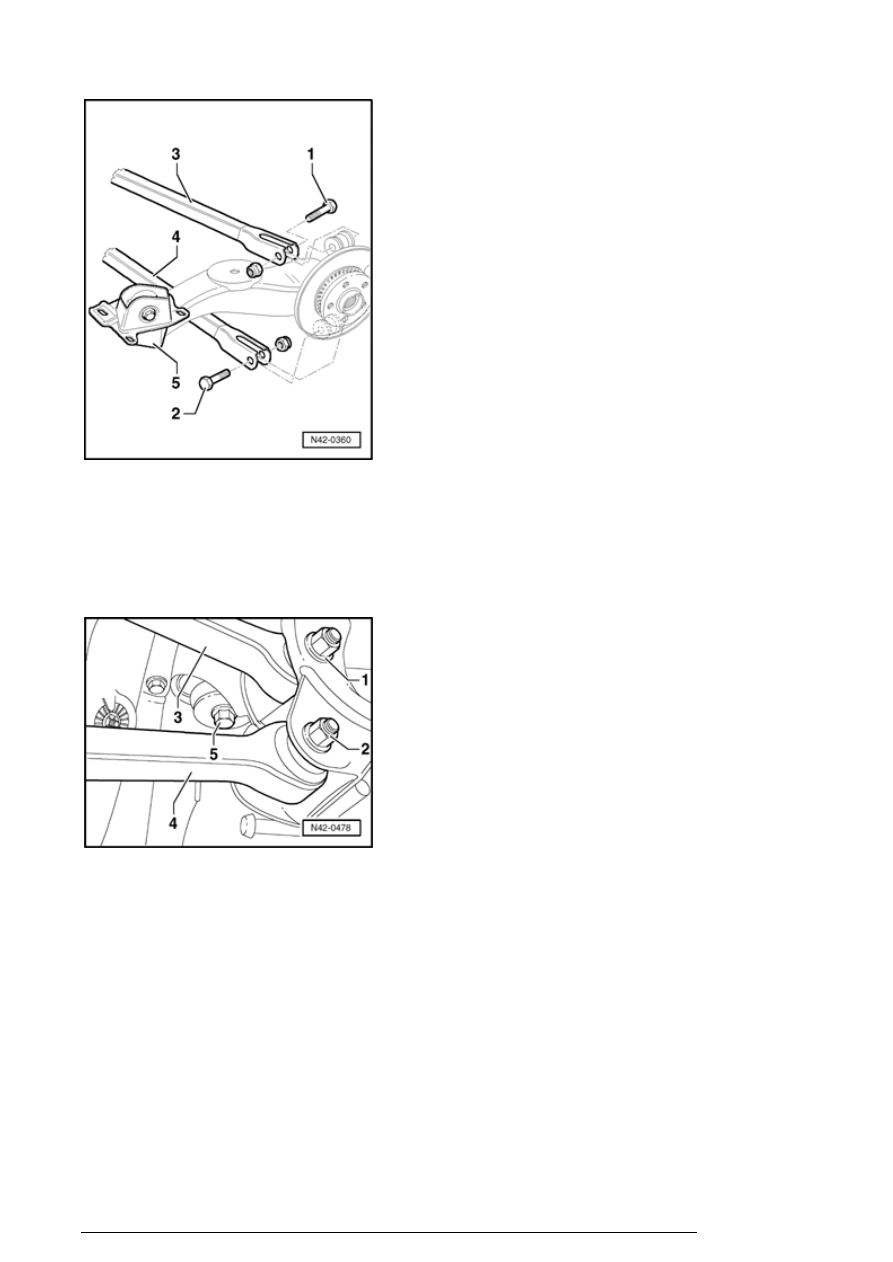
- Remove bolt - 1 - and/or - 2 - .
3 - Upper transverse link
4 - Lower transverse link
5 - Trailing arm
- Remove bolt - 1 - and/or - 2 - .
To make easier disassembly/assembly remove bolt - 5 - if
necessary.
3 - Upper transverse link
4 - Lower transverse link
Installing
Installation is carried out in reverse sequence.
Tighten vehicle to lifting platform
Caution!
Trailing arm and transverse links (all-wheel drive vehicles), assembly overview