Toyota Corolla Hatchback (2020 year). Manual in english - part 2
66
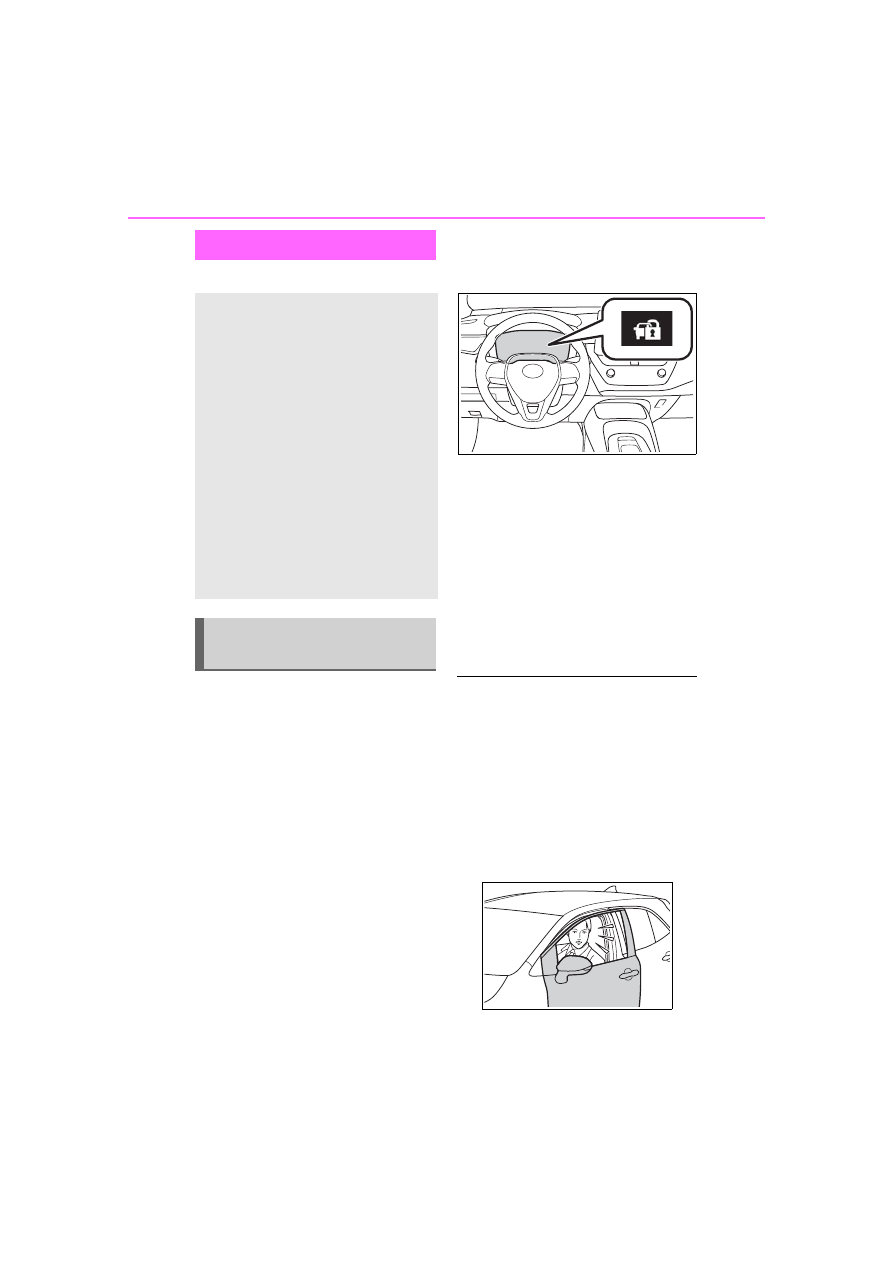
1-4. Theft deterrent system
COROLLA H/B_U
*
: If equipped
■
Items to check before lock-
ing the vehicle
To prevent unexpected trigger-
ing of the alarm and vehicle
theft, make sure of the following:
Nobody is in the vehicle.
The windows are closed
before the alarm is set.
No valuables or other per-
sonal items are left in the
vehicle.
■
Setting
Close the doors, back door and
hood, and lock all the doors.
The system will set automati-
cally after 30 seconds.
The indicator light changes from
being on to flashing when the sys-
tem is set.
■
Deactivating or stopping
Do one of the following to deac-
tivate or stop the alarms:
Unlock the doors.
Turn the engine switch to
ACC or ON, or start the
engine. (The alarm will be
deactivated or stopped after a
few seconds.)
■
System maintenance
The vehicle has a mainte-
nance-free type alarm system.
■
Triggering of the alarm
The alarm may be triggered in the
following situations:
(Stopping the alarm deactivates the
alarm system.)
●
A person inside the vehicle opens
a door, back door or hood, or
unlocks the vehicle.
●
A person inside the vehicle
Alarm
*
The alarm uses light and
sound to give an alert when
an intrusion is detected.
The alarm is triggered in the
following situations when
the alarm is set:
A locked door or back door
is unlocked or opened in
any way other than using
the entry function, wireless
remote control or mechani-
cal key. (The doors will lock
again automatically.)
The hood is opened.
Setting/deactivating/stop-
ping the alarm system