Toyota Corolla (2020 year). Owner's manual - part 4
54
1-2. Child safety
and forth to ensure that it is
installed securely. (P.55)
■
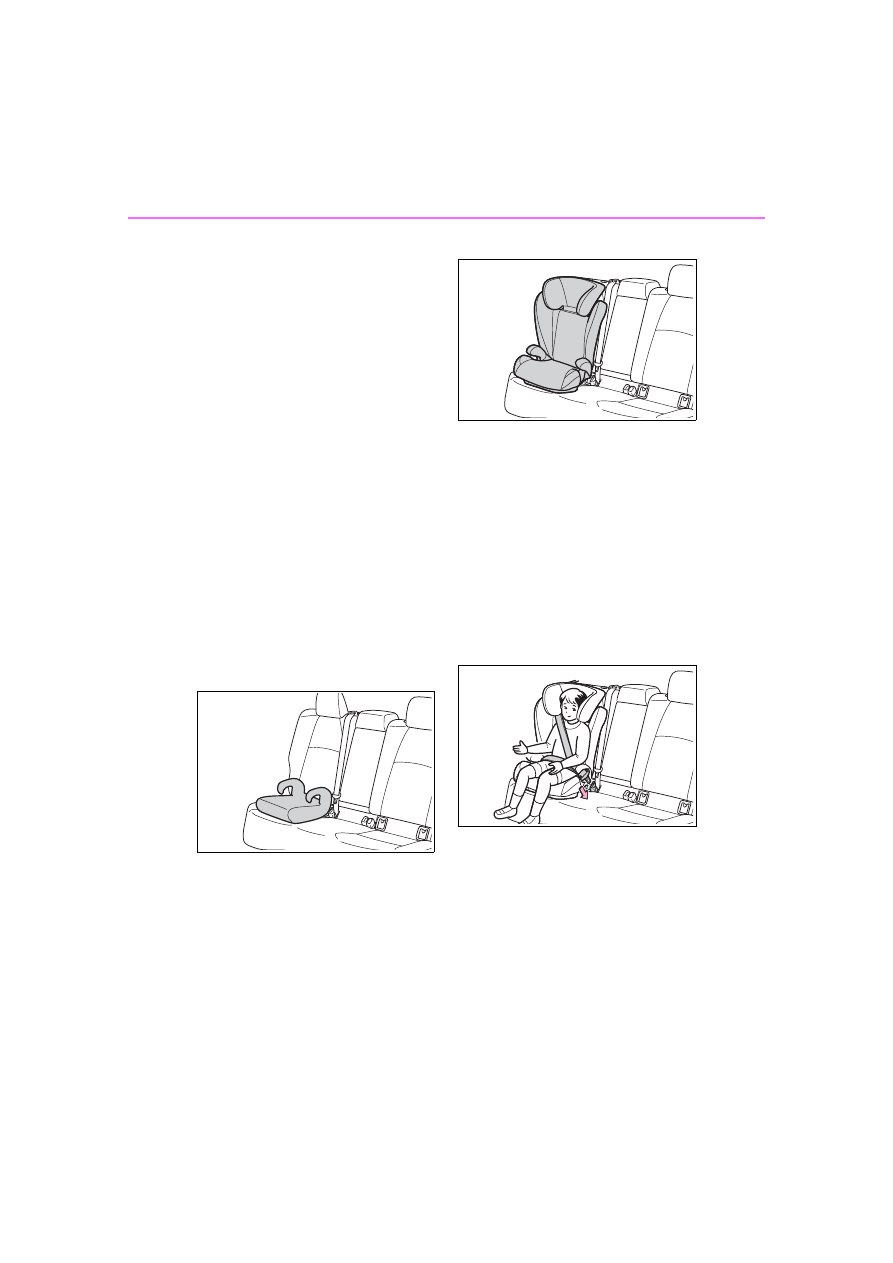
Booster seat
1
If installing the child restraint
system to the front passen-
ger seat is unavoidable, refer
to P.49 for the front passen-
ger seat adjustment.
2
High back type: If the head
restraint interferes with your
child restraint system, and
the head restraint can be
removed, remove the head
restraint.
Otherwise, put the head
restraint in the upper most
position. (P.121)
3
Place the child restraint sys-
tem on the seat facing the
front of the vehicle.
Booster type
High back type
4
Sit the child in the child
restraint system. Fit the seat
belt to the child restraint sys-
tem according to the manu-
facturer’s instructions and
insert the plate into the
buckle. Make sure that the
belt is not twisted.
Check that the shoulder belt is cor-
rectly positioned over the child’s
shoulder and that the lap belt is as
low as possible. (P.25)
■
Removing a child restraint
system installed with a seat
belt
Press the buckle release button
and fully retract the seat belt.
When releasing the buckle, the
child restraint system may spring
up due to the rebound of the seat
cushion. Release the buckle while
holding down the child restraint