Content .. 1122 1123 1124 1125 ..
Subaru Legacy IV (2008 year). Manual - part 1124
SR-10
Sunroof Assembly
SUNROOF/T-TOP/CONVERTIBLE TOP (SUNROOF)
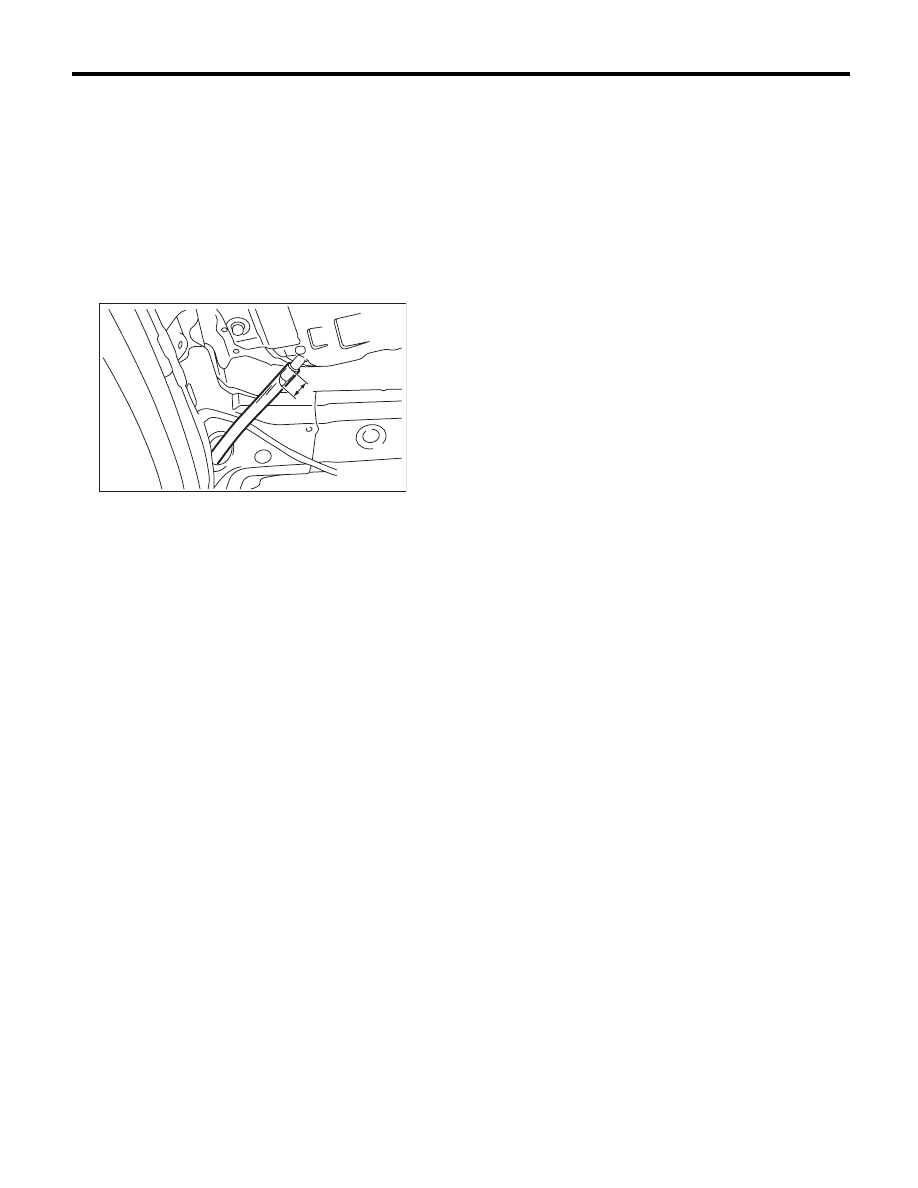
B: INSTALLATION
CAUTION:
Be careful not to snag the harness.
Install in the reverse order of removal.
NOTE:
• Be sure to connect the harness connector.
• When installing the drain tube, insert it securely
into drain pipe.
Length A:
15 mm (0.59 in) or more
C: DISASSEMBLY
1) Remove the sunroof motor. <Ref. to SR-11, RE-
MOVAL, Sunroof Motor.>
2) Remove the sunshade. <Ref. to SR-15, RE-
MOVAL, Sunshade.>
D: ASSEMBLY
Assemble in the reverse order of disassembly.
SR-00005
A