SsangYong Korando II (1996-2006 year). Manual - part 66
M162 ENGINE CONTROLS 1F1 -- 99
DAEWOO MY_2000
KAA1F440
FUEL RAIL AND INJECTORS
Removal and Installation Procedure
Caution: The fuel system is under pressure. To
avoid fuel spillage and the risk of personal injury or
fire, it is necessary to relieve the fuel system pres-
sure before disconnecting the fuel lines.
1. Discharge the fuel pressure from the fuel pressure
test connector.
2. Disconnect the negative battery cable.
3. Disconnect the vacuum hose from the fuel pressure
regulator.
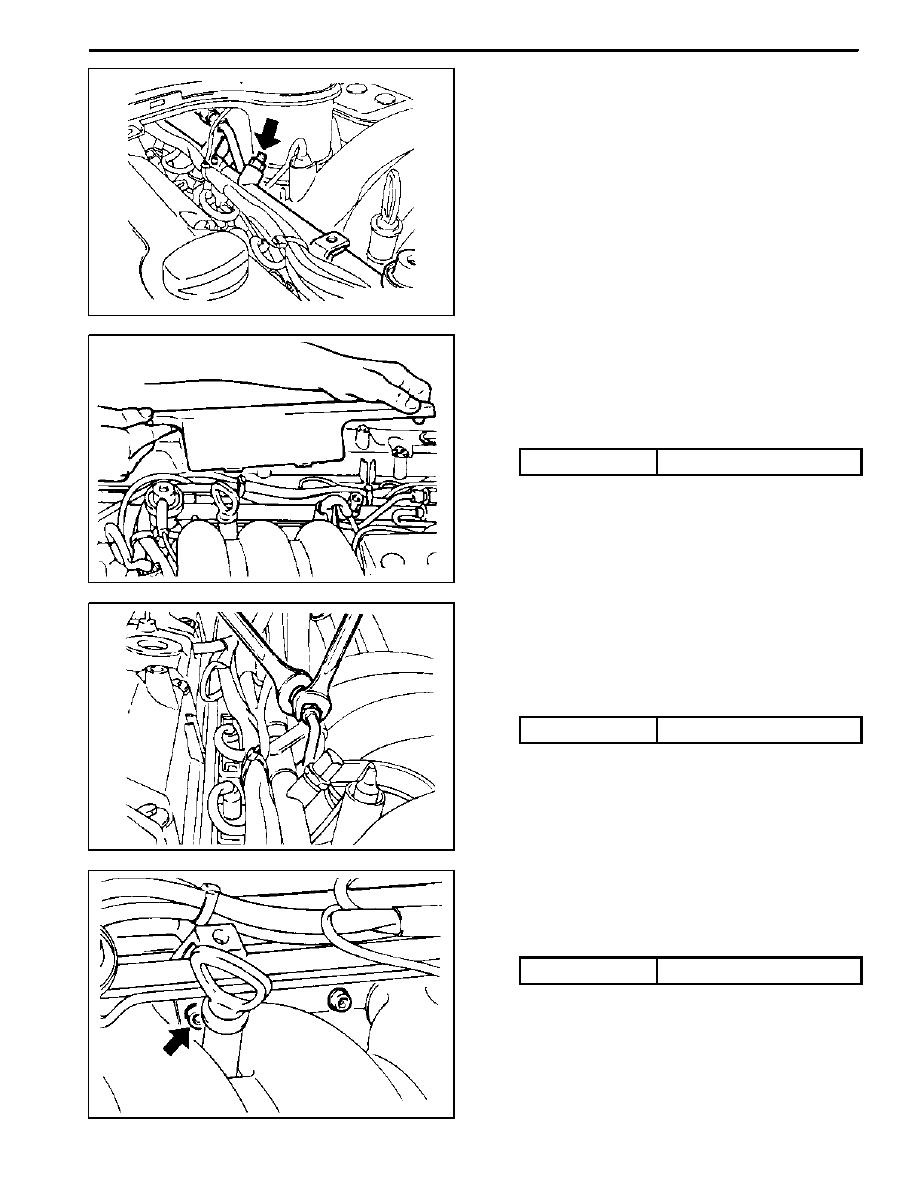
KAA1F060
4. Remove the cable guide.
5. Disconnect the Hot Film Air Mass (HFM) sensor
connector.
6. Remove the intake air duct mounting bolts.
Installation Notice
Tightening Torque
9 NSm (80 Ib-in)
7. Remove the intake air duct clamps.
8. Remove the intake air duct.
KAA1F070
9. Remove the fuel return and supply line.
Notice: For removal, cover around parts with cloths not
to be stained by fuel. In case of checking the injector
only, do not remove the fuel return and supply line.
Installation Notice
Tightening Torque
23 NSm (17 Ib-ft)
10. Remove the six injector connectors.
KAA1F080
11. Remove the two left and two right bolts and one cen-
ter bolt of the fuel rail assembly from the intake man-
ifold.
Installation Notice
Tightening Torque
25 NSm (18 Ib-ft)