Peugeot Expert VU (2016 year). Instruction - part 7
95
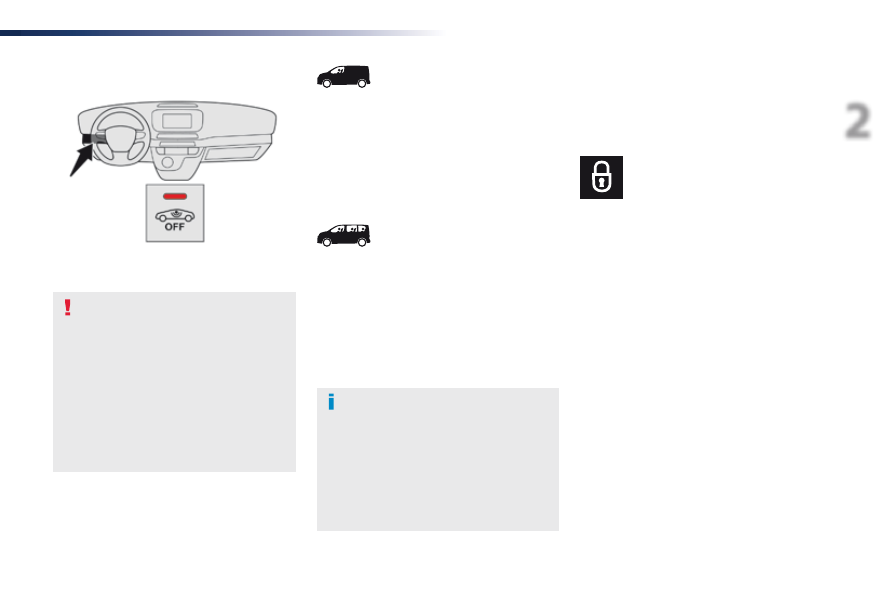
2
Access
Expert_en_Chap02_ouvertures_ed01-2016
System which protects and provides a deterrent
against theft and break-ins.
Alarm
Exterior perimeter
the system checks for opening of the vehicle.
the alarm is triggered if anyone tries to open
one of the doors or the bonnet.
Self-protection function
the system checks for the
disconnection of any of its components.
the alarm is triggered if the battery,
the button or the siren wiring is
disconnected or damaged.
For all work on the alarm system,
contact a PEugEot dealer or a
qualified workshop.
Volumetric
Volumetric
the system monitors the passenger
compartment for any variation in volume.
the alarm is triggered if someone breaks
the windscreen, penetrates the passenger
compartment or moves around inside the
vehicle.
the system monitors variations in volume in the
cab only.
the alarm is triggered if someone breaks the
windscreen or penetrates the cab.
It is not triggered if someone penetrates the
loading area.
If your vehicle is fitted with the
programmable heating / ventilation,
volumetric monitoring is not compatible
with this system.
For more information on
Programmable Heating / Ventilation,
refer to the corresponding section.
F Lock the vehicle using the "Keyless Entry
and Starting" system.
Total protection
Activation
F Lock the vehicle using the
remote control.
or
the monitoring system is active: the indicator
lamp in the button flashes once per second
and the direction indicators come on for about
2 seconds.
Following a command to lock the vehicle
using the remote control or the Keyless Entry
and Starting system, the exterior perimeter
monitoring is activated after a delay of
5 seconds, the interior volumetric monitoring
after 45 seconds.
If an opening (door, tailgate or side-hinged
doors, bonnet...) is not closed fully, the vehicle
is not locked but monitoring will be activated
after a delay of 45 seconds.
F Switch off the ignition and get out of the vehicle.