4
Familiarisation
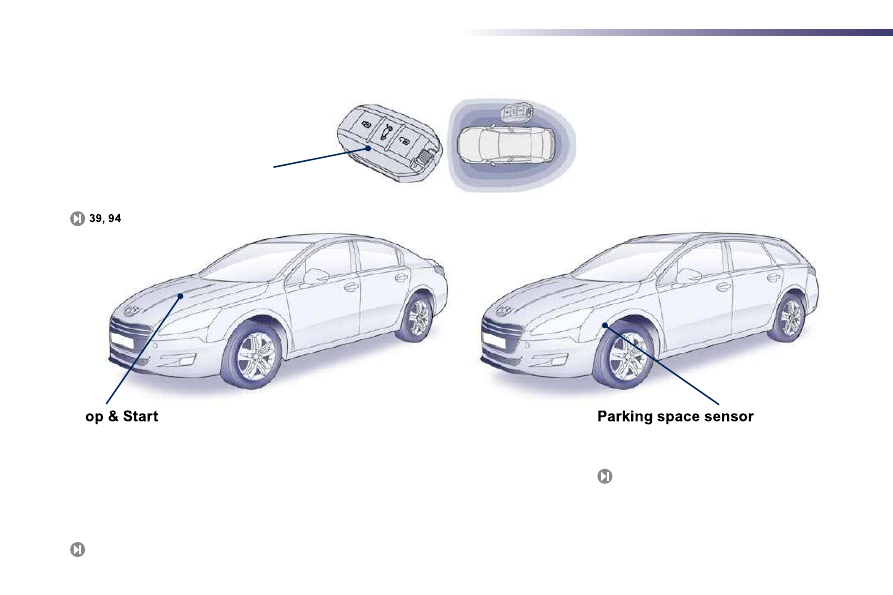
Keyless Entry and Starting
This system allows you to unlock, lock
and start your vehicle while keeping
the key on your person and in the
defined zone.
This system measures the size of a space and
advises whether parking is possible.
127
Exterior
Sto
This system puts the engine temporarily into
standby during stops in the traffic (red lights, traffic
jams, etc...). The engine restarts automatically as
soon as you want to move off. The Stop & Start
system reduces fuel consumption and exhaust
emissions, and offers the comfort of complete
silence when stationary.
114