Peugeot 407 C Dag (2008 year). Instruction - part 10
02
132
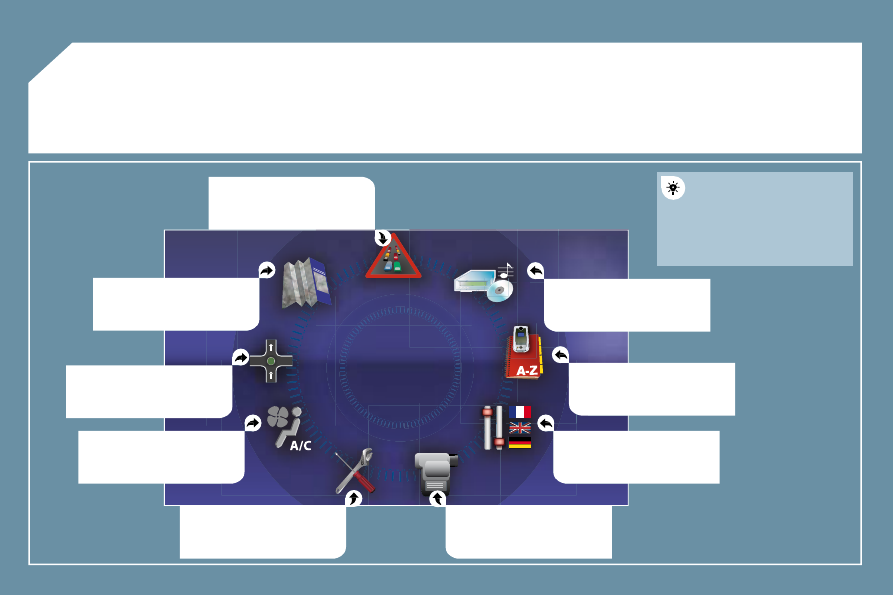
GENERAL MENU
MAP:
orientation, details, display.
AUDIO FUNCTIONS: radio,
CD, Jukebox, options.
For maintenance of the
display, the use of a
soft, non-abrasive cloth
(spectacles cloth) is
recommended without any
additional product.
TELEMATIC: telephone,
directory, SMS.
CONFIGURATION:
vehicle, display, time,
languages, voice, auxiliary
socket (AUX) parameters.
VIDEO:
activation, parameters.
VEHICLE DIAGNOSTICS:
warnings log.
AIR CONDITIONING:
on/off and dual zone control
(according to equipment).
NAVIGATION GUIDANCE:
GPS, stages, options.
TRAFFIC INFORMATION:
TMC information, messages.