Opel Frontera UE. Manual - part 624
HEATING, VENTILATION AND AIR CONDITIONING (HVAC)
1A–53
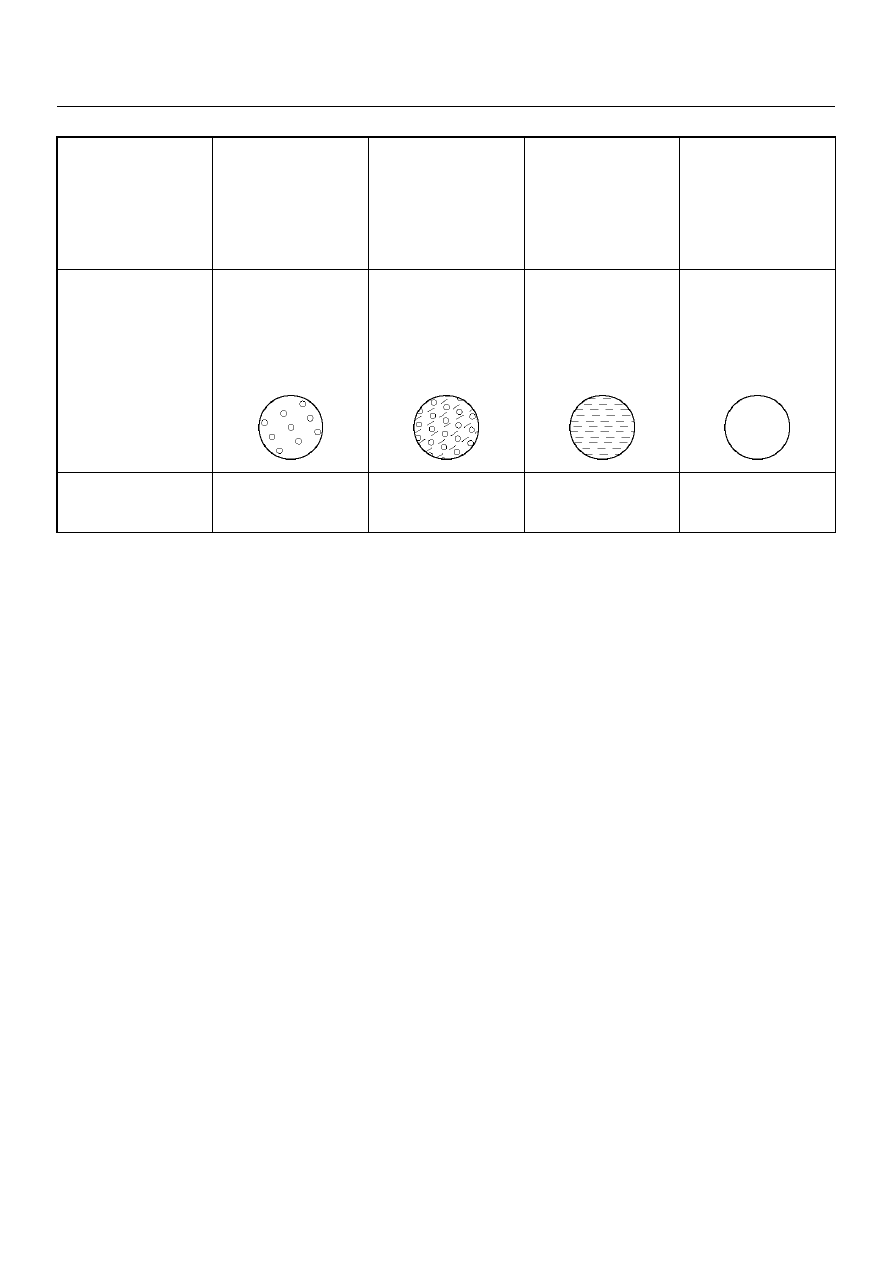
High and low
pressure pipe
temperature
The high pressure
pipe is hot and the
low pressure pipe is
cold. There is a
distinct difference in
temperature between
them.
The high pressure
pipe is warm and the
low pressure pipe is
cool. There is no
great difference in
temperature between
them.
There is litttle
difference in
temperature between
the high pressure
pipe and the low
pressure pipe.
The high pressure
pipe is hot and the
low pressure pipe is
slightly warm. There
is a defference in
temperature between
them.
Slight glass condition
Almost transparent. A
flow of bubbles can
be seen, but they
disappear when the
throttle is opened.
A flow of bubbles
always can be seen.
It appears sometimes
transparent, and
sometimes frothy.
Something like fog
faintly can be seen.
Even at idle with the
fan at “HI” (with the
window fully open),
the bubbles cannnot
be seen.
Air conditioning cycle
condition
OK
NG
(Not enough
refrigerant)
NG
(Almost no
refrigerant)
NG
(Too much
refrigerant)