Nissan Frontier (2023 year). Manual in english - page 12
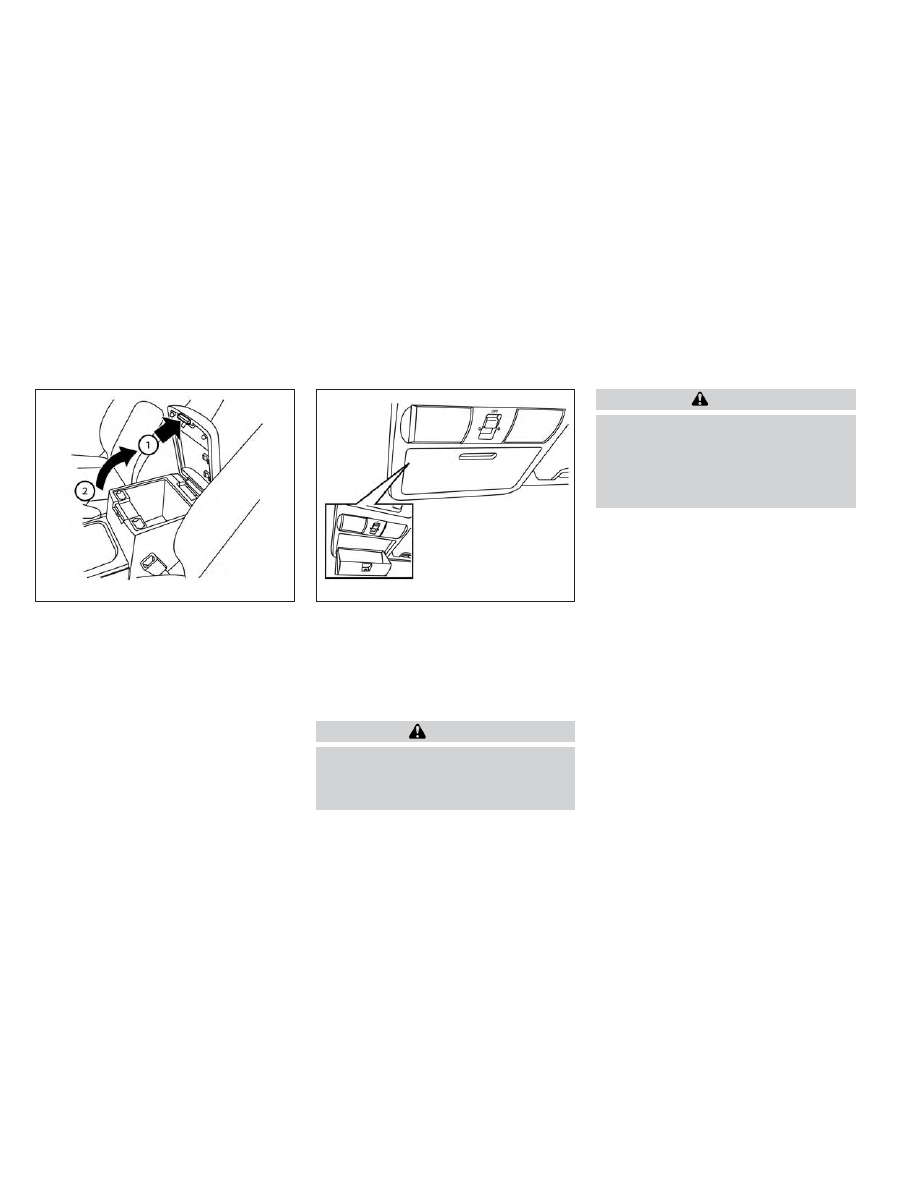
CONSOLE BOX
Pull up on the lever
O
1
to open the console
box lid
O
2
.
OVERHEAD SUNGLASSES
STORAGE (if so equipped)
To open the sunglasses holder, push and
release.
Only store one pair of sunglasses in the
holder.
WARNING
Keep the sunglasses holder closed
while driving to avoid obstructing the
driver’s view and to help prevent an
accident.
CAUTION
•
Do not use for anything other than
sunglasses.
•
Do not leave sunglasses in the sun-
glasses holder while parking in direct
sunlight. The heat may damage the
sunglasses.
LIC4874
LIC3387
2-72
Instruments and controls