Nissan Murano (2022 year). Manual in english - page 8
For additional information, see “Cruise con-
trol” (P. 5-55).
Currently Unavailable
This message appears when the Vehicle
Dynamic Control (VDC) system is turned
off. The Intelligent Lane Intervention (I-LI)
system will be turned off automatically. For
additional information, see “Vehicle Dy-
namic Control (VDC) system” (P. 5-122) and
“Intelligent Lane Intervention (I-LI)” (P. 5-32).
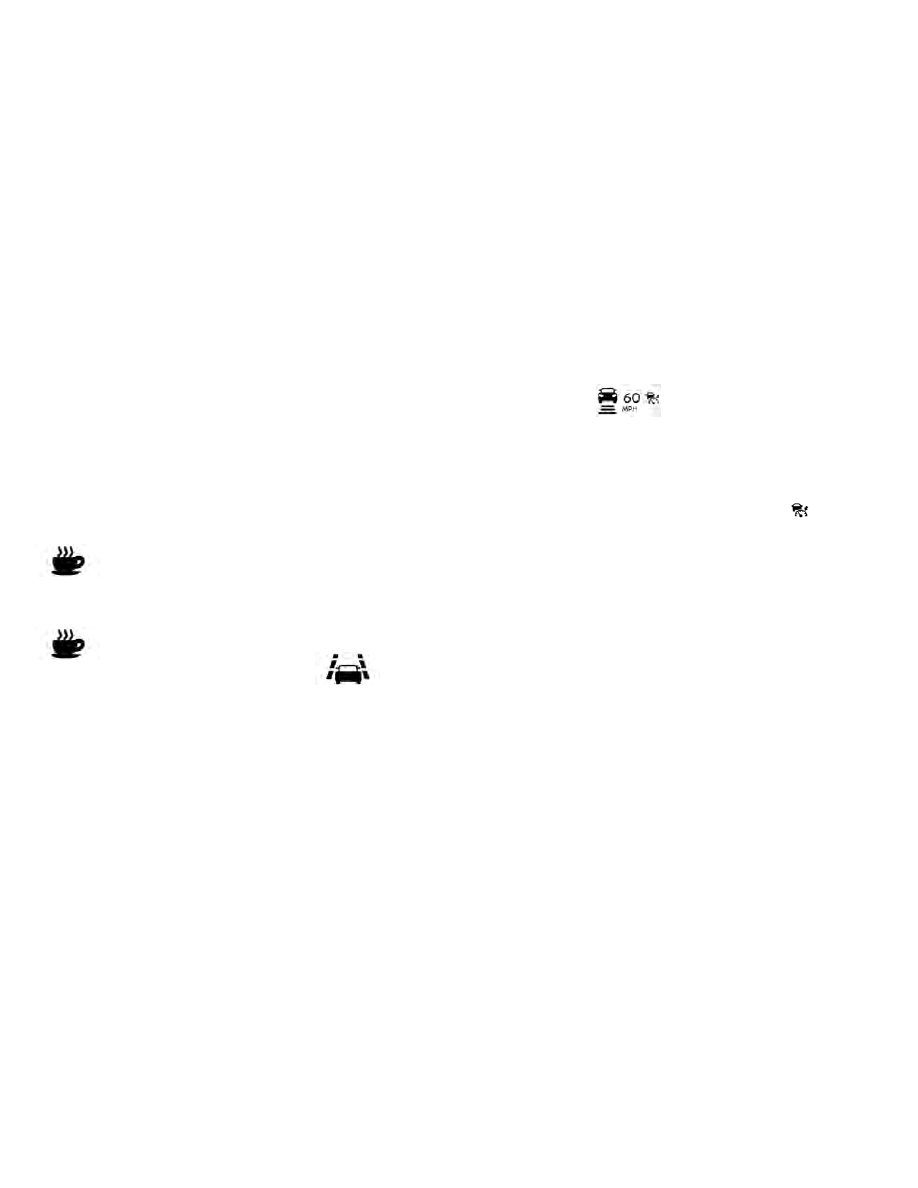
Driver Attention Alert -
Take a Break?
This alert appears when the system has
detected that the driver may be displaying
fatigue or a lack of attention.
Driver Attention Alert
Malfunction
This warning appears when the Intelligent
Driver Alertness (I-DA) system is not func-
tioning properly. For additional information,
see “Intelligent Driver Alertness (I-DA)”
(P. 5-111).
Forward Driving Aids Temporarily
Disabled Front Sensor Blocked See
Owner’s Manual
This message appears when the front ra-
dar sensor may be obstructed due to:
• mud, dirt, snow, ice, etc.
• inclement weather (rain, fog, snow, etc.)
All forward driving aids are temporarily dis-
abled until the system detects that the
front radar sensor is no longer obstructed.
For additional information, see:
• Automatic Emergency Braking (AEB) with
Pedestrian Detection (P. 5-87)
• Intelligent Cruise Control (ICC) (P. 5-58)
• Intelligent Forward Collision Warning (I-
FCW) (P. 5-98)
Lane Departure Warning
(LDW)/ Intelligent Lane
Intervention (I-LI) indicator
This indicator appears when the LDW
and/or Intelligent Lane Intervention (I-LI)
systems are engaged.
For additional information, see “Lane De-
parture Warning (LDW)” (P. 5-27) and “Intelli-
gent Lane Intervention (I-LI)” (P. 5-32).
Intelligent Cruise Control
(ICC) indicators
These
indicators
show
the
Intelligent
Cruise Control (ICC) system status. For ad-
ditional information, see “Intelligent Cruise
Control (ICC)” (P. 5-58).
Intelligent Cruise ON
This message appears if the
Intelli-
gent Cruise Control (ICC) switch on the
steering wheel is pressed and Cruise Con-
trol Alerts are enabled in the vehicle infor-
mation display.
For additional information, see “Intelligent
Cruise Control (ICC)” (P. 5-58).
Malfunction See Owner’s Manual
This warning appears when one of the fol-
lowing systems (if so equipped) is not func-
tioning properly:
• Automatic Emergency Braking (AEB) with
Pedestrian Detection
• Blind Spot Warning (BSW)
• Intelligent Driver Alertness (I-DA)
• Intelligent
Forward
Collision
Warning
(I-FCW)
• Lane Departure Warning (LDW)
• Rear Automatic Braking (RAB)
• Rear Cross Traffic Alert (RCTA)
Instruments and controls
2-29