Nissan Frontier D40. Manual - part 667
FRONT FOG LAMP
EXL-141
< ON-VEHICLE MAINTENANCE >
C
D
E
F
G
H
I
J
K
M
A
B
EXL
N
O
P
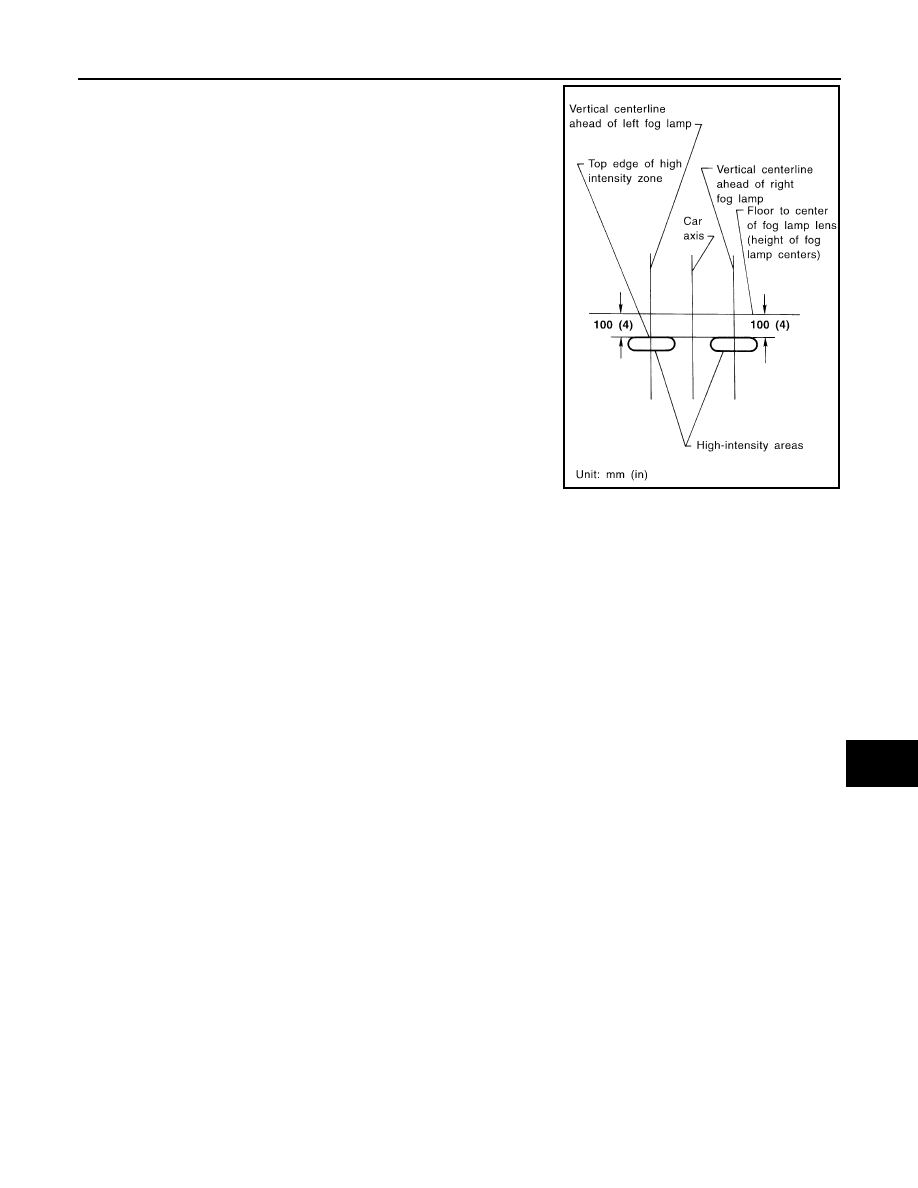
4.
Adjust front fog lamps using adjustment screw so that the top
edge of the high intensity zone is 100 mm (4 in) below the height
of the fog lamp centers as shown.
• When performing adjustment, if necessary, cover the head-
lamps and opposite fog lamp.
MEL328G