Nissan Frontier D40. Manual - part 25
AV-92
< ON-VEHICLE REPAIR >
[PREMIUM AUDIO (KING CAB)]
MICROPHONE
MICROPHONE
Removal and Installation
INFOID:0000000005274925
REMOVAL
1.
Remove the front roof console finisher. Refer to
INT-24, "Removal and Installation"
.
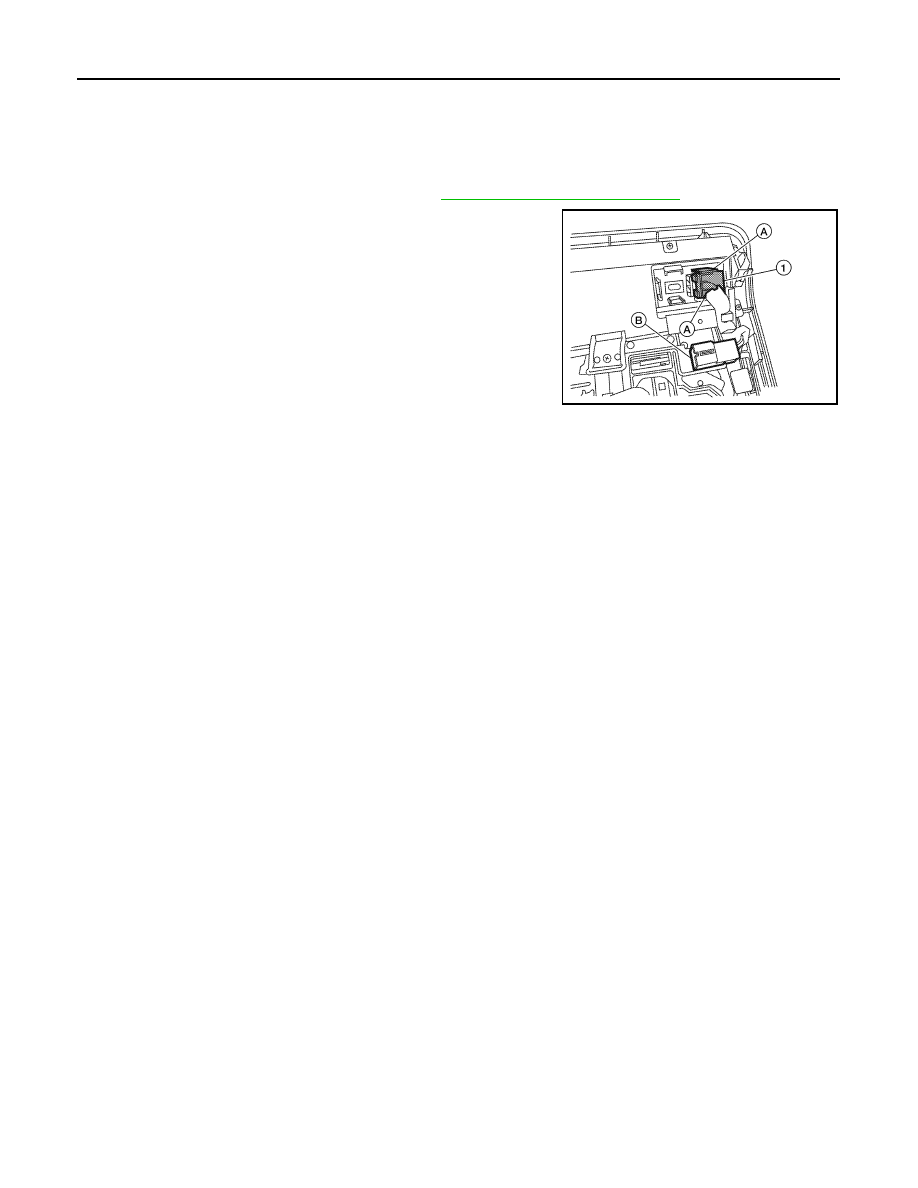
2.
Detach the Bluetooth microphone (1) from the front console fin-
isher tabs (A).
3.
Detach the Bluetooth microphone connector (B) and remove the
Bluetooth microphone (1).
INSTALLATION
Installation is in the reverse order of removal.
ALNIA0379ZZ