Nissan Quest E52. Manual - part 893
MIR-36
< REMOVAL AND INSTALLATION >
[WITH ADP]
DOOR MIRROR
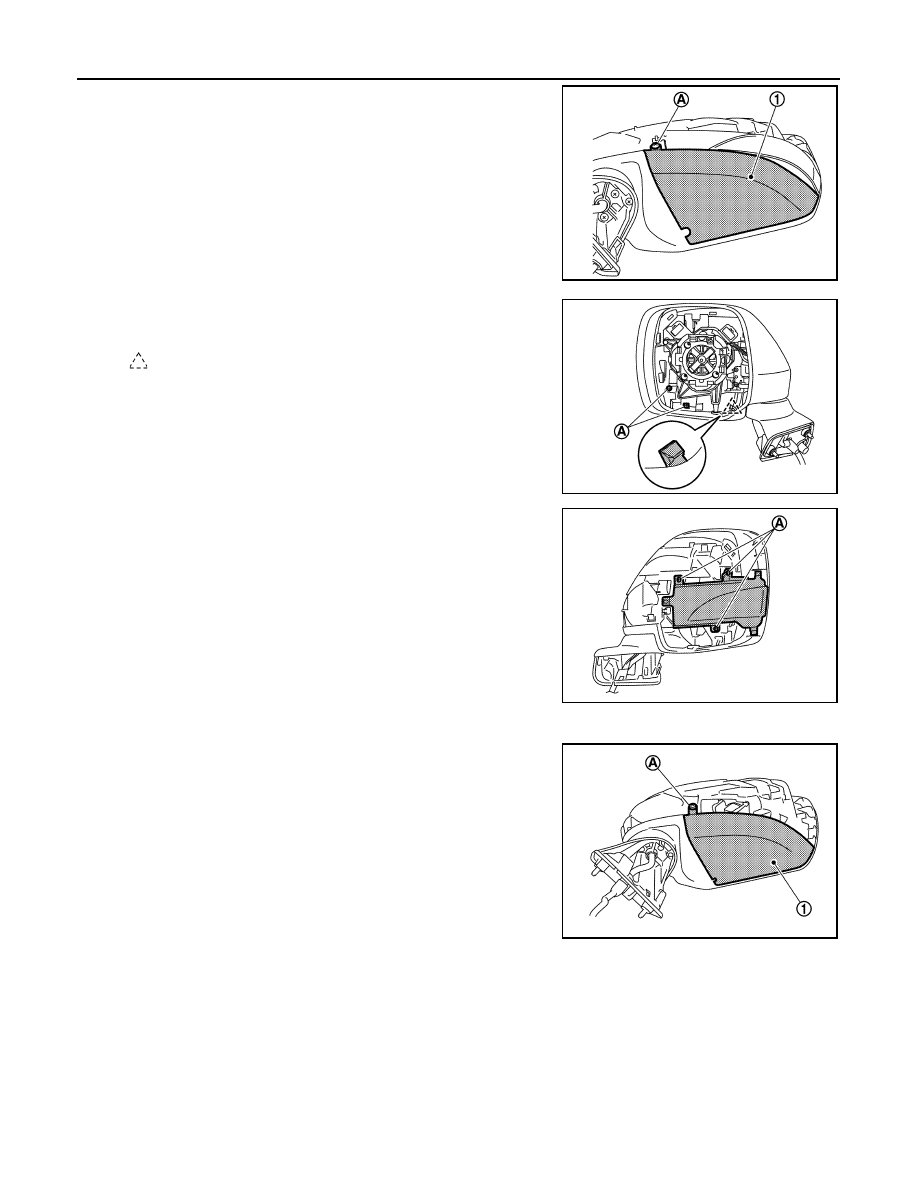
a.
Remove door mirror under cover mounting screw (A).
b.
Remove door mirror under cover mounting screws (A) and dis-
engage the fixing pawl.
c.
Remove door mirror side turn signal lamp mounting screws (A)
and remove side turn signal lamp.
8.
Remove door mirror under cover (1). (without side turn signal lamp)
a.
Remove door mirror under cover mounting screw (A).
JMLIA2188ZZ
: Pawl
JMLIA2190ZZ
JMLIA2191ZZ
JMLIA2189ZZ