Nissan Versa Note. Manual - part 535
IP-14
< REMOVAL AND INSTALLATION >
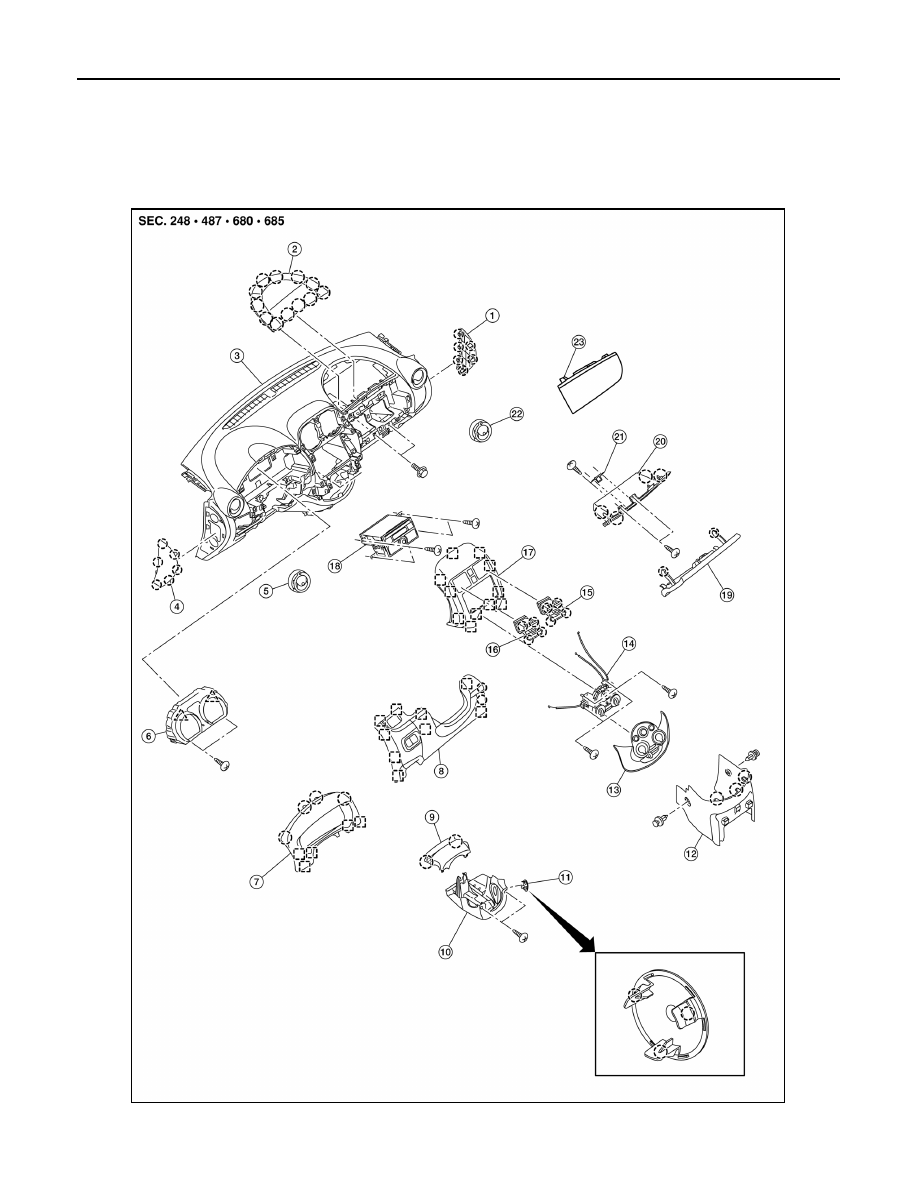
INSTRUMENT PANEL ASSEMBLY
REMOVAL AND INSTALLATION
INSTRUMENT PANEL ASSEMBLY
Exploded View
INFOID:0000000009405647
AWJIA1105ZZ
|
|
|
IP-14 < REMOVAL AND INSTALLATION > INSTRUMENT PANEL ASSEMBLY REMOVAL AND INSTALLATION INSTRUMENT PANEL ASSEMBLY Exploded View INFOID:0000000009405647 AWJIA1105ZZ |