Nissan Versa Note. Manual - part 370
 

  Index      Nissan     Nissan Versa Note (2014 year) - Service and Repair Manual


Search            


Content   ..  368  369  370  371   ..


Nissan Versa Note. Manual - part 370


EC-462

< PERIODIC MAINTENANCE >

[HR16DE]

EVAP LEAK CHECK

EVAP LEAK CHECK

Inspection

INFOID:0000000009020949

CAUTION:

• Do not use compressed air or a high pressure pump.
• Do not exceed 4.12 kPa (0.042 kg/cm

2

, 0.6 psi) of pressure in EVAP system.

NOTE:

• Do not start engine.

• Improper installation of EVAP service port adapter [commercial service tool: (J-41413-OBD)] to the EVAP

service port may cause a leak.

1.

EVAP LEAK CHECK

With CONSULT

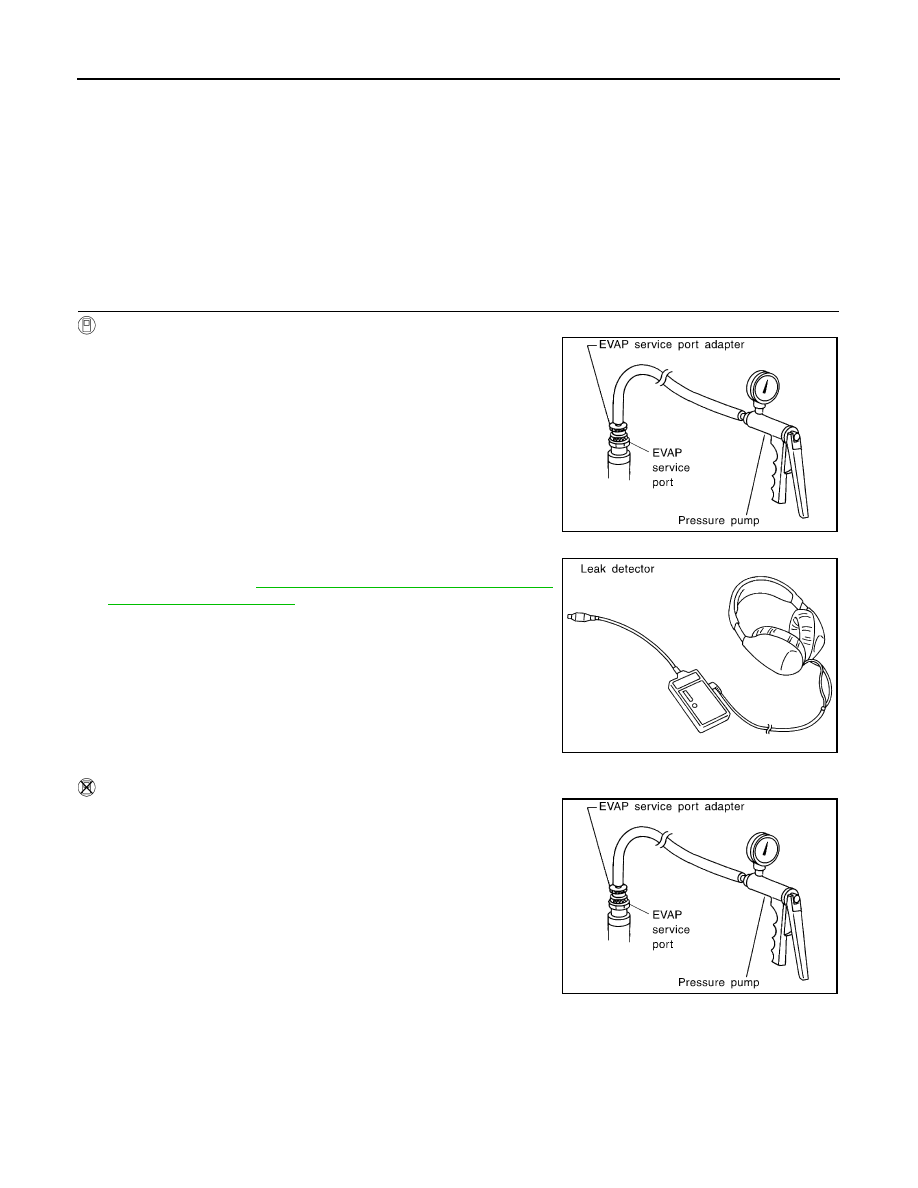
1. Install EVAP service port adapter [commercial service tool: (J-

41413-OBD)] and pressure pump to EVAP service port.

2. Turn ignition switch ON.

3. Select the “EVAP SYSTEM CLOSE” in “WORK SUPPORT”

mode of “ENGINE” using CONSULT.

4. Touch “START”. A bar graph (Pressure indicating display) will

appear on the screen.

5. Apply positive pressure to the EVAP system until the pressure

indicator reaches the middle of the bar graph.

6. Remove EVAP service port adapter [commercial service tool: (J-

41413-OBD)] and hose with pressure pump.

7. Locate the leak using a leak detector [commercial service tool:

(J-41416)]. Refer to 

EC-40, "EVAPORATIVE EMISSION SYS-

TEM : System Description"

.

Without CONSULT

1. Install EVAP service port adapter [commercial service tool: (J-

41413-OBD)] and pressure pump to EVAP service port.

2. Apply battery voltage between the terminals of EVAP canister

vent control valve to make a closed EVAP system.

3. To locate the leak, deliver positive pressure to the EVAP system

until pressure gauge points reach 1.38 to 2.76 kPa (0.014 to
0.028 kg/cm

2

, 0.2 to 0.4 psi).

4. Remove EVAP service port adapter [commercial service tool: (J-

41413-OBD)] and hose with pressure pump.

SEF462UA

SEF200U

SEF462UA

EVAP LEAK CHECK

EC-463

< PERIODIC MAINTENANCE >

[HR16DE]

C

D

E

F

G

H

I

J

K

L

M

A

EC

N

P

O

5. Locate the leak using a leak detector [commercial service tool:

(J-41416)]. Refer to 

EC-40, "EVAPORATIVE EMISSION SYS-

TEM : System Description"

.

>> INSPECTION END

SEF200U

EC-464

< PERIODIC MAINTENANCE >

[HR16DE]

POSITIVE CRANKCASE VENTILATION

POSITIVE CRANKCASE VENTILATION

Inspection

INFOID:0000000009020950

1.

CHECK PCV VALVE

With engine running at idle, remove PCV valve from rocker cover. A

properly working valve makes a hissing noise as air passes through

it. A strong vacuum should be felt immediately when a finger is

placed over valve inlet.
Is the inspection result normal?

YES

>> INSPECTION END

NO

>> Replace PCV valve. Refer to 

EM-48, "Exploded View"

.

PBIB1589E

ECM

EC-465

< REMOVAL AND INSTALLATION >

[HR16DE]

C

D

E

F

G

H

I

J

K

L

M

A

EC

N

P

O

REMOVAL AND INSTALLATION

ECM

Exploded View

INFOID:0000000009020951

Removal and Installation

INFOID:0000000009020952

CAUTION:

Perform ADDITIONAL SERVICE WHEN REPLACING ECM. Refer to 

EC-123, "Work Procedure"

.

REMOVAL

1. Remove fusible link bracket. Keep a service area.
2. Disconnect ECM harness connectors. Refer to HARNESS CONNECTOR (LEVER LOCKING TYPE) in

PG-53, "Description"

.

3. Remove ECM mounting nuts, and then remove ECM.

INSTALLATION

Install in the reverse order of removal.

ECM bracket

ECM

: Vehicle front

JPBIA4276ZZ


Content   ..  368  369  370  371   ..