Nissan Rogue. Manual - part 911
 

  Index      Nissan     Nissan Rogue (2015 year) - Service and Repair Manual


Search            


Content   ..  909  910  911  912   ..


Nissan Rogue. Manual - part 911


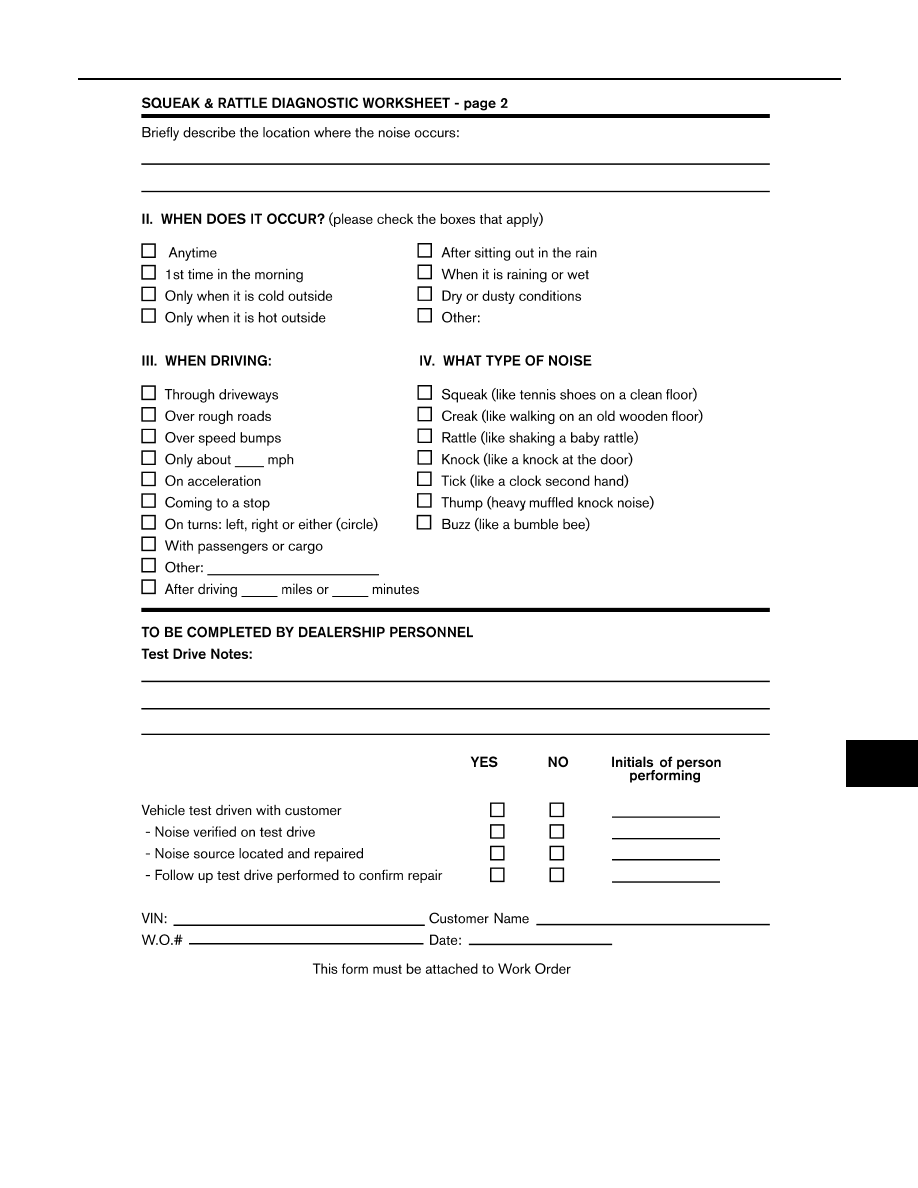
SQUEAK AND RATTLE TROUBLE DIAGNOSES

MIR-19

< SYMPTOM DIAGNOSIS >

C

D

E

F

G

H

I

J

K

M

A

B

MIR

N

O

P

LAIA0071E

MIR-20

< REMOVAL AND INSTALLATION >

INSIDE MIRROR

REMOVAL AND INSTALLATION

INSIDE MIRROR

Exploded View

INFOID:0000000011280692

MANUAL ANTI-DAZZLING

AUTO ANTI-DAZZLING

Removal and Installation

INFOID:0000000011280693

MANUAL ANTI-DAZZLING

Removal

AWLIA2177ZZ

1.

Windshield glass

2.

Mirror base

3.

Inside mirror

AWLIA2289ZZ

1.

Windshield glass

2.

Mirror base

3.

Inside mirror

4.

Inside mirror finisher

A. Harness connector

B. Screw

INSIDE MIRROR

MIR-21

< REMOVAL AND INSTALLATION >

C

D

E

F

G

H

I

J

K

M

A

B

MIR

N

O

P

Hold inside mirror at the base and push upward, while using a suit-

able tool to release the pawl and remove. 

CAUTION:

Use care when removing inside mirror to avoid damage to mir-

ror, mirror base or windshield glass.

Installation

Installation is in the reverse order of removal.

CAUTION:

Apply Genuine Mirror Adhesive or equivalent to bonding surface of mirror base if loose or removed.

Refer to 

GI-22, "Recommended Chemical Products and Sealants"

.

AUTO ANTI-DAZZLING

Removal

1. Remove inside mirror finisher.
2. Disconnect the harness connector from the inside mirror. 
3. Loosen screw and slide inside mirror upward to remove.

Installation

Installation is in the reverse order of removal.

CAUTION:

Apply Genuine Mirror Adhesive or equivalent to bonding surface of mirror base if loose or removed.

Refer to 

GI-22, "Recommended Chemical Products and Sealants"

.

NOTE:

Perform the compass calibration procedure (if equipped with compass). Refer to 

MWI-16, "COMPASS :

Description"

.

ALLIA1034ZZ

MIR-22

< REMOVAL AND INSTALLATION >

DOOR MIRROR

DOOR MIRROR

Exploded View

INFOID:0000000011280694

Removal and Installation

INFOID:0000000011280695

REMOVAL

1. Remove front door finisher. Refer to 

INT-15, "Removal and Installation"

.

2. Release door mirror corner finisher clips using a suitable tool.
3. Disconnect the harness connector from the BSW indicator (if equipped), then remove the door mirror cor-

ner finisher.

4. Disconnect the harness connector from the door mirror.
5. Remove door mirror nuts and door mirror.

INSTALLATION

Installation is in the reverse order of removal.

1.

Door mirror

2.

Door mirror corner finisher 

3.

Door mirror rear finisher

4.

Side turn signal lamp

5.

Side camera (if equipped)

6.

Door mirror actuator

7.

Door mirror glass

A.

Refer to INSTALLATION

Pawl

AWLIA2506ZZ


Content   ..  909  910  911  912   ..