Nissan Rogue. Manual - part 525
 

  Index      Nissan     Nissan Rogue (2015 year) - Service and Repair Manual


Search            


Content   ..  523  524  525  526   ..


Nissan Rogue. Manual - part 525


EC-368

< DTC/CIRCUIT DIAGNOSIS >

[QR25DE]

P052A, P052B INTAKE VALVE TIMING CONTROL

Is 1st trip DTC detected?

YES

>> Proceed to 

EC-368, "Diagnosis Procedure"

NO

>> INSPECTION END

Diagnosis Procedure

INFOID:0000000011278079

1.

CHECK DTC PRIORITY

If DTC P052A or P052B is displayed with DTC P0075, first perform the trouble diagnosis for DTC P0075.
Is applicable DTC detected?

YES

>> Perform diagnosis of applicable. Refer to 

EC-194, "DTC Description"

.

NO

>> GO TO 2.

2.

INSPECTION START

With CONSULT>>GO TO 3.

Without CONSULT>>GO TO 4.

3.

CHECK VTC POSITION

With CONSULT

1. Turn ignition switch ON.

2. On the CONSULT screen, select “ENGINE” >> “DATA MONITOR” >> “COOLAN TEMP/S”.

3. Check that the “COOLAN TEMP/S” indication value is between 

−5°C (23°F) and 45°C (113°F).

4. Start engine and wait at least 5 seconds.

5. On the CONSULT screen, select “ENGINE” >> “DATA MONITOR” >> “INT/V TIM (B1)”.

6. Check that the data monitor item indicates as follows:

Is the inspection result normal?

YES

>> GO TO 12.

NO

>> GO TO 4.

4.

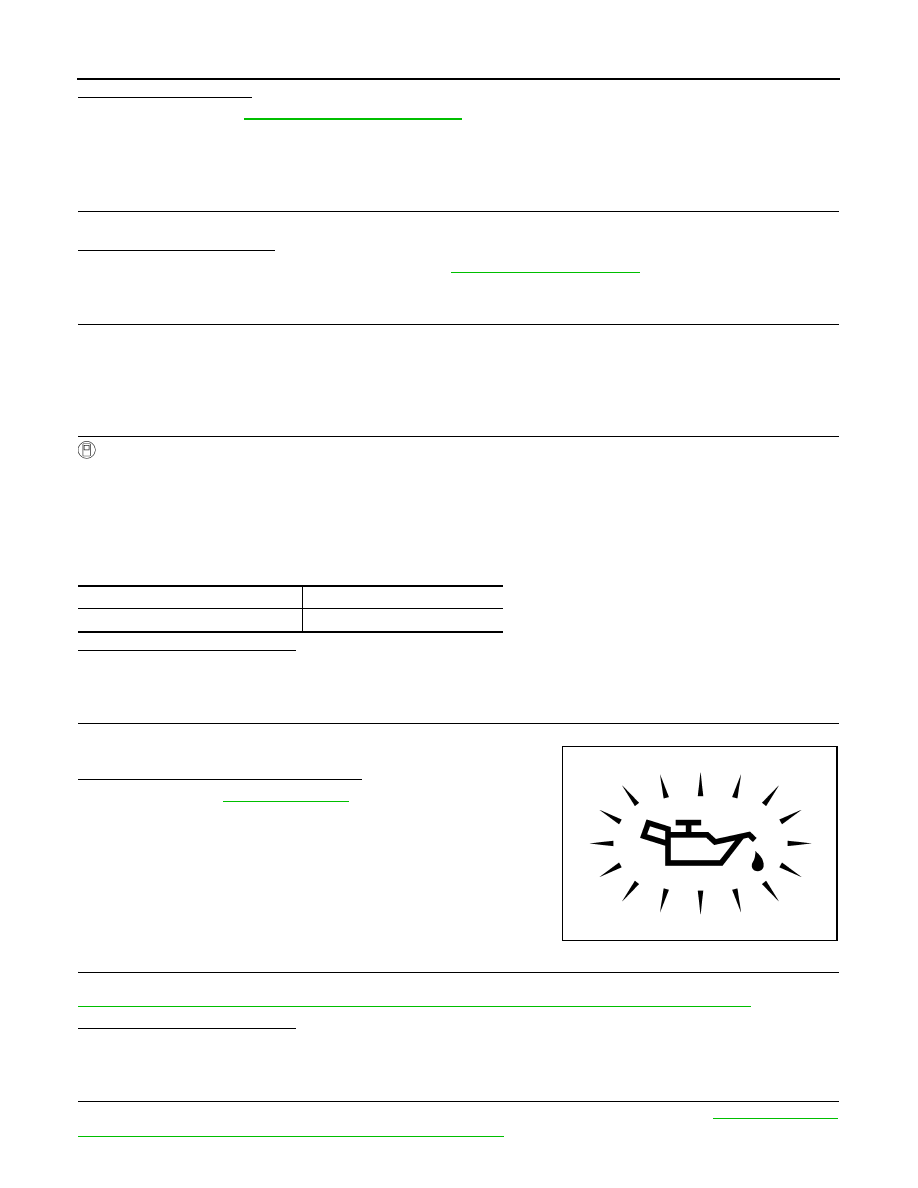
CHECK OIL PRESSURE WARNING LAMP

1. Start engine.

2. Check that oil pressure warning lamp is not illuminated.
Is oil pressure warning lamp illuminated?

YES

>> Refer to 

LU-7, "Inspection"

.

NO

>> GO TO 5.

5.

CHECK INTAKE VALVE TIMING INTERMEDIATE LOCK CONTROL SOLENOID VALVE

Perform Component Inspection of the intake valve timing intermediate lock control solenoid valve. Refer to

EC-370, "Component Inspection (Intake Valve Timing Intermediate Lock Control Solenoid Valve)"

.

Is the inspection result normal?

YES

>> GO TO 6.

NO

>> Repair or replace error-detected parts.

6.

CHECK INTAKE VALVE TIMING CONTROL SOLENOID VALVE

Perform Component Inspection of the intake valve timing control solenoid valve. Refer to 

EC-369, "Compo-

nent Inspection (Intake Valve Timing Control Solenoid Valve)"

.

Item

Value (

°CA)

INT/V TIM (B1)

10 

± 2

PBIA8559J

P052A, P052B INTAKE VALVE TIMING CONTROL

EC-369

< DTC/CIRCUIT DIAGNOSIS >

[QR25DE]

C

D

E

F

G

H

I

J

K

L

M

A

EC

N

P

O

Is the inspection result normal?

YES

>> GO TO 7.

NO

>> Repair or replace error-detected parts.

7.

CHECK CRANKSHAFT POSITION SENSOR

Perform Component Inspection of the crankshaft position sensor. Refer to 

EC-371, "Component Inspection

(Crankshaft Position sensor)"

.

Is the inspection result normal?

YES

>> GO TO 8.

NO

>> Repair or replace error-detected parts.

8.

CHECK CAMSHAFT POSITION SENSOR

Perform Component Inspection of the camshaft position sensor. Refer to 

EC-371, "Component Inspection

(Camshaft position sensor)"

.

Is the inspection result normal?

YES

>> GO TO 9.

NO

>> Repair or replace error-detected parts.

9.

CHECK CAMSHAFT (INTAKE)

Check the following.

1. Accumulation of debris on the signal plate of camshaft front end

2. Chipping signal plate of camshaft front end
Is the inspection result normal?

YES

>> GO TO 10.

NO

>> Remove debris and clean the signal plate of camshaft

front end or replace camshaft. Refer to 

EM-69,

"Removal and Installation"

.

10.

CHECK TIMING CHAIN INSTALLATION

Check service records for any recent repairs that may cause timing chain misalignment.
Are there any service records that may cause timing chain misalignment?

YES

>> Check timing chain installation. Refer to 

EM-50, "Removal and Installation"

.

NO

>> GO TO 11.

11.

CHECK LUBRICATION CIRCUIT

Perform “Inspection of Camshaft Sprocket (INT) Oil Groove”. Refer to 

EM-77, "Inspection After Installation"

.

Is the inspection result normal?

YES

>> GO TO 12.

NO

>> Clean lubrication line.

12.

CHECK INTERMITTENT INCIDENT

Refer to 

GI-44, "Intermittent Incident"

.

>> INSPECTION END

Component Inspection (Intake Valve Timing Control Solenoid Valve)

INFOID:0000000011278080

1.

CHECK INTAKE VALVE TIMING CONTROL SOLENOID VALVE-I

1. Turn ignition switch OFF.

2. Disconnect intake valve timing control solenoid valve harness connector.

3. Check resistance between intake valve timing control solenoid valve terminals as per the following.

JPBIA5855ZZ

EC-370

< DTC/CIRCUIT DIAGNOSIS >

[QR25DE]

P052A, P052B INTAKE VALVE TIMING CONTROL

Is the inspection result normal?

YES

>> GO TO 2.

NO

>> Replace malfunctioning intake valve timing control solenoid valve. Refer to 

EM-49, "Exploded

View"

.

2.

CHECK INTAKE VALVE TIMING CONTROL SOLENOID VALVE-II

1. Remove intake valve timing control solenoid valve. Refer to 

EM-49, "Exploded View"

.

2. Provide 12 V DC between intake valve timing control solenoid

valve terminals 1 and 2, and then interrupt it. Check that the

plunger moves as shown in the figure.

CAUTION:

Never apply 12 V DC continuously for 5 seconds or more.

Doing so may result in damage to the coil in intake valve

timing control solenoid valve.

NOTE:

Always replace O-ring when intake valve timing control

solenoid valve is removed.

Is the inspection result normal?

YES

>> INSPECTION END

NO

>> Replace malfunctioning intake valve timing control solenoid valve. Refer to 

EM-49, "Exploded

View"

.

Component Inspection (Intake Valve Timing Intermediate Lock Control Solenoid Valve)

INFOID:0000000011278081

1.

CHECK INTAKE VALVE TIMING INTERMEDIATE LOCK CONTROL SOLENOID VALVE-I

1. Turn ignition switch OFF.

2. Disconnect intake valve timing intermediate lock control solenoid valve harness connector.

3. Check resistance between intake valve timing intermediate lock control solenoid valve terminals as per

the following.

Is the inspection result normal?

YES

>> GO TO 2.

NO

>> Replace malfunctioning intake valve timing intermediate lock control solenoid valve. Refer to 

EM-

49, "Exploded View"

.

2.

CHECK INTAKE VALVE TIMING INTERMEDIATE LOCK CONTROL SOLENOID VALVE-II

1. Remove intake valve timing intermediate lock control solenoid valve. Refer to 

EM-49, "Exploded View"

.

Terminals

Resistance

1 and 2

7.0 - 7.7 

Ω [at 20°C (68°F)]

1 or 2 and ground

∞ Ω

(Continuity should not exist)

JMBIA2107ZZ

Terminals

Resistance

1 and 2

7.0 - 7.7 

Ω [at 20°C (68°F)]

1 or 2 and ground

∞ Ω

(Continuity should not exist)

P052A, P052B INTAKE VALVE TIMING CONTROL

EC-371

< DTC/CIRCUIT DIAGNOSIS >

[QR25DE]

C

D

E

F

G

H

I

J

K

L

M

A

EC

N

P

O

2. Provide 12 V DC between intake valve timing intermediate lock

control solenoid valve terminals 1 and 2, and then interrupt it.

Check that the plunger moves as shown in the figure.

CAUTION:

Never apply 12 V DC continuously for 5 seconds or more.

Doing so may result in damage to the coil in intake valve

timing intermediate lock control solenoid valve.

NOTE:

Always replace O-ring when intake valve timing intermedi-

ate lock control solenoid valve is removed.

Is the inspection result normal?

YES

>> INSPECTION END

NO

>> Replace malfunctioning intake valve timing intermediate lock control solenoid valve. Refer to 

EM-

49, "Exploded View"

.

Component Inspection (Crankshaft Position sensor)

INFOID:0000000011278082

1.

CHECK CRANKSHAFT POSITION SENSOR (POS)-1

1. Turn ignition switch OFF.

2. Loosen the fixing bolt of the sensor.

3. Disconnect crankshaft position sensor (POS) harness connector.

4. Remove the sensor.

5. Visually check the sensor for chipping.
Is the inspection result normal?

YES

>> GO TO 2.

NO

>> Replace crankshaft position sensor (POS). Refer to 

EM-

97, "Exploded View"

.

2.

CHECK CRANKSHAFT POSITION SENSOR (POS)-2

Check the resistance between crankshaft position sensor (POS) terminals as per the following.

Is the inspection result normal?

YES

>> INSPECTION END

NO

>> Replace crankshaft position sensor (POS). Refer to 

EM-97, "Exploded View"

.

Component Inspection (Camshaft position sensor)

INFOID:0000000011278083

1.

CHECK CAMSHAFT POSITION SENSOR (PHASE)-1

1. Turn ignition switch OFF.

2. Loosen the fixing bolt of the sensor.

3. Disconnect camshaft position sensor (PHASE) harness connector.

4. Remove the sensor.

JMBIA2107ZZ

PBIA9209J

Crankshaft position sensor (POS)

Resistance [at 25

°C (77°F)]

+

Terminal (Polarity)

1

2

Except 0 or 

∞ Ω

3

2

3


Content   ..  523  524  525  526   ..