Nissan Maxima. Manual - part 63


  Index      Nissan     Nissan Maxima (2009-2014 year) - Service and Repair Manual


Search            


Content   ..  61  62  63  64   ..


Nissan Maxima. Manual - part 63


AV-72

< PREPARATION >

[MONOCHROME DISPLAY - W/O BOSE]

PREPARATION

PREPARATION

PREPARATION

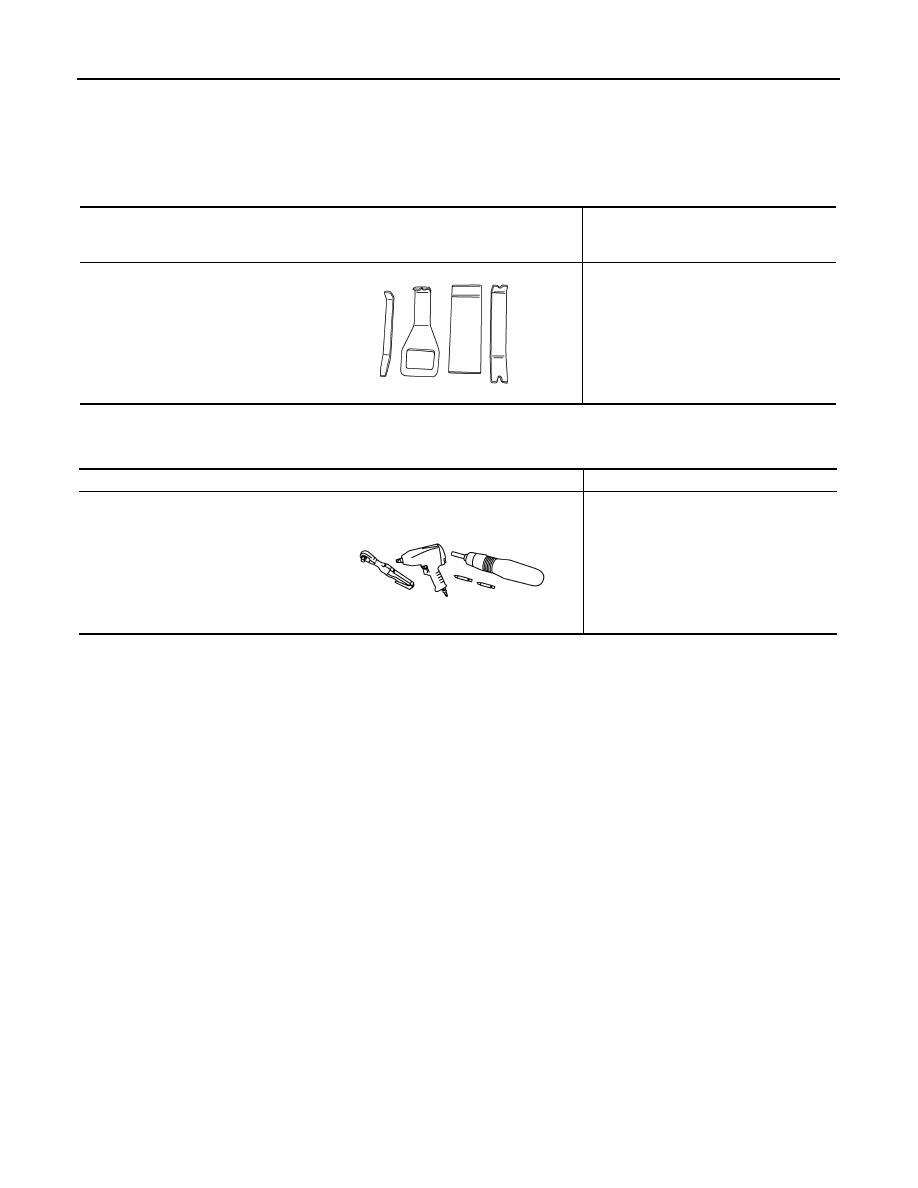
Special Service Tool

INFOID:0000000009471195

The actual shape of the tools may differ from those illustrated here.

Commercial Service Tools

INFOID:0000000009471196

Tool number
(TechMate No.)
Tool name

Description

(J-46534)
Trim Tool Set

Removing trim components

AWJIA0483ZZ

Tool name

Description

Power tool

Loosening nuts, screws and bolts

PIIB1407E

AV

AUDIO UNIT

AV-73

< REMOVAL AND INSTALLATION >

[MONOCHROME DISPLAY - W/O BOSE]

C

D

E

F

G

H

I

J

K

L

M

B

A

O

P

REMOVAL AND INSTALLATION

AUDIO UNIT

Removal and Installation

INFOID:0000000009471197

Base Audio

REMOVAL

1. Disconnect the battery negative terminal. Refer to 

PG-67, "Removal and Installation (Battery)"

.

2. Remove cluster lid D. Refer to 

IP-11, "Removal and Installation"

.

3. Remove cluster lid C lower finisher (1). 

:  Pawl

: Clip

ALNIA1147ZZ

1.

Audio unit brackets (LH/RH)

2.

A/C auto amp.

3.

Cluster lid C lower

4.

Audio unit

Clip

Pawl

ALNIA1152ZZ

AV-74

< REMOVAL AND INSTALLATION >

[MONOCHROME DISPLAY - W/O BOSE]

AUDIO UNIT

4. Remove the audio unit screws (A) and cluster lid C screws (B). 

5.  Pull out the audio unit, disconnect the harness connector from the audio unit and remove.

INSTALLATION

Installation is in the reverse order of removal.

ALNIA1130ZZ

AV

AUDIO DISPLAY UNIT

AV-75

< REMOVAL AND INSTALLATION >

[MONOCHROME DISPLAY - W/O BOSE]

C

D

E

F

G

H

I

J

K

L

M

B

A

O

P

AUDIO DISPLAY UNIT

Removal and Installation

INFOID:0000000009471198

Monochrome Display

REMOVAL

1. Disconnect the battery negative terminal. Refer to 

PG-67, "Removal and Installation (Battery)"

.

2. Remove cluster lid D. Refer to 

IP-11, "Removal and Installation"

.

3. Remove the audio & A/C display unit bracket screws (A).
4. Pull out the audio & A/C display unit assembly (1), disconnect

the harness connectors from the audio display unit and remove.

5. Remove the front cover, then disconnect the audio display unit connectors and remove the audio display

unit from the audio/A/C display unit brackets.

INSTALLATION

Installation is in the reverse order of removal.

ALNIA1148ZZ

1.

Audio display unit

2.

Audio & A/C display unit bracket

3.

A/C display unit

4.

Front cover

ALNIA1145ZZ


Content   ..  61  62  63  64   ..