Nissan Altima HL32 Hybrid. Manual - part 980
SE-22
< ON-VEHICLE REPAIR >
REAR SEAT
REAR SEAT
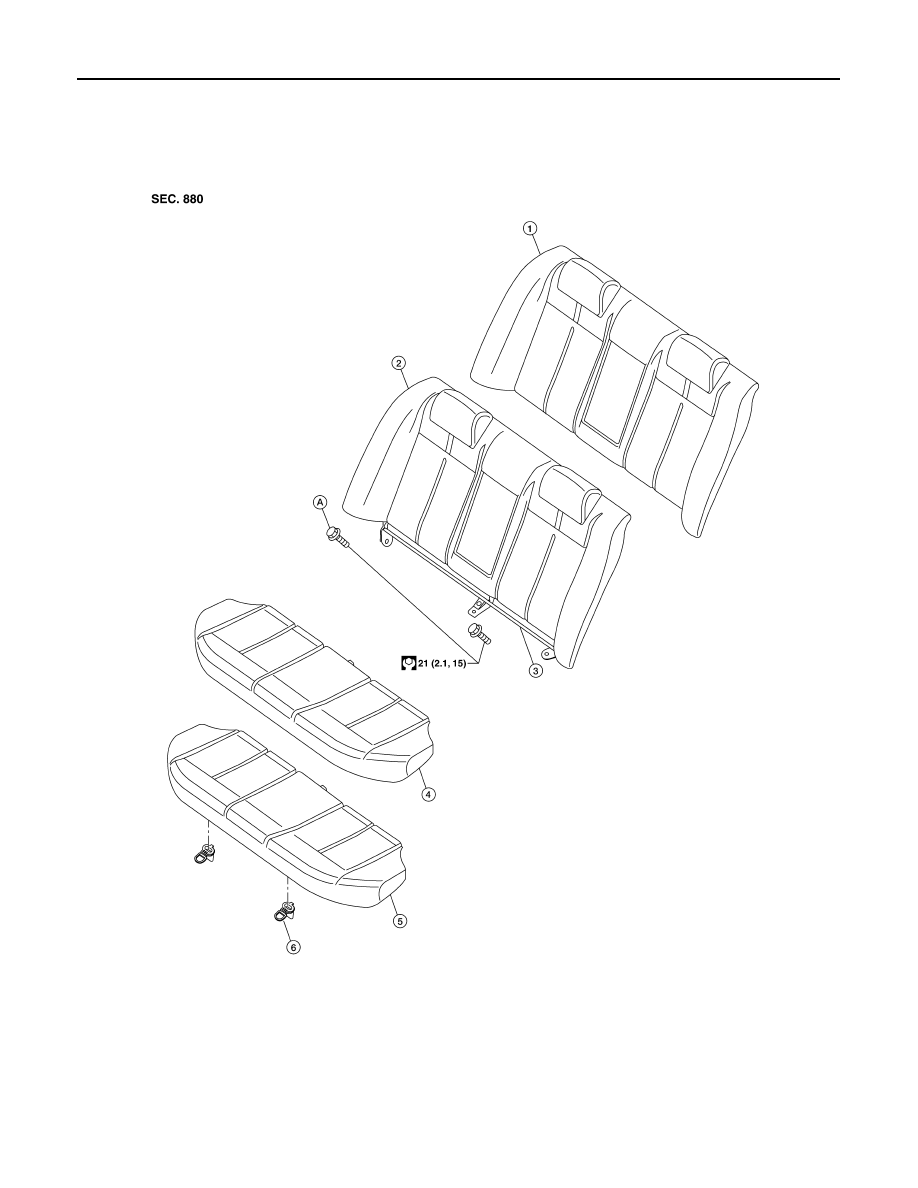
Exploded View
INFOID:0000000004215458
Removal and Installation
INFOID:0000000004215459
REMOVAL
1.
Seatback trim
2.
Seatback pad
3.
Seatback frame
4.
Seat cushion trim
5.
Seat cushion pad
6.
Plastic hook
A.
Seatback anchor bolts
AWJIA0351GB