Nissan Frontier. Manual - part 960
IP-20
< REMOVAL AND INSTALLATION >
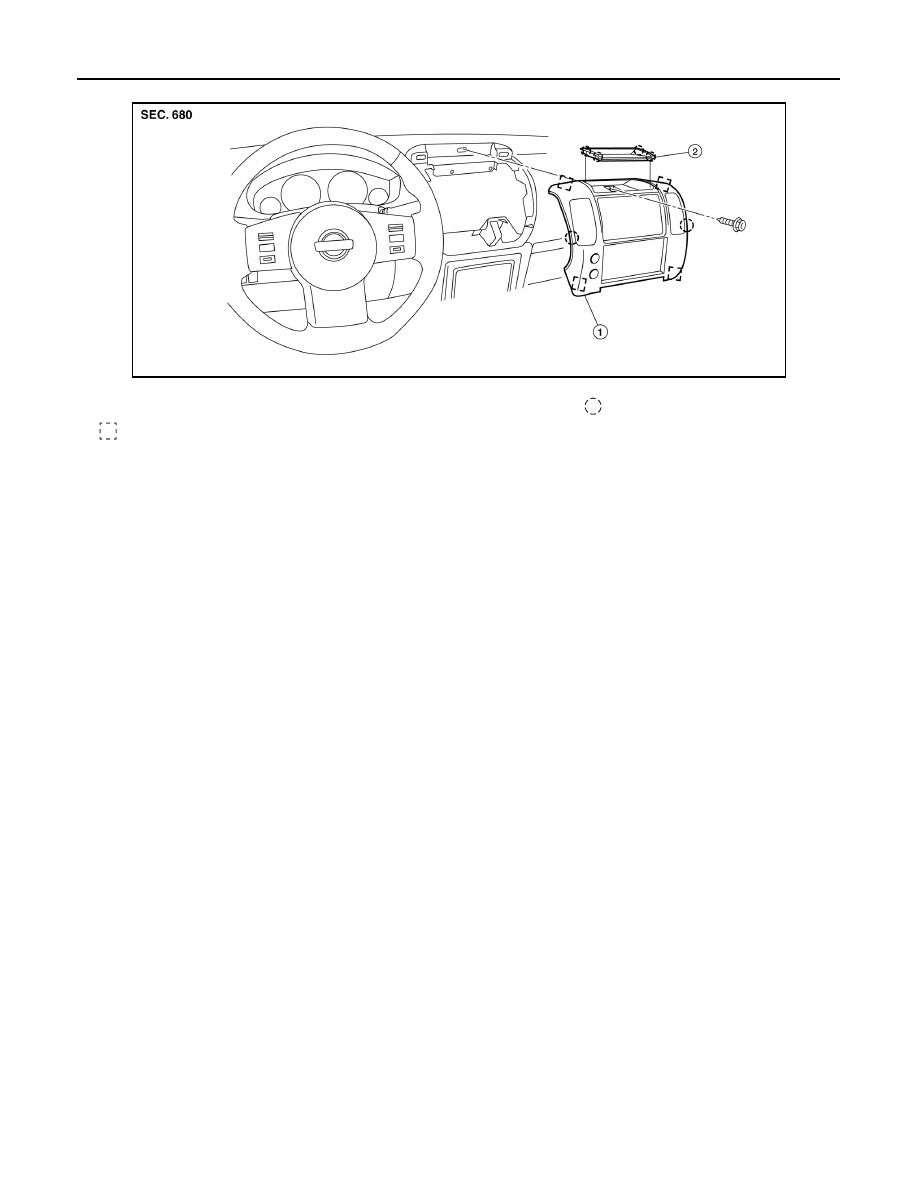
CLUSTER LID C
TYPE 2
Removal
1. Release the storage tray pawls using a suitable tool and remove.
2. Remove the cluster lid C screw.
3. Remove the cluster lid C clips using a suitable tool, disconnect the harness connectors and remove.
Installation
Installation is in the reverse order of removal.
AWJIA0549ZZ
1.
Cluster lid C
2.
Storage tray
Pawl
Metal clip