Nissan Sentra. Manual - part 608
REAR DOOR FINISHER
INT-21
< REMOVAL AND INSTALLATION >
C
D
E
F
G
H
I
K
L
M
A
B
INT
N
O
P
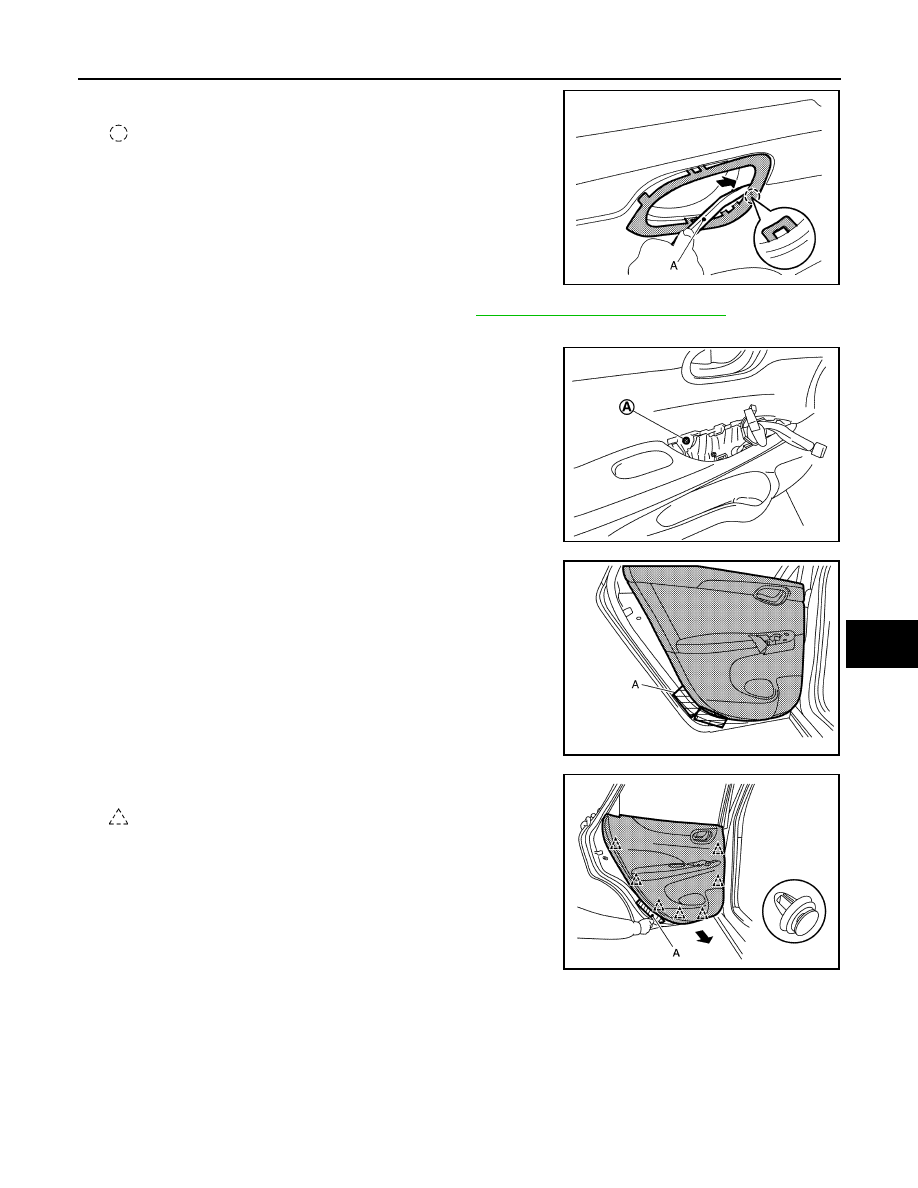
f.
Insert a suitable tool (A) as shown to release the remaining pawl
and remove.
: Pawl
2. Remove rear power window switch finisher. Refer to
PWC-72, "Removal and Installation"
.
3. Remove rear door finisher.
a. Remove rear door finisher screw (A).
b. Apply protective tape (A) to protect the component from damage
as shown.
c. Release rear door finisher clips using a suitable tool (A) as
shown.
: Clip
AWJIA0970ZZ
JMJIA6473ZZ
JMJIA7784ZZ
AWJIA0978ZZ